Did you know that 60% of consumers find pre-made entertainment centers don’t fit their space or style? Customizing your own unit ensures it meets your exact needs. This project offers a cost-effective solution, with materials like RTA cabinets and 3/4″ veneered plywood making it accessible for DIY enthusiasts.
From planning your wall space to adding finishing touches like paint and trim, this guide covers every step. You’ll learn how to measure your TV width, choose the right cabinet placement, and use tools like a circular saw and drill/driver. The result? A professional-looking piece of furniture that enhances your living area.
Whether you’re a seasoned woodworker or a beginner, this project is designed to empower you. With detailed instructions, you’ll create a built-in unit that’s both functional and stylish. Ready to transform your space? Let’s get started.
Key Takeaways
- Custom units fit your space and style perfectly.
- RTA cabinets and veneered plywood make the project affordable.
- Step-by-step instructions ensure a professional finish.
- Measure your TV and wall space before starting.
- Essential tools include a circular saw and drill/driver.
- Add paint and trim for a polished look.
- This DIY project enhances your living area with personalized furniture.
Overview and Planning for Your DIY Project
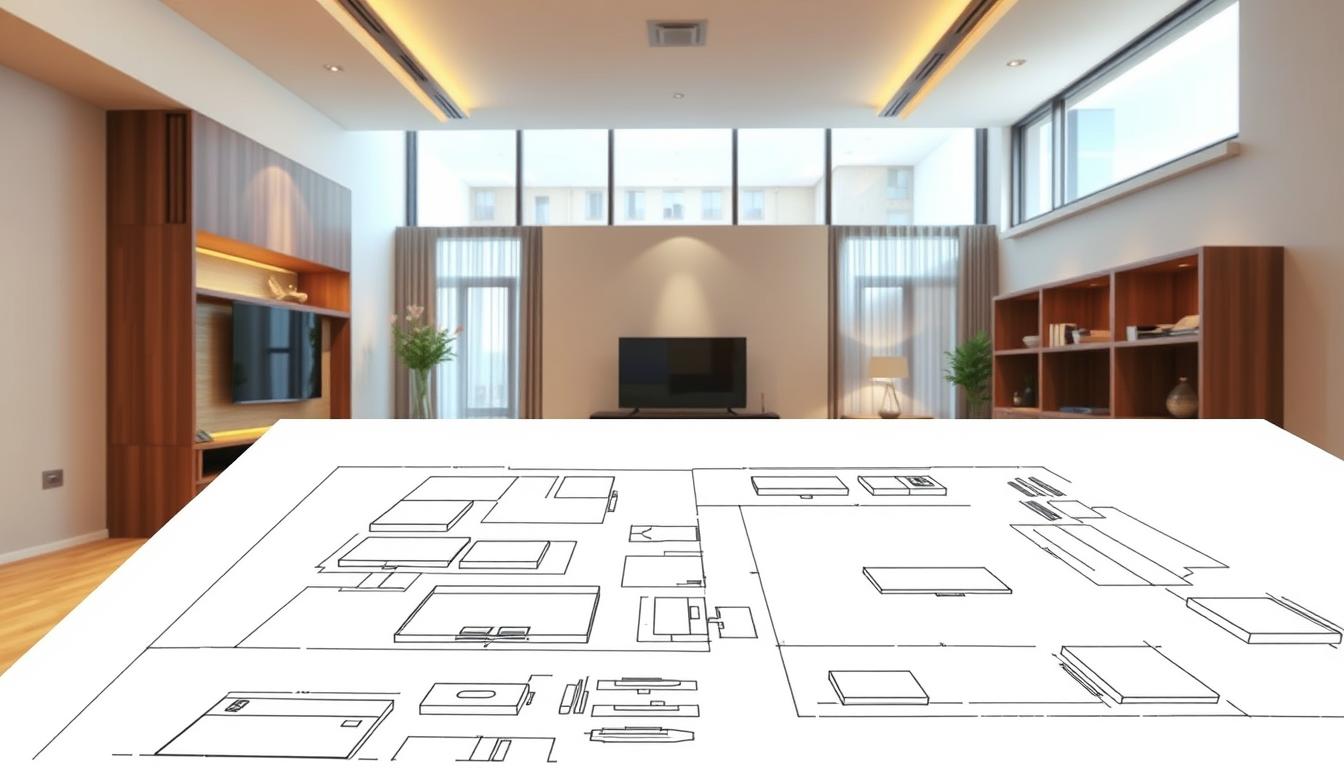
Planning your DIY project starts with accurate measurements and a clear vision. Proper preparation ensures your entertainment center fits seamlessly into your space while meeting your functional and aesthetic needs.

Measuring Your Space and Planning Your Layout
Begin by measuring your TV width and wall dimensions. This helps determine the optimal size for your cabinet and shelf layout. Use a tape measure to note the height, width, and depth of your available space.
Identify stud locations in your wall to ensure secure mounting. Plan for at least two inches of ventilation clearance behind your TV to prevent overheating. This step is crucial for both safety and functionality.
Design Considerations and Project Scope
Your design should complement the room’s aesthetic while maximizing storage and display options. Consider using plywood for shelves and cabinet frames, as it’s durable and easy to work with.
Visualize the arrangement of base cabinets and additional shelving. Think about how you’ll use the unit—whether for media storage, display, or both. Establish a clear project scope early, including potential modifications like adding floating shelves or custom trim.
Decide between ready-to-assemble or finished cabinets based on your needs and skill level. Ready-to-assemble options are cost-effective, while finished cabinets save time. For more insights on planning similar projects, check out our guide on building a dedicated home theater room.
Tools, Materials, and Preparation for Success
Gathering the right tools and materials is the foundation of any successful DIY project. With the proper equipment and quality supplies, you can ensure a smooth and efficient build. This section covers everything you need to get started, from essential tools to safety measures.
Essential Tools for the Job
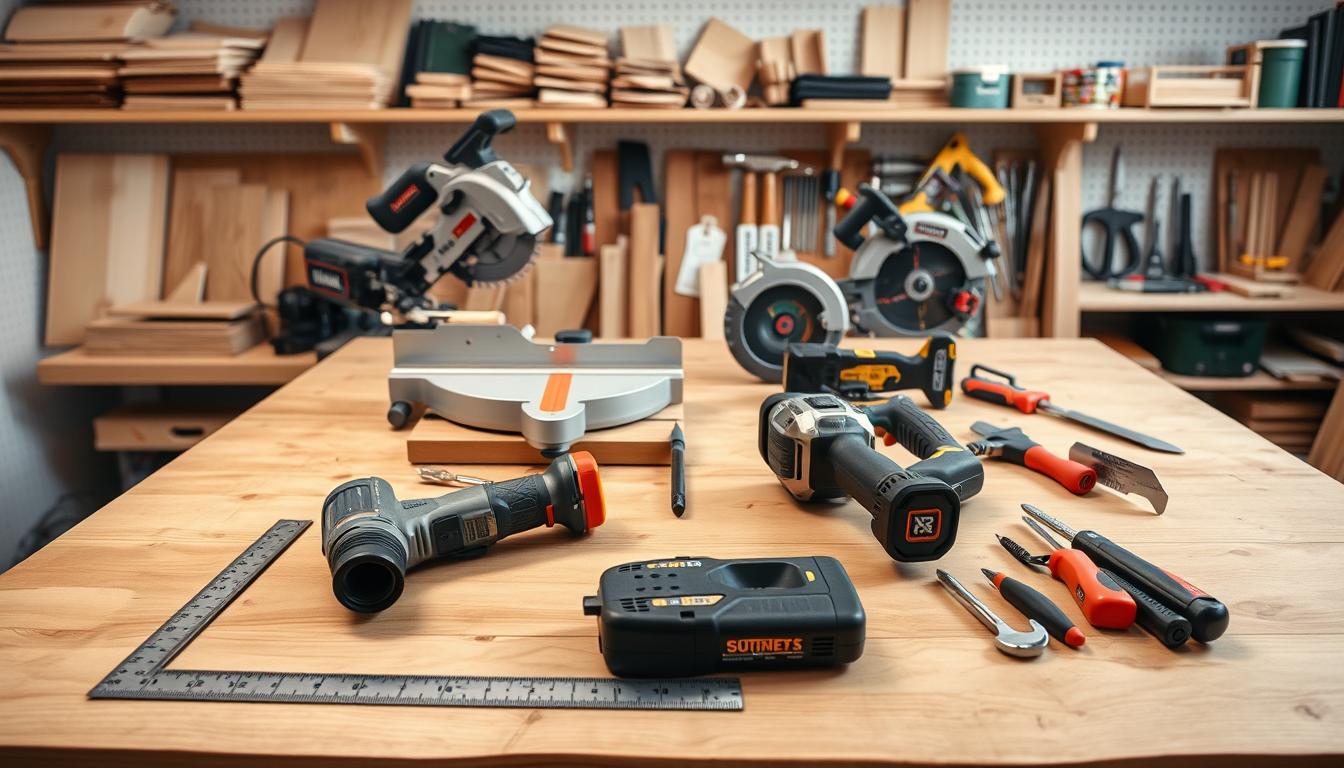
Having the right tools makes all the difference. A drill/driver and circular saw are must-haves for cutting and assembling materials. A stud finder helps locate wall studs for secure mounting, while a brad nailer ensures precise trim installation.
Other useful tools include a tape measure for accurate dimensions, clamps to hold pieces in place, and a level to keep everything aligned. These tools not only save time but also improve the overall quality of your unit.

Choosing the Right Materials
Quality materials are key to a durable and polished cabinet. Veneered plywood is an excellent choice for shelves and frames due to its strength and affordability. For a sleek finish, consider prefinished cabinet doors and trim.
Ready-to-assemble cabinets are cost-effective and beginner-friendly. If you prefer a custom look, unfinished wood allows for personalized staining or painting. Always plan your cut lists to minimize waste and ensure accuracy.
Safety and Prep Work Before You Start
Safety should always come first. Wear safety glasses and a respirator when cutting or sanding materials. Ensure proper ventilation in your area to avoid inhaling dust or fumes.
Prep work includes dry fitting cabinets to confirm measurements and marking stud locations on the wall. Remove baseboard molding if necessary and organize your workspace for efficiency. Taking these steps upfront will save you time and prevent errors during the build.
How to Build a Custom Entertainment Center from Scratch
The assembly phase is where your project starts to take shape. This section focuses on aligning and securing the base cabinets, cutting the plywood top, and installing shelves. Proper techniques ensure a sturdy and professional finish.
Assembly of Base Cabinets and Top Components
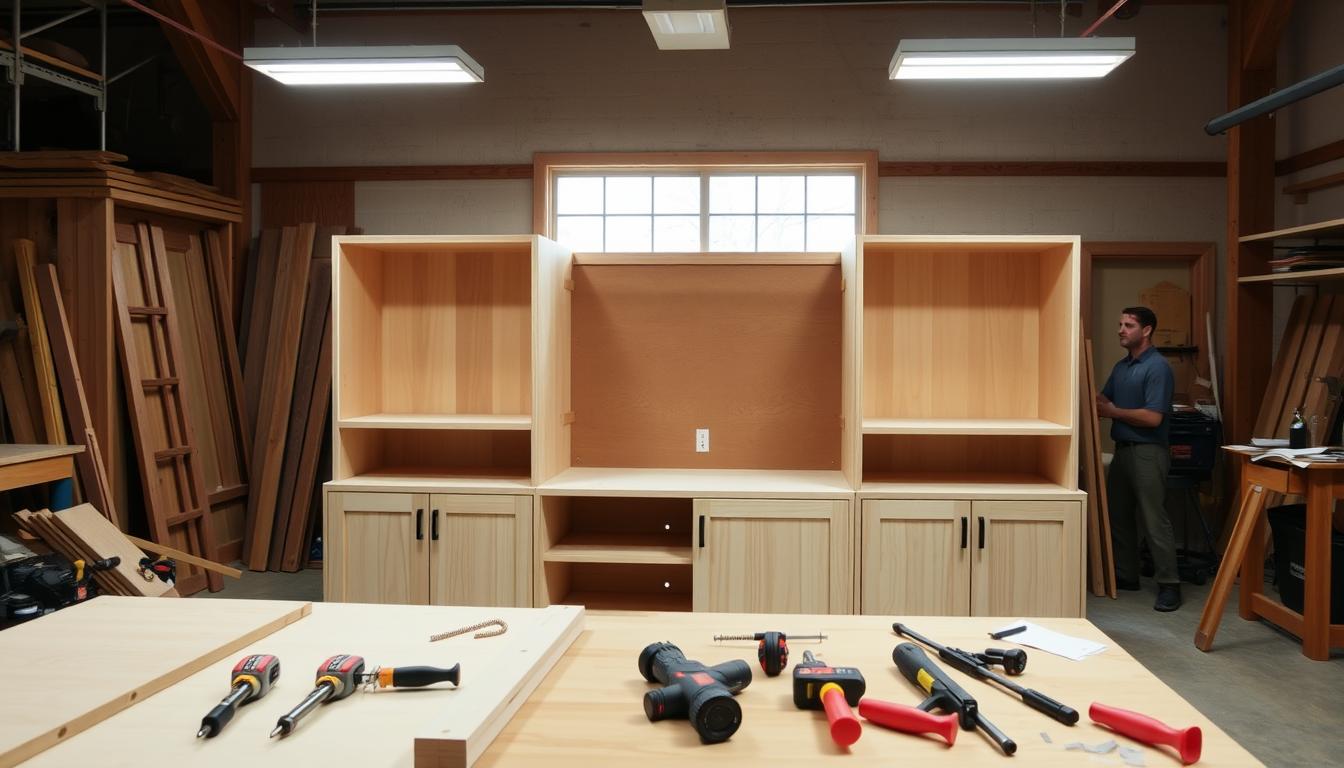
Begin by aligning your preassembled base cabinets. Use clamps to hold them in place and drill pilot holes for screws. This ensures a secure and stable connection. Fasten the cabinets together using screws, checking for level as you go.
Next, measure the base to cut the plywood top to size. Allow for the circular saw’s shoe measurement to ensure accuracy. A saw guide helps achieve clean, straight cuts. Secure the plywood top to the base using screws, ensuring it’s flush with the edges.

Installation of Shelves, Cable Management, and Ventilation
Install shelves above the unit, spacing them 10 inches apart for organized storage. Use a level to ensure they’re straight. For added stability, secure shelves to wall studs. This prevents sagging over time.
Create cable access holes in the back panel for clean wiring. Use a jigsaw or oscillating tool for precise cutouts. Ensure proper ventilation by leaving at least two inches of clearance behind your devices. This prevents overheating and extends their lifespan.
Reinforce the assembly with corner braces and proper hardware. Check for level throughout the process and secure the unit to wall studs for safety. These steps ensure a durable and polished look.
| Material | Quantity | Purpose |
|---|---|---|
| 3/4″ Plywood | 5 sheets | Top and shelves |
| 2×4 Lumber | 6 pieces | Framing |
| Drawer Slides | 4 pairs | Cabinet drawers |
For more tips on enhancing your setup, check out our guide on building a riser platform for home. This complements your unit by improving viewing angles and seating arrangements.
Customization and Details to Enhance Your Entertainment Center
Personalizing your entertainment setup can transform your space into a functional and stylish hub. Adding unique details ensures your unit fits seamlessly into your décor while meeting your storage and display needs. From cabinet customization to finishing touches, these ideas will elevate your project.
Cabinet and Trim Customization Ideas
Customizing your cabinets allows you to tailor the unit’s profile to your preferences. Consider using wall-mounted options for a sleek, modern look. Alternatively, incorporate a single sink cabinet for added functionality. Decorative trim, such as crown molding or chair rail, can enhance the overall aesthetic.
Aligning molding and trim at contact points ensures a seamless finish. Use a brad nailer for precise installation. These small details make a big difference in the final look of your project.
Adding Floating Shelves for Display and Storage
Floating shelves are a versatile addition to your setup. They provide extra storage while creating opportunities to display décor or media. Space shelves 10 inches apart for organized storage and visual appeal.
Secure shelves to wall studs for stability. Use a level to ensure they’re straight. This not only enhances functionality but also adds a modern touch to your design.
Finishing Touches: Paint, Hardware, and Moldings
Finishing touches bring your project to life. Start with a coat of primer for durability. Apply multiple coats of paint, such as Benjamin Moore’s Simply White, for a polished finish. Choose hardware like pulls, knobs, or concealed hinges to complement your style.
Moldings add a refined look. Crown molding or chair rail can tie the design together. These details ensure your unit stands out as a centerpiece in your home.
| Material | Quantity | Purpose |
|---|---|---|
| Primer | 1 gallon | Base coat |
| Paint | 2 gallons | Finishing |
| Molding | 3 pieces | Decorative trim |
Conclusion
Creating a tailored piece for your living area can be both rewarding and functional. By following the detailed steps—from planning and assembly to customization—you can achieve a professional-looking cabinet that fits your space perfectly. Precision in measurements and the right tools ensure a sturdy and polished result.
Safety is paramount throughout the process. Always use protective gear and double-check connections for stability. The satisfaction of crafting a diy project that reflects your style is unmatched. Whether it’s adding shelves or choosing unique finishes, this entertainment center becomes a true centerpiece.
Adapt the plans to suit your needs and share your results. The process is not just about functionality but also about making the unit truly your own. With creativity and care, you’ll have a piece that enhances your home for years to come.
FAQ
What measurements should I take before starting my DIY entertainment center project?
Measure the wall space where the unit will go, including height, width, and depth. Consider the size of your TV, speakers, and other devices to ensure everything fits comfortably.
What tools are essential for building a custom entertainment center?
You’ll need a circular saw, drill, level, measuring tape, and clamps. A pocket hole jig can also help with cabinet assembly. Safety gear like goggles and gloves is a must.
What materials work best for a built-in entertainment center?
Plywood is a popular choice for its durability and affordability. Solid wood or MDF can also be used for a polished finish. Choose materials that match your design and budget.
How do I ensure proper ventilation for electronics in my entertainment center?
Add ventilation holes or gaps in the back panel. You can also install fans or leave open sections to prevent overheating.
What are some creative ways to customize my entertainment center?
Add floating shelves for extra display space, use decorative trim for a built-in look, or paint the unit to match your room’s decor. Upgrading hardware like cabinet knobs can also enhance the design.
How do I manage cables in my entertainment center?
Use cable management strips or drill holes in the back panel to route wires neatly. Velcro ties or clips can help keep cables organized and out of sight.
What’s the best way to finish my entertainment center for a professional look?
Sand the wood thoroughly before applying paint or stain. Use a primer for even coverage, and consider adding a clear coat for durability. Edge banding can give plywood a polished edge.
Can I add doors or drawers to my entertainment center?
Yes, cabinet doors and drawers can be added for storage and a clean look. Use soft-close hinges and drawer slides for a high-end finish.


