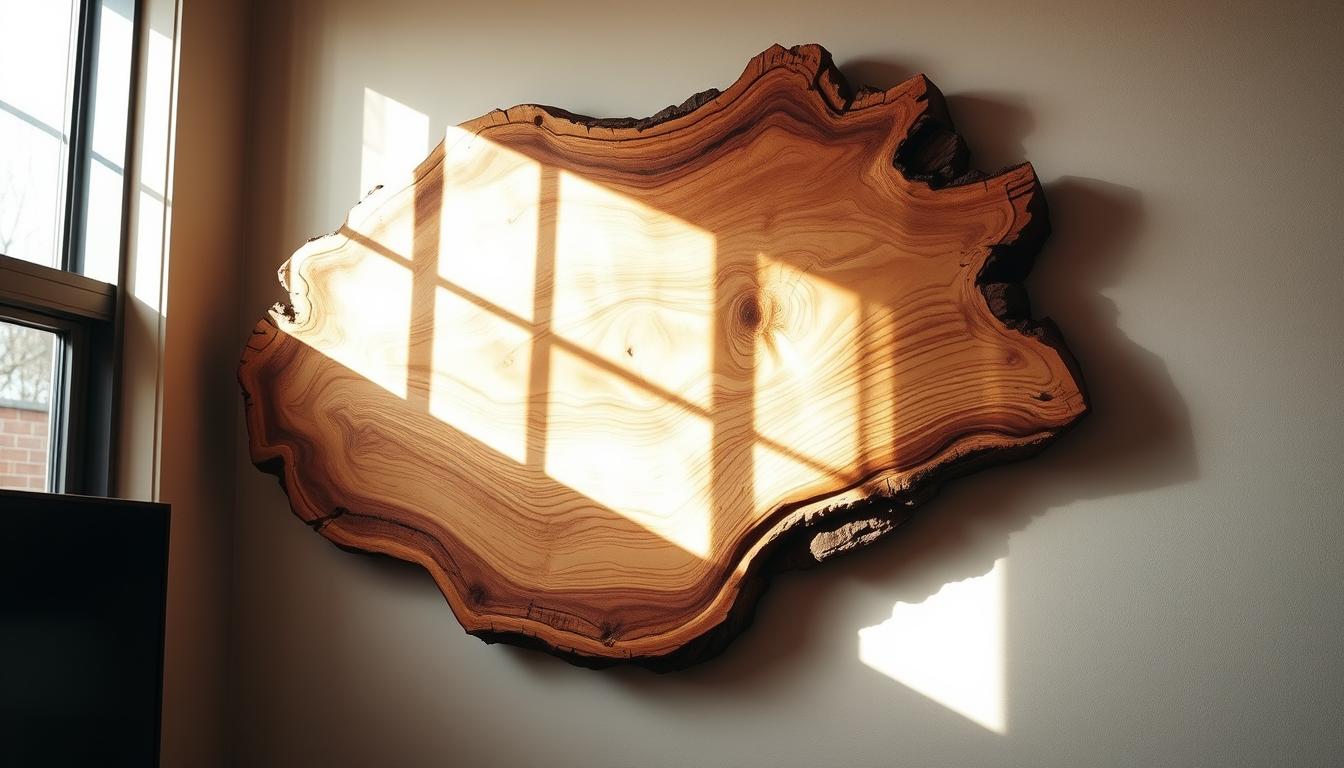

Did you know that a single piece of wood can transform your space into a unique and functional haven? Custom decor is more than just an aesthetic choice—it’s a way to enhance your environment while reflecting your personality. This guide will show you how to create stunning decor using eco-friendly materials like scrap wood and plywood.
This project combines practicality with creativity, offering a step-by-step approach to designing a piece that improves both sound and visual appeal. Whether you’re a beginner or an experienced crafter, the process is designed to be straightforward and rewarding. From selecting the right design to mastering wood cutting and charring techniques, every detail is covered.
By repurposing materials, you not only save money but also contribute to sustainable living. The result is a professional-looking creation that adds character to your space. Ready to get started? Let’s dive into the process and bring your vision to life.
Key Takeaways
- Create custom decor using eco-friendly materials like scrap wood and plywood.
- Enhance both sound quality and visual appeal with a functional design.
- Follow a step-by-step guide tailored for beginners and experienced crafters.
- Repurpose materials to save money and promote sustainability.
- Achieve a professional finish with detailed wood cutting and charring techniques.
Overview and Project Inspiration
Crafting a unique piece for your room combines practicality with artistic expression. This project is not just about decor—it’s about creating something that enhances both the look and feel of your space. By focusing on every side and inch of the material, you can achieve a flawless finish that stands out.

Understanding the Concept and Benefits
Custom decor offers more than visual appeal. It can improve acoustics, making it ideal for spaces where sound quality matters. For example, using measured cuts and charring techniques can create patterns that diffuse sound effectively. Tools like the Wagner Furno Heat Gun make it easy to transform wood into a functional art piece.
Taking time to plan your design ensures the final product is both beautiful and practical. Repurposing materials like scrap wood not only saves money but also promotes sustainability. Each block of wood can be secured with wood glue, ensuring durability and a professional look.
Drawing Inspiration from Real Projects
Real-world examples show how attention to detail pays off. One project used pre-milled lumber, cutting strips to specific widths for visual interest. The back of the piece was reinforced with plywood, ensuring stability. Another example highlighted the importance of letting glue cure overnight for a secure hold.
By breaking the process into manageable steps, you can work with clarity and confidence. Whether you’re a beginner or an experienced crafter, this project is designed to inspire and guide you. The result is a piece that reflects your creativity while enhancing your space.
Gathering Supplies and Essential Tools
Starting your project with the right materials and tools ensures a smooth and professional finish. The quality of your supplies directly impacts the durability and appearance of the final piece. Whether you’re a beginner or an experienced crafter, selecting the best options will make the process easier and more rewarding.
Key Materials: Plywood, Wood Glue, and More
High-quality plywood is a versatile choice for creating a sturdy frame. It’s lightweight yet durable, making it ideal for projects that require precision. Pair it with reliable wood glue to ensure all pieces stay securely in place. This combination not only enhances the look but also provides structural integrity.
Other materials like scrap wood or pre-milled lumber can add unique textures and patterns. These options are cost-effective and eco-friendly, allowing you to repurpose materials while achieving a professional result. Always measure and cut carefully to ensure a perfect fit.

Tool Spotlight: Miter Saw, Table Saw, and Heat Gun
A miter saw is essential for making precise angled cuts, ensuring your pieces fit together seamlessly. The table saw is another must-have tool, perfect for cutting larger sheets of plywood or creating uniform strips. Both tools help you achieve clean, professional edges.
For adding character, a heat gun is invaluable. It allows you to create charred effects or smooth out rough edges, giving your project a unique artistic touch. These tools, combined with a nail gun for secure assembly, make the process efficient and enjoyable.
Choosing the right tools and materials is the best way to ensure your project is both functional and visually appealing. With careful selection, you can create a piece that enhances your space and reflects your creativity.
DIY Wooden Wall Art to Personalize Your Home Theater
Mastering the art of wood cutting and charring can elevate your space instantly. This section focuses on the techniques and creativity needed to achieve a professional finish. From precise measurements to arranging patterns, every step matters.
Step-by-Step Wood Cutting and Charring Techniques
Start by selecting your wood pieces and ensuring they are the right size. Use a miter saw to cut each block at a 15-degree angle. This ensures uniformity and a clean look. Make sure the table is set correctly to avoid errors.
Once the pieces are cut, move on to charring. Use a heat gun in a well-ventilated area and wear protective gear. Apply the heat evenly to create a distressed effect. This step adds texture and character to your project.

Arranging and Designing Your Custom Pattern
After cutting and charring, it’s time to arrange the pieces. Play with different heights and angles to create a dynamic pattern. This allows you to customize the design to fit your space perfectly.
Use a miter saw to adjust any pieces that don’t align. Make sure each block is uniform in size for a polished look. The arrangement process is where your creativity truly shines.
By focusing on these details, you’ll create a piece that’s both functional and visually appealing. Every cut and char adds to the final presentation, making your project stand out.
Building the Frame and Assembling Your Art
A well-built frame is the backbone of any custom project, ensuring stability and style. This step is crucial for creating a piece that not only looks great but also stands the test of time. Let’s dive into the process of constructing a frame that supports your design and enhances its overall appeal.
Constructing a Stable and Stylish Frame
Start by selecting poplar wood for the sides of your frame. Poplar is lightweight yet durable, making it an excellent choice for this part. Cut the plywood sheet to the desired size, ensuring it serves as a sturdy base for your project. Measure carefully to avoid errors and ensure a perfect fit.
Next, create channels along the frame pieces to secure the backing. This technique ensures each part holds together firmly, resulting in a neat and stable structure. Use a miter saw set to 45 degrees for precise cuts, ensuring clean edges and a professional finish.

Aligning Wood Pieces with Precision
Once the frame is ready, it’s time to place and align the wood pieces. Start by arranging them within the pre-designed channels. Play with different heights and angles to create a dynamic pattern that complements your space.
Apply a coat of wood stain or finish to each part of the frame. This step not only enhances durability but also adds a polished look. Allow the finish to dry completely before proceeding.
Finally, ensure every component fits perfectly within the frame. Precision is key here, as it ensures a cohesive design that reflects your creativity. A well-constructed frame is integral to realizing the vision of your custom wood wall art.
Customizing Your Design with Creative Finishes
Adding the final touches to your project can transform it from ordinary to extraordinary. Creative finishes like paint, stain, and polyurethane not only enhance the aesthetic appeal but also protect your work. This section will guide you through the process of applying these finishes to achieve a polished, professional look.
Enhancing the Look with Paint, Stain, and Polyurethane
Start by selecting the right finish for your wood wall project. Spray paints in multiple shades can create a layered, variegated effect. Apply the paint in thin coats, allowing each layer to dry completely before adding the next. This technique ensures a smooth, even finish.
For a more natural look, consider using wood stain. Stain enhances the grain of the wood, adding depth and character. Apply the stain with a brush or cloth, working in the direction of the grain. Allow it to penetrate the wood for a few minutes before wiping off the excess.
To protect your design and ensure longevity, finish with a coat of polyurethane. Polyurethane seals the wood, protecting it from moisture and wear. Apply it with a brush or roller, using long, even strokes. Allow the finish to dry completely before handling.
“The right finish can elevate your project from a simple craft to a stunning piece of wall art.”
Arranging Scrap Wood for a Unique Design
When working with scrap wood, creativity is key. Arrange the pieces in unique patterns to highlight their natural textures and shapes. Play with different heights and angles to create a dynamic, eye-catching design. This approach not only repurposes materials but also adds a custom touch to your project.
| Finish Type | Application Method | Best For |
|---|---|---|
| Paint | Spray or brush | Adding color and vibrancy |
| Stain | Brush or cloth | Enhancing wood grain |
| Polyurethane | Brush or roller | Protecting and sealing |
Experiment with multiple finishes to bring out the character of each wood piece. Whether you prefer a bold, colorful design or a natural, rustic look, the right finish can make all the difference. For more stylish and functional design tips, explore our comprehensive guide.
Conclusion
Every detail, from the choice of tools to the final finish, shapes your unique creation. This project highlights how attention to detail on one side of each piece wood can elevate the overall decor impact. Experimenting with different types of paint and finishes allows you to adapt the design to your style.
Each step, from cutting to assembling, plays a critical role in crafting a standout wood art piece. Tackling this project not only adds functionality but also reflects your creative expression. Remember, every little thing, from the tool you use to the finish you apply, contributes to making it truly personal.
For more tips on creating a cohesive space, explore our guide on building a dedicated home theater room. Share your creation with fellow enthusiasts and inspire more creative projects in the future.
FAQ
What materials are essential for creating a custom piece?
You’ll need plywood, wood glue, and scrap pieces. A miter saw and table saw are also crucial for precise cuts.
How do I ensure my frame is stable and secure?
Use wood glue and nails to reinforce the joints. Make sure the frame is square before securing it permanently.
What tools are best for cutting and shaping the wood?
A miter saw is ideal for angled cuts, while a table saw works well for straight edges. A heat gun can also help with finishing touches.
How can I add a unique finish to my project?
Apply paint, stain, or polyurethane to enhance the look. Experiment with different coats to achieve the desired effect.
What’s the best way to arrange the wood pieces for a custom pattern?
Lay out the pieces on a flat surface first. Adjust the design until you’re satisfied, then glue them in place.
Can I use scrap wood for this project?
Yes, scrap wood is perfect for creating a rustic or eclectic look. Just ensure the pieces are clean and free of splinters.
How do I measure and cut the wood accurately?
Use a tape measure and mark the wood clearly. Double-check measurements before cutting to avoid mistakes.
What’s the best way to align the wood pieces during assembly?
Use clamps to hold the pieces in place while the glue dries. This ensures a tight and even fit.
