Did you know you can create a stylish and practical seating solution for just $55? That’s a fraction of the $800 price tag for a similar store-bought bench. By using scrap wood and accessible materials, you can add both beauty and functionality to your home.
This project is perfect for transforming an empty landing into a destination area. With a storage bench and decorative details, it’s a great way to maximize space while keeping it stylish. The process is beginner-friendly, with clear instructions and safety measures at every step.
You’ll learn how to measure, cut, and assemble materials for a perfect fit. The result is a sturdy and customizable platform that meets both design and functional needs. Whether you’re a DIY enthusiast or a first-time builder, this guide has you covered.
Key Takeaways
- Create a functional seating solution for just $55 using scrap wood.
- Transform an empty space into a stylish and practical area in your home.
- Follow a beginner-friendly, step-by-step construction process.
- Maximize space with a storage bench and decorative details.
- Use accessible materials to keep costs low while achieving professional results.
Project Planning and Design
Start by evaluating your space and defining your seating needs for a tailored solution. Proper planning ensures your project fits seamlessly into your home while meeting both aesthetic and functional goals.
Assessing Space and Seating Requirements
Begin by measuring the available area where the bench will be placed. Consider factors like wall length, floor space, and any obstacles. Define your seating requirements—how many people should it accommodate? Will it serve as storage or purely as seating?
Sketch a rough layout to visualize the bench’s placement. This helps identify potential challenges early, such as uneven walls or limited space. A clear plan prevents issues during construction.

Determining Measurements and Bench Dimensions
Use a tape measure and pencil to mark the dimensions. The bench should project 18-20 inches from the wall for comfortable seating. A height of 18 inches is ideal for most users.
For storage functionality, ensure the interior depth allows for easy access. Use simple tools like a level to confirm measurements are accurate.
“Measure twice, cut once—this principle ensures precision and saves materials.”
Common challenges include uneven floors or walls. Address these by adjusting the bench’s design or using shims during installation. A well-thought-out plan minimizes these issues.
- Measure the available space carefully to avoid overhangs or gaps.
- Sketch a layout to visualize the bench’s placement and functionality.
- Use simple tools like a tape measure and level for accuracy.
- Adjust the design to accommodate uneven surfaces or obstacles.
Step-by-Step: How to Build a Customizable Wooden Seating Platform
A well-thought-out construction plan is the foundation of any successful project. Before picking up tools, take the time to outline each step and set realistic milestones. This ensures a smooth process and minimizes errors.
Establishing Your Construction Plan
Start by marking your work area with clear placement indicators. Use a tape measure and level to confirm dimensions. For a seating platform, aim for a depth of 16 inches and a height of 18 inches for optimal comfort.
Remove old baseboards to create a clean surface. Reinforce the structure with 2x4s, ensuring they are spaced no more than 24 inches apart. This prevents bowing and adds stability.
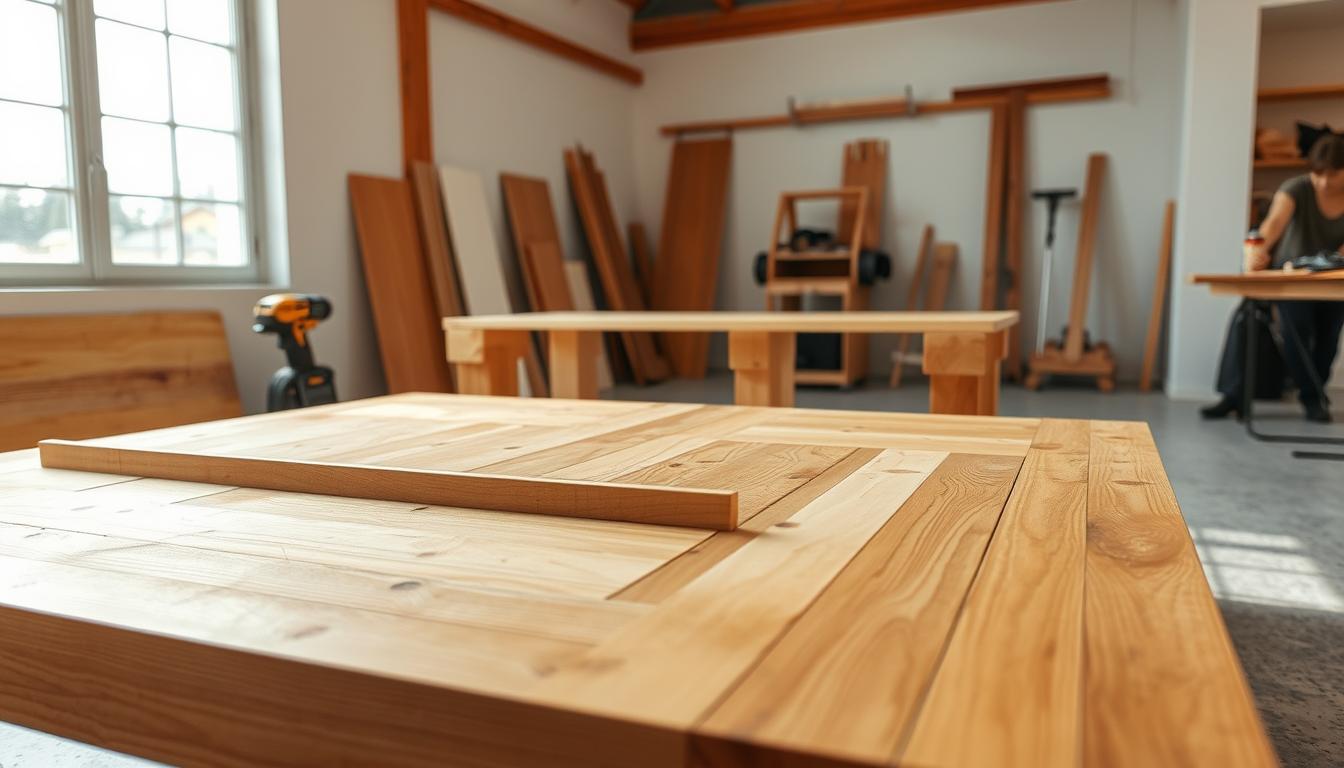
Having a pre-planned blueprint is crucial. It guides every step and helps avoid costly mistakes. As the saying goes, “Measure twice, cut once.” This principle saves materials and ensures precision.
Visualizing the Finished Platform
Visualization is key to success. Picture the final platform in your space, considering both functionality and aesthetics. This mental image will guide your decisions throughout the project.
Use a table to organize your measurements and materials. Here’s an example:
| Component | Measurement | Material |
|---|---|---|
| Frame | 16″ depth, 18″ height | 2×4 boards |
| Platform Top | 12′ length | 3/4″ plywood |
| Supports | 24″ spacing | 2×4 boards |
Take the time to review your plan before moving forward. Confirm all measurements and placements are accurate. This ensures a seamless build and a professional finish.
Selecting Quality Materials and Tools
Quality materials and tools are the backbone of any durable and functional build. The right choices ensure your project not only looks great but also lasts for years. Let’s explore how to pick the best wood and tools for your needs.
Choosing the Right Wood and Plywood
Selecting the right wood is crucial for durability. Hardwoods like oak and maple are excellent choices due to their density and resistance to wear. For plywood, opt for 3/4-inch thickness for a sturdy platform.
Consider the environment where the platform will be placed. For areas with fluctuating moisture, cherry wood is ideal because of its low shrinkage rate. Always check the moisture content of the wood to prevent warping or cracking over time.
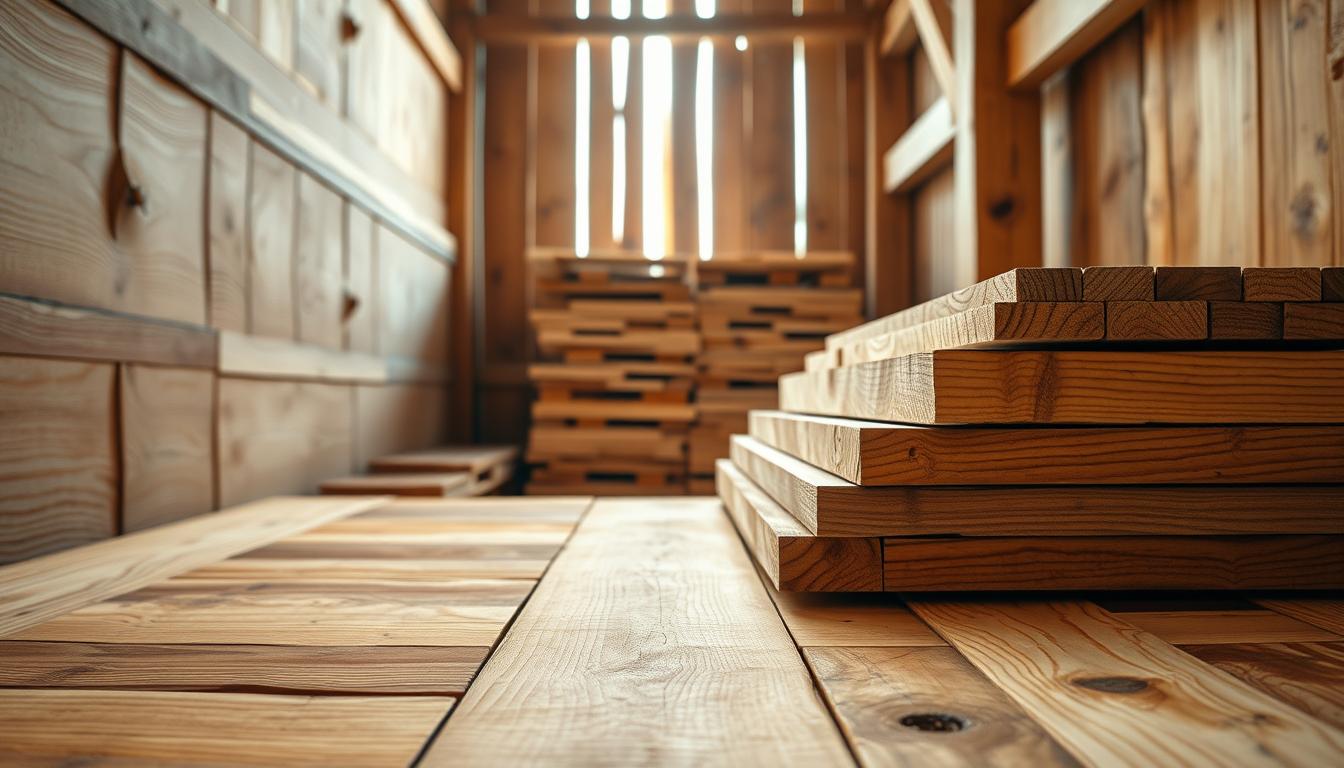
- Oak: Dense and durable, perfect for high-traffic areas.
- Maple: Hard and smooth, ideal for a polished finish.
- Cherry: Low shrinkage, great for humid environments.
- Plywood: 3/4-inch thickness for stability and strength.
Essential Tools: Drill, Miter Saw, and More
Having the right tools makes the construction process smoother and safer. A HART Tools drill and miter saw are essential for precise cuts and secure joints. Pocket hole screws are also a must for strong, seamless connections.
Safety should always come first. Wear protective gear like gloves and safety glasses. Use a level to ensure everything is aligned correctly. Here’s a list of tools you’ll need:
| Tool | Purpose |
|---|---|
| HART Tools Drill | Creating pilot holes and driving screws |
| Miter Saw | Precision cutting of wood and plywood |
| Level | Ensuring straight and even surfaces |
| Pocket Hole Screws | Strong, hidden joints |
Investing in quality tools ensures a professional finish and reduces the risk of errors. As the saying goes, “A craftsman is only as good as their tools.”
Constructing the Base Platform
A strong foundation is essential for any successful DIY project. The base platform provides the stability needed for additional seating and storage. Follow these steps to ensure a durable and professional result.
Building a Sturdy 2×4 Frame
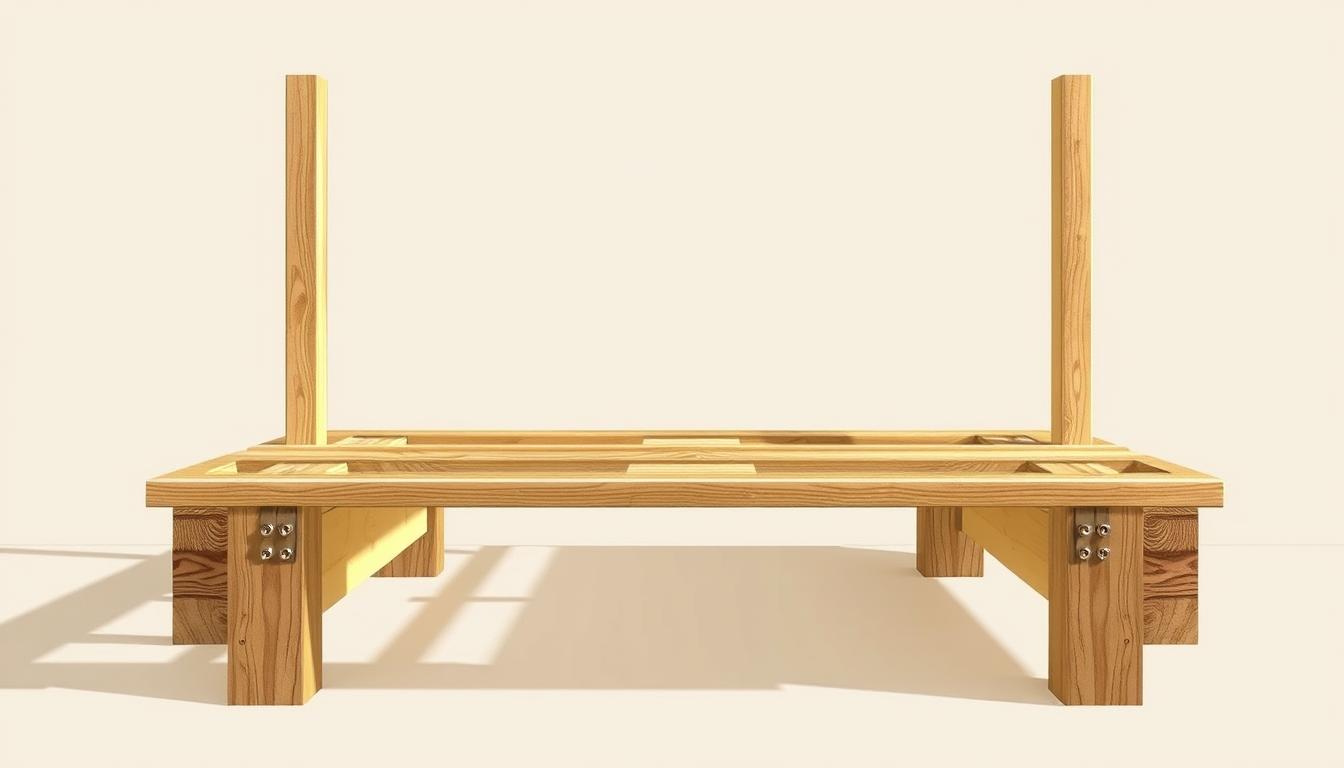
Start by measuring and marking the wood for the frame. Use 2×4 lumber for its strength and durability. Cut the pieces to the required lengths, ensuring precision for a perfect fit.
Assemble the frame by securing the joints with pocket hole screws. This method creates strong, hidden connections. Use a level to confirm the frame is square and stable.
| Component | Measurement | Material |
|---|---|---|
| Frame Sides | 16″ depth, 18″ height | 2×4 lumber |
| Frame Supports | 24″ spacing | 2×4 lumber |
Securing Panels with Screws and Caulk
Once the frame is complete, attach the plywood panels. Use screws to secure the panels to the frame, ensuring they are evenly spaced. This step adds stability and prepares the platform for finishing.
Apply caulk to the edges for a seamless and professional look. Smooth the caulk with a damp cloth for a clean finish. Allow it to dry completely before moving to the next step.
Tip: Check for square alignment and structural integrity throughout the process. This ensures a sturdy and long-lasting platform.
Building and Installing the Seating Bench
The assembly process is where your vision starts to take shape. By following these steps, you’ll create a functional and stylish bench that fits seamlessly into your space.
Measuring, Cutting, and Assembling the Boards
Begin by measuring the boards to ensure they fit your design. Use a miter saw for precise cuts. Double-check measurements to avoid errors.
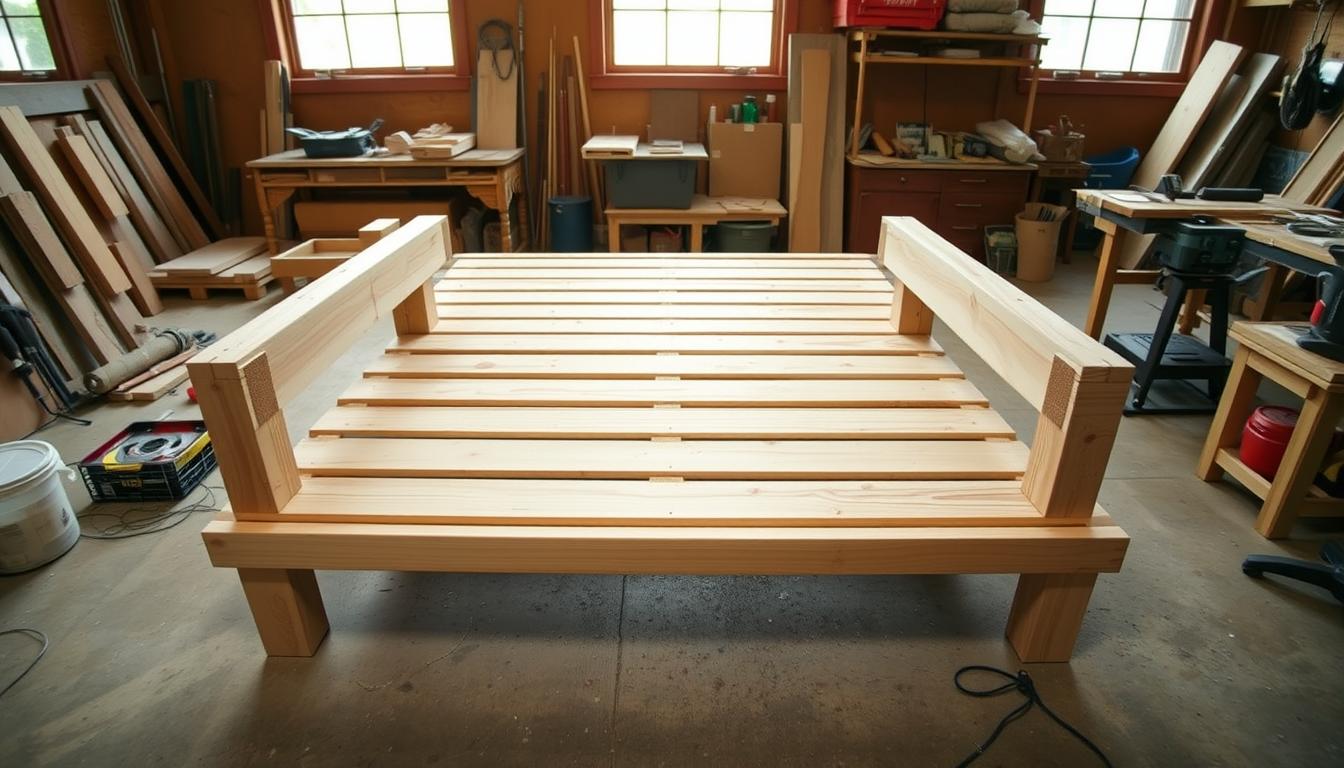
Assemble the boards using wood glue and screws for added strength. Secure each joint carefully to ensure stability. A level will help confirm everything is aligned.
Incorporating Storage Dividers and Supports
Add storage dividers to maximize functionality. Measure and cut these pieces to fit snugly inside the bench. Use screws to secure them in place.
Install supports to reinforce the structure. These prevent sagging and ensure durability. Piano hinges are ideal for creating a secure and accessible lid.
Applying Finishing Touches with Primer and Paint
Apply primer to prepare the surface for paint. This step ensures a smooth and long-lasting finish. Use a brush or roller for even coverage.
Choose a paint color that complements your space. Apply two coats for a professional look. Allow each coat to dry completely before adding the next.
- Measure and cut boards accurately for a perfect fit.
- Use screws and wood glue to assemble the bench securely.
- Install storage dividers and supports for added functionality.
- Finish with primer and paint for a polished appearance.
Enhancing Functionality with Custom Storage Solutions
Maximizing storage in your seating bench can transform it into a multifunctional piece of furniture. Custom divider boxes are an excellent way to organize items while maintaining a sleek design. These additions not only improve functionality but also enhance the overall aesthetic of your space.
Integrating Custom Divider Boxes
Start by designing the divider boxes to fit your bench’s interior. Measure the available space carefully to ensure a snug fit. Use premium materials like hardwood or plywood for durability and a polished look.
Position the dividers in the center of the bench for balanced support. This placement ensures even weight distribution and prevents sagging. Secure the dividers with screws for added stability.
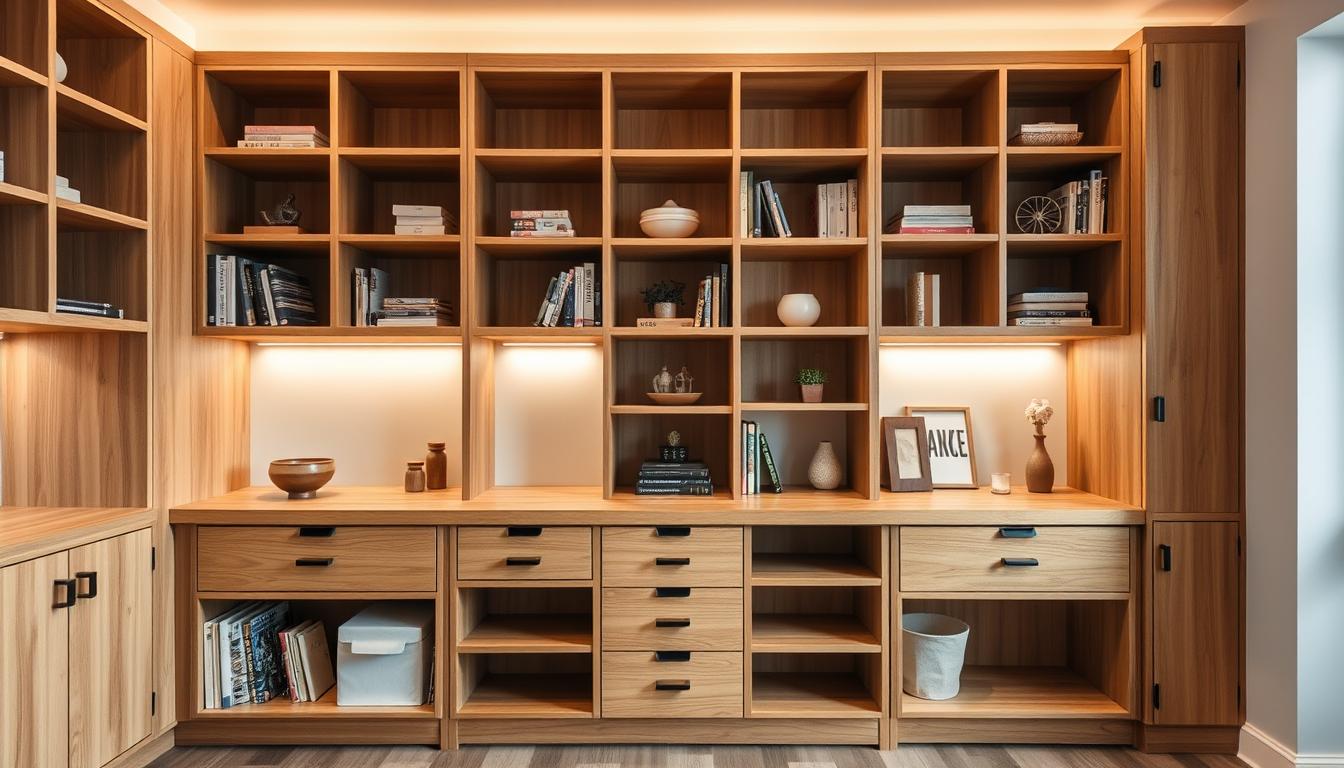
Here’s a breakdown of the measurements and materials for your divider boxes:
| Component | Measurement | Material |
|---|---|---|
| Divider Panels | 12″ height, 16″ width | 3/4″ plywood |
| Supports | 24″ spacing | Hardwood strips |
Finish the edges and corners of the storage boxes for a professional look. Sand any rough surfaces and apply a coat of paint or stain to match the bench. This step ensures the dividers blend seamlessly with the overall design.
Strategic storage solutions not only improve organization but also add to the aesthetic appeal of your project. By following these steps, you’ll create a functional and stylish bench that meets your needs.
Integrating Home Theater Elements and Comfort Features
Transforming your space into a home theater requires thoughtful design and comfort features. Elevating your seating and adapting the platform can create an immersive experience that enhances both visual and tactile enjoyment.
Elevating the Seating for Better Viewing Angles
Raising the seating height improves viewing angles, ensuring everyone has a clear sightline to the screen. For a 65-inch screen, the optimal distance is between 8.1 to 13.5 feet. This setup minimizes neck strain and maximizes comfort during long viewing sessions.

When designing, consider the platform height. A slight elevation can make a significant difference. Use sturdy wood materials to ensure stability and durability. Here’s a quick guide to seating heights:
| Screen Size | Optimal Distance | Platform Height |
|---|---|---|
| 65 inches | 8.1 – 13.5 feet | 6 – 8 inches |
| 75 inches | 9.4 – 15.6 feet | 8 – 10 inches |
Adapting the Design for an Immersive Home Experience
Incorporate features like ample legroom and ergonomic support to enhance comfort. A tiered design ensures everyone has an unobstructed view, especially in larger groups. Use wood accents and finishing materials to maintain a cohesive home décor.
Take your time during installation to ensure every feature meets your needs. Proper alignment and spacing are crucial for a seamless experience. As the saying goes, “Good design is as much about functionality as it is about aesthetics.”
- Elevate seating for better viewing angles and comfort.
- Ensure clear sightlines and sufficient legroom for all viewers.
- Use wood accents to blend the platform with your home décor.
- Focus on ergonomic design for extended viewing comfort.
By following these steps, you can transform your seating area into a multifunctional home theater riser. The result is a space that combines style, comfort, and functionality.
Optimizing Construction Techniques and Tips
Mastering advanced techniques can elevate your project from good to exceptional. By focusing on efficiency and precision, you can achieve professional results while saving time and resources. This section provides practical tips to streamline your process and ensure a flawless finish.
Efficient Use of Screws, Wood Glue, and Caulk
Using the right materials and methods is key to a sturdy build. Start by selecting the appropriate screws for each task. For example, pocket hole screws create strong, hidden joints, while wood screws are ideal for securing panels.
Wood glue adds extra strength to joints. Apply it sparingly to avoid excess seepage. Clamp the pieces together until the glue dries for a secure bond.
Caulk is essential for sealing gaps and creating a polished look. Use a damp cloth to smooth the caulk for a clean finish. This step ensures your project looks professional and lasts longer.
Time-Saving Methods and Safety Considerations
Efficiency doesn’t mean cutting corners. Organize your materials in a labeled box to save time searching for tools. Pre-measure and cut all pieces before assembly to streamline the process.
Safety should always come first. Wear protective gear like gloves and safety glasses. Keep your workspace clean to avoid accidents.
Here are some additional tips to save time and stay safe:
- Use a miter saw for precise cuts, reducing the need for adjustments.
- Plan each step in advance to avoid delays.
- Keep a first aid kit nearby in case of minor injuries.
By following these techniques, you can complete your project efficiently while maintaining high quality and safety standards.
Conclusion
Creating a functional and stylish addition to your space is easier than you think. By following a structured plan, you can achieve professional results that enhance your home. Each step, from precise cuts to selecting the right material, ensures a durable and attractive finish.
Proper construction techniques, like using the right screws and tools, make the process smooth and efficient. This project not only adds value to your space but also provides a unique focal point for gatherings or entertainment. The satisfaction of completing it yourself is unmatched.
For more tips on creating an effective and aesthetically pleasing seating solution, explore our detailed guide. Share your results or ask questions to refine your skills further. Enjoy the process and the beautiful end result!
FAQ
What materials are best for building a seating platform?
Opt for durable wood like pine or oak. Plywood is ideal for panels, ensuring strength and longevity.
What tools are essential for this project?
A drill, miter saw, and measuring tape are crucial. Wood glue and screws will help secure the structure.
How do I determine the right dimensions for my platform?
Measure your space and consider seating needs. Plan the height, width, and depth to fit comfortably in your room.
Can I add storage to the seating platform?
Yes, incorporate custom divider boxes or compartments within the base for added functionality.
How do I ensure the platform is sturdy?
Build a solid 2×4 frame and secure panels with screws. Use caulk to reinforce joints for extra stability.
What finishing touches should I apply?
Sand the surface for smoothness, then apply primer and paint or stain to match your decor.
How can I adapt the design for a home theater setup?
Elevate the seating for better viewing angles and ensure the platform complements your home theater elements.
Are there time-saving tips for this project?
Pre-cut materials and organize tools beforehand. Use efficient techniques like wood glue alongside screws for faster assembly.
What safety precautions should I take?
Wear protective gear like gloves and goggles. Ensure tools are used correctly and keep the workspace clean to avoid accidents.


