
Did you know 83% of flat-screen TVs in U.S. households use factory settings that exaggerate blue tones and oversaturate colors? These default configurations prioritize catching your eye in stores—not delivering accurate images at home. Your screen could look dramatically better with a few strategic tweaks.
Premium televisions often ship with settings that crush shadow details or make skin tones look unnatural. You don’t need a $300 professional service to fix this. Most modern displays include tools to refine brightness, contrast, and color balance—no special equipment required.
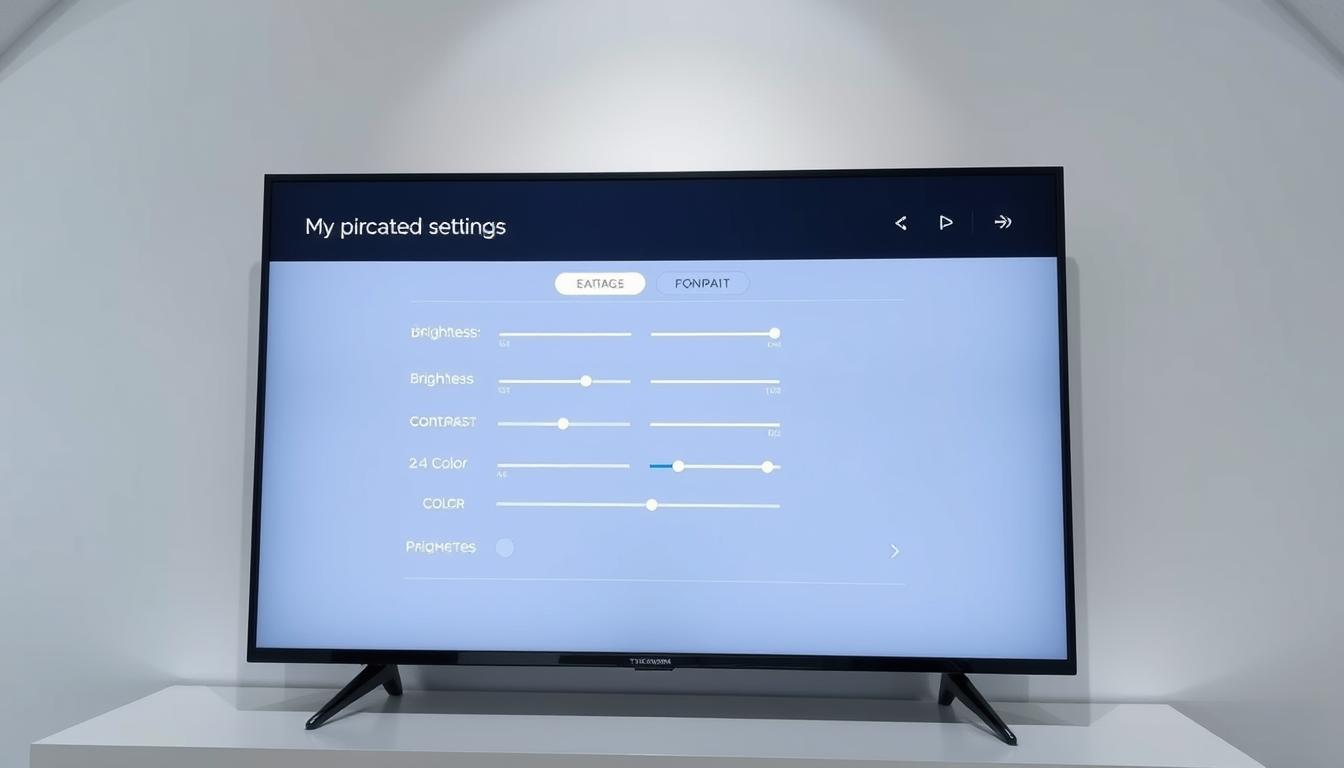
Fear of “breaking” your TV holds many viewers back. Here’s reassurance: every model has a reset button to undo changes instantly. Start by adjusting basic settings like motion smoothing (often labeled “Soap Opera Effect”), which 62% of viewers find distracting.
Key Takeaways
- Factory presets favor store displays over home viewing accuracy
- Simple adjustments boost clarity without professional help
- Reset options let you experiment risk-free
- Color and contrast tweaks enhance streaming and live TV
- Proper setup extends your TV’s lifespan and value
This guide unlocks hidden potential in your entertainment system. Whether you stream movies or watch sports, calibrated settings reveal details you’ve been missing. Let’s transform your screen from “good enough” to reference-quality.
Understanding Your TV’s Picture Settings
Modern TVs come loaded with multiple display configurations, but most users never explore beyond the default options. Hidden within your device’s menu lies a treasure trove of adjustments that can elevate visuals from washed-out to cinematic.

Exploring Available Picture Modes
Your screen likely offers presets like Vivid, Sports, or Standard. These factory modes prioritize brightness over accuracy. For authentic color reproduction, switch to Movie or Cinema modes. These presets adhere to industry standards like 6500K color temperature and proper gamma curves.
Newer models feature Filmmaker Mode, which automatically disables motion smoothing and preserves original director intent. This preset outperforms older options for streaming 4K content and Blu-ray movies.
Accessing Your TV’s Settings Menu
Press your remote’s gear-shaped button or home icon to open display controls. Look for categories labeled Picture or Display. Manufacturers organize settings differently, but all provide:
- Preset mode selection
- Advanced color controls
- Backlight adjustments
Choose Custom or User mode for manual fine-tuning. These options let you modify individual parameters while maintaining a balanced foundation. Always start with Cinema or Filmmaker presets before making personal tweaks.
Why TV Calibration Matters for Your Viewing Experience
Your screen’s potential extends far beyond factory presets—calibration unlocks hidden details that shape how you experience content. Precise adjustments transform flat images into vibrant scenes that mirror real life, creating deeper immersion in every show or game.

Enhancing Colors and Contrast
Color accuracy determines whether forests in nature documentaries appear lush or artificial. Proper saturation ensures sunsets glow authentically, while balanced hues make sports jerseys look true-to-life. These tweaks reveal details most viewers miss, like subtle facial expressions during dramatic moments.
Adjusting contrast levels uncovers textures in shadowy scenes without overbrightening highlights. You’ll spot patterns in dark clothing or architectural details in dimly lit rooms—elements often lost with default settings. This balance prevents eye fatigue during movie marathons by eliminating harsh brightness spikes.
Natural skin tones become achievable through careful calibration, making dialogue-heavy content more engaging. Overly red or washed-out faces distract from performances, while accurate reproduction preserves actors’ intended expressions. It’s not just technical adjustments—it’s about respecting artistic vision.
Combining these refinements creates a cohesive visual experience. When colors, contrast, and brightness work in harmony, your display becomes a transparent window into the story. For those ready to explore these steps, our proper calibration process simplifies achieving theater-quality results at home.
Navigating Your TV’s Calibration Options
Manufacturers often bury essential controls under flashy marketing terms. Your display’s advanced menu holds both game-changing adjustments and distracting gimmicks. Strategic choices here separate authentic visuals from artificial enhancements.

Disabling Unwanted Image Processing Features
Motion smoothing tops the disable list. Brands disguise this feature as LG’s TruMotion, Sony’s MotionFlow, or Samsung’s Auto Motion Plus. These options insert synthetic frames, creating that unnatural soap-opera look during movies.
Turn off Dynamic Contrast to prevent abrupt brightness shifts during dark scenes. Energy Saving modes dim your panel unevenly—disable them for consistent illumination. Noise Reduction helps with grainy cable TV but smudges details in 4K streams.
Resetting to Default Settings When Needed
Changed too many options? Every TV has a factory reset safety net. Find this feature under Support or General settings. It erases accidental tweaks while preserving critical updates.
Create test scenarios before finalizing adjustments. Watch a dark movie scene, then a bright sports event. If colors appear oversaturated or motion looks jerky, reset and approach problem areas methodically.
Step-by-Step: How to Calibrate Your TV for the Best Picture Quality
Unlock your screen’s true potential using built-in tools most owners never explore. Follow this systematic approach to transform standard visuals into reference-quality imagery that respects content creators’ intentions.

Selecting the Best Preset
Start by activating Movie, Cinema, or Filmmaker Mode in your display settings. These presets disable artificial enhancements and align with industry color standards. Unlike flashy “Vivid” modes, they prioritize accurate skin tones and natural shadow details.
Manually Adjusting Core Settings
Set brightness using a night scene from your favorite film—find the level where you distinguish textures in dark areas without making blacks appear gray. For contrast, use sunlit outdoor footage. Adjust until cloud details remain visible without creating a washed-out sky.
Control overall illumination through backlight settings rather than basic brightness sliders. In dim rooms, 50% suffices. Brighter spaces might need 75%—but avoid maxing it out to prevent eye strain. Test these adjustments across different content types for consistency.
Use free online test patterns to verify results. The SMPTE color bars help confirm proper hue saturation, while grayscale patterns reveal accurate brightness distribution. “Calibration isn’t about preference—it’s about revealing what’s actually in the content”, notes a Netflix imaging specialist.
Customizing Settings for Different Content Types
Your display isn’t one-size-fits-all—different media demand tailored adjustments. Action-packed sports broadcasts need different tuning than strategy games or spreadsheet work. Discover how to match your screen’s performance to what’s playing.

Optimizing Picture Settings for Sports and Fast-Paced Games
Live sports thrive on motion clarity. Enable motion interpolation at medium levels to reduce blur during rapid plays. Boost color saturation slightly—jerseys and field markings gain pop without looking artificial.
Increase backlight brightness for daytime matches to combat glare. Disable noise reduction to preserve crowd details. Use these tweaks for racing games or action movies where quick reactions matter.
Using Game Mode and PC Mode for Enhanced Clarity
Activate Game Mode when console gaming. This bypasses post-processing effects, slashing input lag by 15-30ms. Textures render faster, giving competitive edges in shooters or fighting games.
PC Mode unlocks full 4:4:4 chroma for crisp text in spreadsheets and design apps. Disable motion smoothing here—it introduces artifacts during mouse movements. Save these configurations as custom presets for instant switching.
- Three essential content profiles: Sports (high brightness, motion enhancement), Gaming (low latency), PC (text clarity)
- Disable energy-saving features during fast-paced content
- Create separate color temperatures for each mode
“Calibrated gaming presets reduce eye strain during marathon sessions,” states an Xbox hardware engineer. Test settings with hockey broadcasts and platformer games—if player numbers stay legible during motion, you’ve nailed it.
Common Calibration Challenges and Troubleshooting
Even well-tuned displays eventually drift from their optimal settings. Environmental changes, firmware updates, and panel aging all impact performance over time. Knowing when—and how—to intervene separates temporary fixes from lasting solutions.

Recognizing When to Recalibrate Your TV
Subtle color shifts often signal needed adjustments. Grass appearing neon green or skin looking unnaturally pink indicates calibration drift. Sports fans should check annually—fast motion exposes flaws in motion handling and contrast levels.
Dimming brightness during dark scenes? Your backlight might need rebalancing. Many outstanding 4K TVs lose up to 15% luminosity after 2,000 hours. Reset picture modes after major software updates—new algorithms can override previous tweaks.
Avoiding Over-Tweaking for Natural Image Quality
Chasing “perfect” settings often backfires. Two identical models from the same brand rarely match exactly—panel variances create unique color profiles. Copying calibration numbers from forums usually worsens results.
If faces look waxy or shadows appear crushed, revert to Cinema or Filmmaker Mode. These presets restore balance when manual adjustments go too far. Professional calibrators note: “Viewers should enhance content, not reinvent it.”
Track changes in a notebook. Date each adjustment and note specific scenes used for testing. This prevents endless tweaking cycles and helps identify patterns. When in doubt, walk away—return with fresh eyes before making final decisions.
Enhancing Image Quality with Professional Tips
Achieving theater-quality visuals requires more than preset adjustments—specialized tools bridge the gap between amateur tweaks and professional results. While basic settings improve clarity, advanced techniques deliver precision that matches content creators’ original vision.
Utilizing Calibration Tools and Colorimeters
Colorimeters measure screen output with scientific accuracy. These devices analyze red, green, and blue wavelengths to create custom profiles. Human eyes often miss subtle shifts in color temperature, but hardware sensors detect imbalances invisible during casual viewing.
Adjust sharpness carefully. Overuse creates artificial edge halos around text and objects. Test with 4K nature documentaries—leaves should appear crisp without glowing outlines. Most displays perform best between 10-20% sharpness.
| Feature | DIY Tools | Professional Services |
|---|---|---|
| Cost | $0-$150 | $250-$600 |
| Color Accuracy | ±5% variance | ±1% variance |
| Customization | Basic presets | Per-panel adjustments |
| Time Investment | 2-4 hours | 45-90 minutes |
Fine-tune tint using close-ups of faces. Adjust until skin appears natural across ethnicities—not overly pink or yellow. Pair this with gamma curve adjustments to preserve shadow detail in dark scenes.
High-end home theaters benefit most from professional services. Experts use spectrophotometers to map your room’s lighting conditions and panel aging patterns. For OLED displays over 65 inches, this investment often pays off in longevity and consistency.
Conclusion
Your journey through display optimization arms you with tools to elevate everyday entertainment. Through careful calibration, you’ve unlocked hidden details in shadows and highlights that factory settings obscure. This process transforms streaming shows and live broadcasts into vivid experiences worthy of premium screens.
You now command techniques to balance technical precision with personal preference across all content areas. Whether prioritizing documentary realism or sports vibrancy, adjustments occur at your chosen level of involvement. Regular maintenance ensures sustained picture quality as panels age and lighting conditions shift.
Trust your eyes during viewing sessions—they’ll signal when colors drift or motion needs refinement. Document changes over time to track what works best for your space. For enthusiasts seeking perfection, professional services offer pixel-level accuracy without guesswork.
The reward? Every scene bursts with intended textures and tones. From subtitled dramas to 4K nature films, your display now honors creators’ visions while amplifying enjoyment. That’s the true power of informed calibration—turning ordinary screens into personalized windows of wonder.
FAQ
What picture modes should I use for accurate calibration?
Start with Movie, Cinema, or Filmmaker Mode presets. These modes prioritize color accuracy and reduce motion smoothing, making them ideal for calibration. Avoid “Vivid” or “Dynamic” presets, which oversaturate colors.
How do I disable motion smoothing on my TV?
Navigate to your TV’s settings menu and look for terms like “MotionFlow,” “TruMotion,” or “Auto Motion Plus.” Turn these features off to eliminate the “soap opera effect” and achieve natural motion clarity.
Should I adjust sharpness settings during calibration?
Keep sharpness between 0–10% to avoid artificial edge enhancement. Overuse creates halos around objects, degrading image quality. Test with high-resolution content to find a balanced level.
How often should I recalibrate my TV?
Recalibrate if you notice shifts in color temperature, contrast, or brightness. Environmental changes, like new lighting or seasonal sunlight, may also require adjustments. Most users recalibrate every 6–12 months.
Does game mode affect picture quality?
Game Mode reduces input lag for smoother gameplay but may lower dynamic contrast. Enable it for fast-paced games, then fine-tune brightness and backlight settings to maintain visual detail without sacrificing performance.
Can I use calibration tools without professional help?
Yes. Affordable tools like X-Rite i1Display Pro or SpyderX Pro measure color accuracy and contrast. Pair them with free software like HCFR to create custom profiles tailored to your room’s lighting conditions.
Why does my TV look too dark after calibration?
Check your backlight and brightness settings. Ensure ambient light sensors are disabled, as they automatically dim the screen. Adjust backlight levels based on room lighting—higher for daytime, lower for dark rooms.
How do I optimize settings for watching sports?
Enable motion interpolation sparingly to reduce blur during fast action. Increase backlight for visibility in bright rooms and disable noise reduction to preserve field and player details. Use “Sports” presets as a starting point.
What’s the purpose of resetting to default settings?
Resetting clears accidental tweaks and restores factory color balance. Use this before recalibrating or if your adjustments lead to unnatural skin tones or oversaturated colors. Always note your custom settings first.
Does room lighting affect TV calibration?
Absolutely. Bright rooms require higher backlight and contrast to combat glare. For dark home theaters, lower backlight and enable local dimming (if available) to improve black levels and shadow detail.
