Did you know sound travels at 1,116 feet per second? This speed impacts how you hear audio in any room. To achieve the best sound quality, speaker calibration is essential. It ensures your audio system delivers clear, balanced, and precise sound tailored to your space.
Calibration involves adjusting your speakers to account for room acoustics, reflections, and frequency response. Without it, even the best audio systems can produce distorted or uneven sound. Proper measurement techniques and software play a crucial role in achieving accurate results.
This guide is designed for professionals and enthusiasts who want to optimize their home theater or studio setups. You’ll learn about acoustic response, signal clarity, and the tools needed for precise measurements. Let’s dive into the world of audio precision and unlock the full potential of your sound system.
Key Takeaways
- Speaker calibration ensures balanced and precise audio output.
- Room acoustics and reflections significantly impact sound quality.
- Measurement software is essential for accurate calibration.
- Frequency response adjustments improve audio clarity.
- Proper microphone placement is critical for reliable results.
- Calibration is vital for home theater and studio setups.
Introduction to Speaker Calibration
The key to balanced audio lies in the meticulous process of speaker calibration. This method ensures your sound system delivers clear, accurate, and immersive audio tailored to your room’s acoustics. Without proper calibration, even high-end systems can produce uneven or distorted sound.
Overview of the Calibration Process
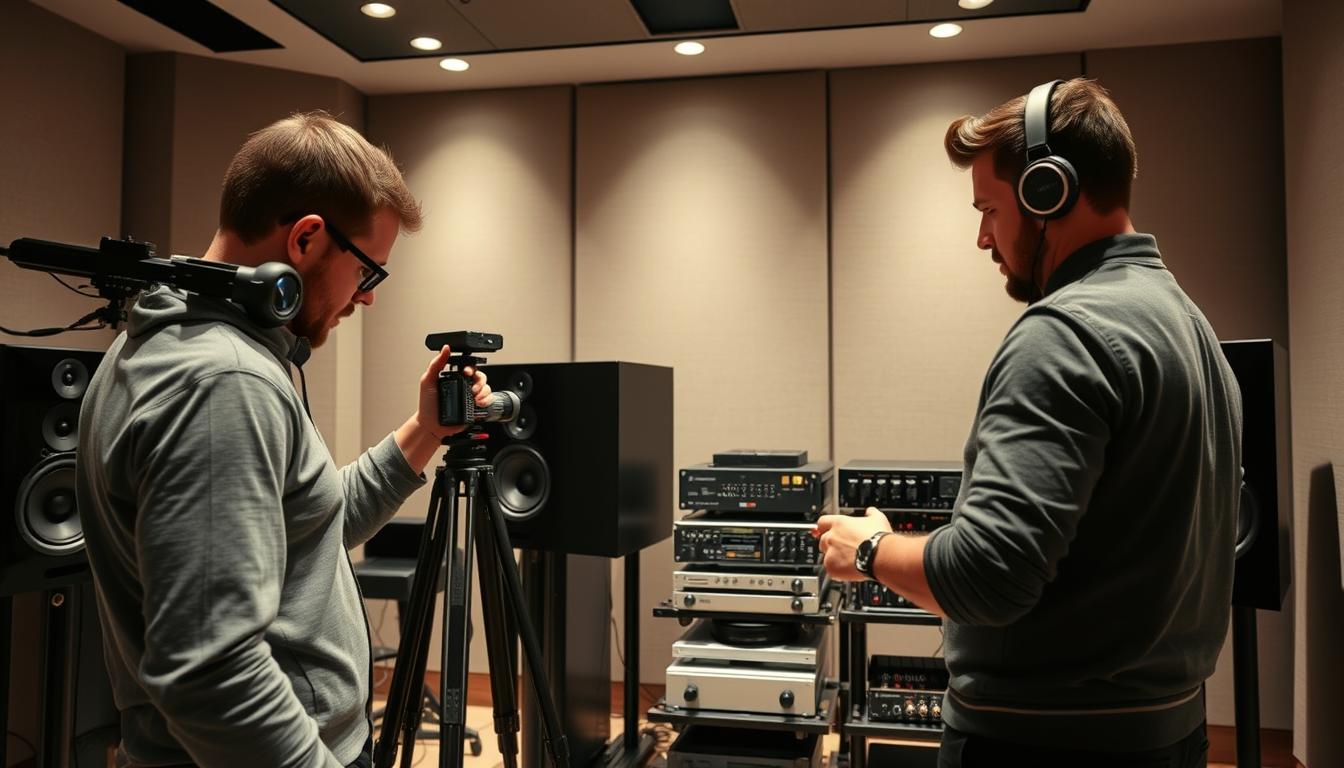
Calibration begins with selecting the right room and positioning your speakers. You’ll use specialized software and a measurement microphone to analyze the room’s acoustics. Continuous sweep and chirp signals are often employed to measure frequency response and phase alignment.
These signals provide detailed data on how sound interacts with your space. Adjustments are then made to optimize frequency response, reduce distortion, and enhance overall audio quality. Modern tools like the APx series streamline this process, offering precise results in less time.
Benefits of Precise Audio Measurements
Accurate measurements ensure your audio system performs at its best. Here’s why precision matters:
- Balanced Sound: Adjustments eliminate peaks and dips in frequency response.
- Reduced Distortion: Fine-tuning minimizes unwanted noise and distortion.
- Immersive Experience: Proper calibration creates a cohesive soundstage.
By investing time in calibration, you unlock the full potential of your sound system. Whether for a home theater or studio setup, precise measurements make all the difference.
Understanding the Basics of Acoustic Measurements
Acoustic measurements are the foundation of achieving crystal-clear sound in any space. These measurements help you understand how sound behaves in your room, ensuring your audio system delivers the best possible performance. Without them, even the most advanced setups can fall short.

Key Concepts and Terminology
To get started, let’s define some essential terms. Frequency response refers to how a system reproduces sound across different frequencies. A flat frequency response means the sound is balanced, while peaks or dips can cause distortion.
Impulse response measures how a system reacts to a sudden sound, like a clap. This helps identify echoes or reflections in your room. Decibels (dB) measure sound intensity, helping you set the right volume levels.
How Measurements Impact Audio Quality
Acoustic measurements convert physical sound into data, giving you insights into your room’s acoustics. For example, quasi-anechoic measurements allow you to analyze sound in semi-reverberant rooms, even at higher frequencies.
Noise immunity is another critical factor. It ensures your measurements aren’t affected by background noise, providing accurate results. Techniques like time windowing help exclude unwanted reflections, improving data precision.
Understanding these fundamentals is key to optimizing your sound system. Whether you’re setting up a home theater or a studio, precise measurements ensure every note is heard as intended.
Selecting the Right Room for Calibration
The room you choose plays a critical role in achieving accurate sound measurements. A well-selected space ensures your audio system delivers clear, balanced, and precise results. The wrong environment can introduce unwanted noise, reflections, and distortion, making calibration challenging.

Room Acoustics Considerations
Room acoustics significantly impact your calibration process. Natural reflections, ceiling height, and wall distance all influence how sound travels. For example, a room with high ceilings may cause sound waves to bounce, creating echoes that skew measurements.
Anechoic conditions, which eliminate reflections, are ideal for testing. However, most rooms have natural reflections. To manage this, choose a space with minimal hard surfaces. Soft furnishings like carpets and curtains can help absorb excess sound.
Optimal Room Features for Accuracy
Certain room features enhance measurement accuracy. Here’s what to look for:
- Ceiling Height: Aim for a height of 8-10 feet to reduce vertical reflections.
- Wall Distance: Keep speakers at least one foot from walls to avoid bass buildup.
- Reflective Surfaces: Minimize hard surfaces like glass or concrete to reduce unwanted echoes.
Low-frequency interference is another common issue. Larger rooms are better at handling bass frequencies, while smaller spaces may amplify them. Use bass traps or acoustic panels to manage this.
| Room Feature | Impact on Calibration |
|---|---|
| Ceiling Height | Reduces vertical reflections |
| Wall Distance | Prevents bass buildup |
| Reflective Surfaces | Minimizes unwanted echoes |
To verify if a room is suitable, conduct a simple test. Clap your hands and listen for echoes. If the sound lingers, the room may need acoustic treatment. A quiet, controlled environment ensures reliable results.
Positioning Your Speaker for Accurate Results
Proper speaker placement is the cornerstone of achieving pristine sound quality. The way you position your speakers in the room directly impacts the clarity, balance, and overall performance of your audio system. By following a few key guidelines, you can ensure your setup delivers the best possible results.
Stand Placement and Distance from Walls
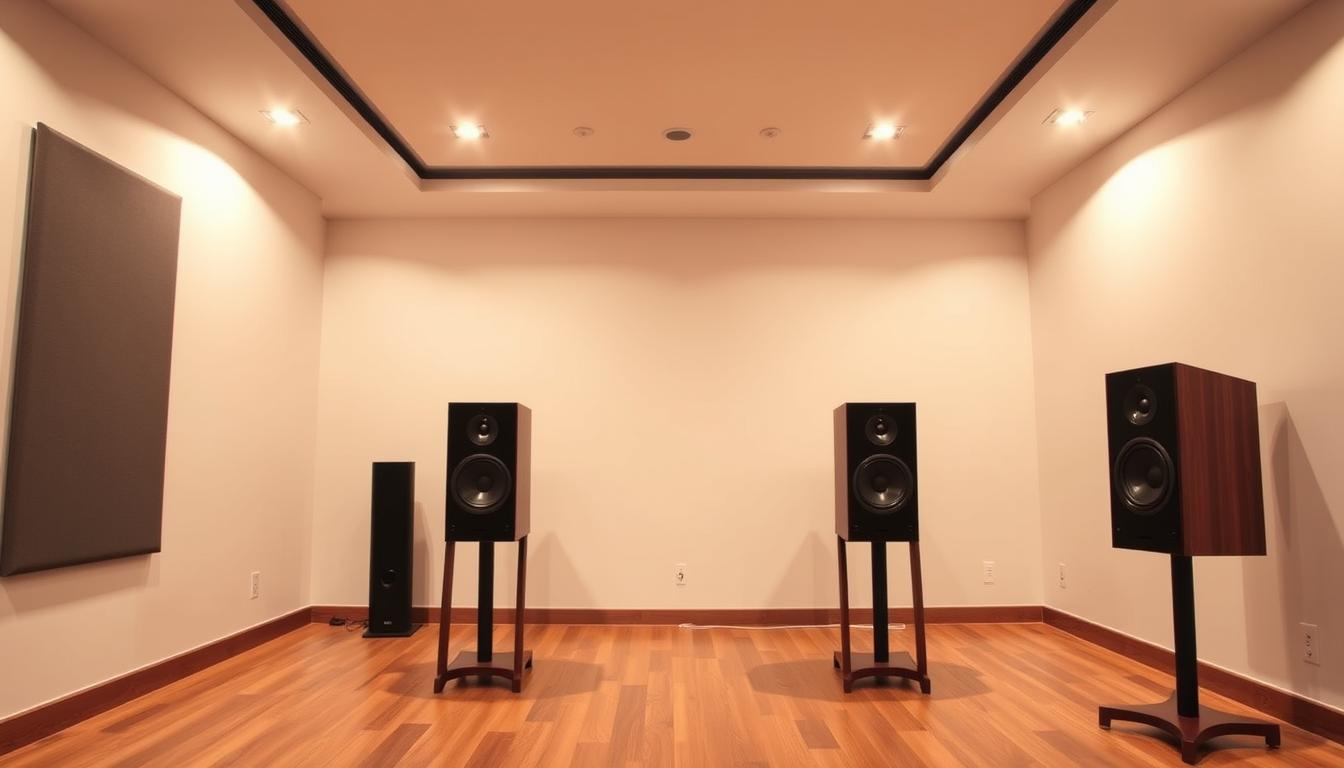
Start by placing your speakers at least four feet away from walls. This reduces unwanted reflections that can distort sound. For bookshelf speakers, maintain a minimum distance of one foot from the back wall to avoid blocking the rear port, which can compromise bass response.
An equilateral triangle setup is ideal. If your speakers are six feet apart, position your listening spot six feet away. This creates a balanced soundstage and ensures optimal audio distribution.
Height and Angle Adjustments
Align the tweeter with your ear level for precise high-frequency calibration. Most tweeters are designed to be centered at a height of 36 to 38 inches. Use stands to achieve the correct elevation if necessary.
Angle your speakers slightly toward the listening position. This enhances sound clarity and ensures each driver is correctly represented. Avoid placing full-range speakers in corners unless they are specifically designed for it.
By focusing on these adjustments, you can achieve balanced acoustic measurements and unlock the full potential of your audio system. Proper placement is not just a step—it’s the foundation of exceptional sound quality.
Setting Up Your Measurement Microphone
Accurate sound measurement starts with the right microphone setup. Proper alignment and positioning are critical to ensure your audio system delivers precise results. Even the smallest error can lead to distorted data, so attention to detail is key.
Proper Alignment with the Speaker
Begin by placing your microphone at the same height as the speaker’s tweeter. This ensures accurate high-frequency response. For most setups, a height of 36 to 38 inches works best. Use a stand to achieve this level if necessary.
Maintain a standard one-meter distance between the microphone and the speaker. This distance minimizes phase issues and provides a consistent reference point for measurements. The APx Series MMK2 kit is an excellent tool for achieving this setup with precision.
Using a pre-polarized, free-field response capsule is highly recommended. This type of microphone captures sound accurately without introducing additional noise. It’s especially effective in minimizing errors caused by room reflections.
- Align the microphone with the tweeter for precise high-frequency calibration.
- Maintain a one-meter distance to ensure consistent results.
- Use a pre-polarized capsule for accurate sound capture.
- Minimize reflections by positioning the microphone away from walls and hard surfaces.
Proper microphone positioning not only improves measurement accuracy but also reduces the need for repeated tests. By following these steps, you can achieve reliable results and unlock the full potential of your audio system.
Calibrating Your Microphone
Achieving accurate sound measurements starts with properly calibrating your microphone. This process ensures your audio system delivers precise and reliable results. Without it, even the best equipment can produce misleading data.
Using a Calibrator vs. Manual Entry
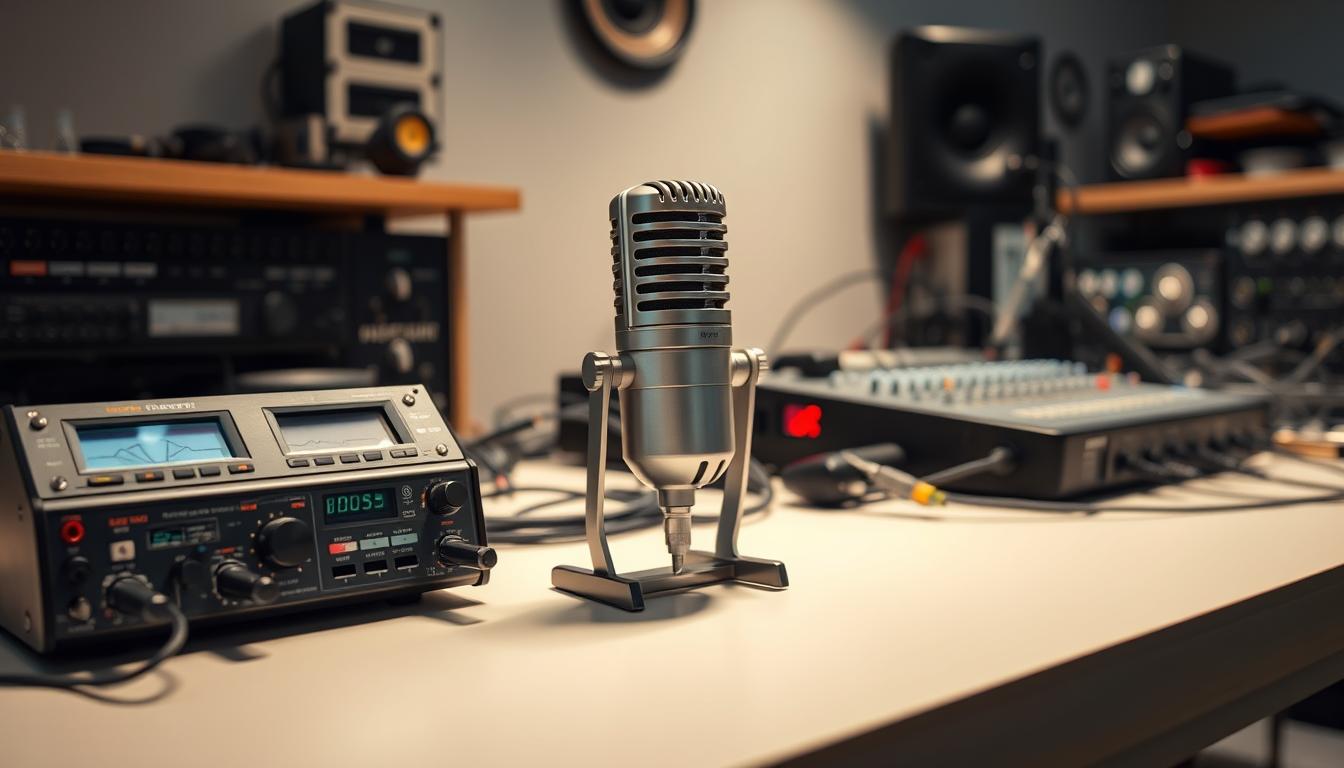
You have two main options for microphone calibration: using a dedicated calibrator or manual entry. A calibrator simplifies the process by automatically setting the correct levels. It emits a 1 kHz sine wave, which helps adjust amplifier output levels accurately.
Manual entry, on the other hand, relies on calibration certificates provided with your microphone. While this method requires more effort, it can be just as effective if done correctly. Both approaches ensure your microphone captures sound without distortion or noise.
Ensuring Correct dBSPL Reference Levels
Setting the right dBSPL reference levels is crucial for consistency. These levels determine how your system interprets sound intensity. Incorrect settings can lead to skewed measurements, affecting the overall quality of your audio.
For example, a 94 dBSPL reference level is standard for many calibrators. This ensures your microphone captures sound accurately across different frequencies. Proper calibration also minimizes errors caused by room reflections or background noise.
Here’s a quick overview of the steps involved in calibrating your microphone with APx software:
- Connect your microphone and calibrator to the system.
- Run the calibration process using the 1 kHz sine wave.
- Verify the dBSPL reference levels match the expected values.
- Save the calibration settings for future use.
“Proper microphone calibration is the foundation of accurate acoustic measurements.”
By following these steps, you ensure your microphone is ready to capture true sound quality. This process is essential for achieving reliable results in any audio setup, whether for a home theater or professional studio.
How to Perform Acoustic Response Measurements
Understanding how sound interacts with your space is the first step to achieving perfect audio quality. Acoustic response measurements provide detailed insights into how your system performs across different frequencies. This process ensures your setup delivers clear, balanced, and precise results.

Initiating the Continuous Sweep
To capture a complete acoustic response, start by initiating a continuous sweep. This method uses exponential sine sweeps, also known as chirps, to measure your room’s acoustics quickly and accurately. The sweep generates a signal that covers a wide frequency range, providing detailed data in seconds.
The APx system automatically records key parameters during the sweep. These include frequency response, phase response, and distortion levels. This comprehensive data helps you identify areas for improvement in your setup.
Here’s what the continuous sweep process achieves:
- Frequency Response: Measures how your system reproduces sound across different frequencies.
- Phase Response: Analyzes the timing of sound waves to ensure accurate reproduction.
- Distortion Levels: Identifies unwanted noise or irregularities in the audio output.
One of the key advantages of this method is its speed. The entire process takes only a few seconds, making it ideal for both quick tests and detailed analyses. Whether you’re optimizing a home theater or a professional studio, continuous sweeps provide reliable results.
| Measurement Parameter | Description |
|---|---|
| Frequency Response | Shows how sound is reproduced across different frequencies |
| Phase Response | Analyzes the timing of sound waves for accuracy |
| Distortion Levels | Identifies unwanted noise or irregularities |
By using continuous sweeps, you gain a deeper understanding of your system’s performance. This data allows you to make precise adjustments, ensuring your audio setup delivers the best possible quality.
Adjusting Time Windows to Exclude Reflections
Accurate sound analysis requires careful management of reflections in your room. Reflections can distort your measurements, making it harder to achieve precise results. By adjusting time windows, you can exclude unwanted reflections and focus on the direct sound from your speakers.
Understanding ETC and Impulse Response
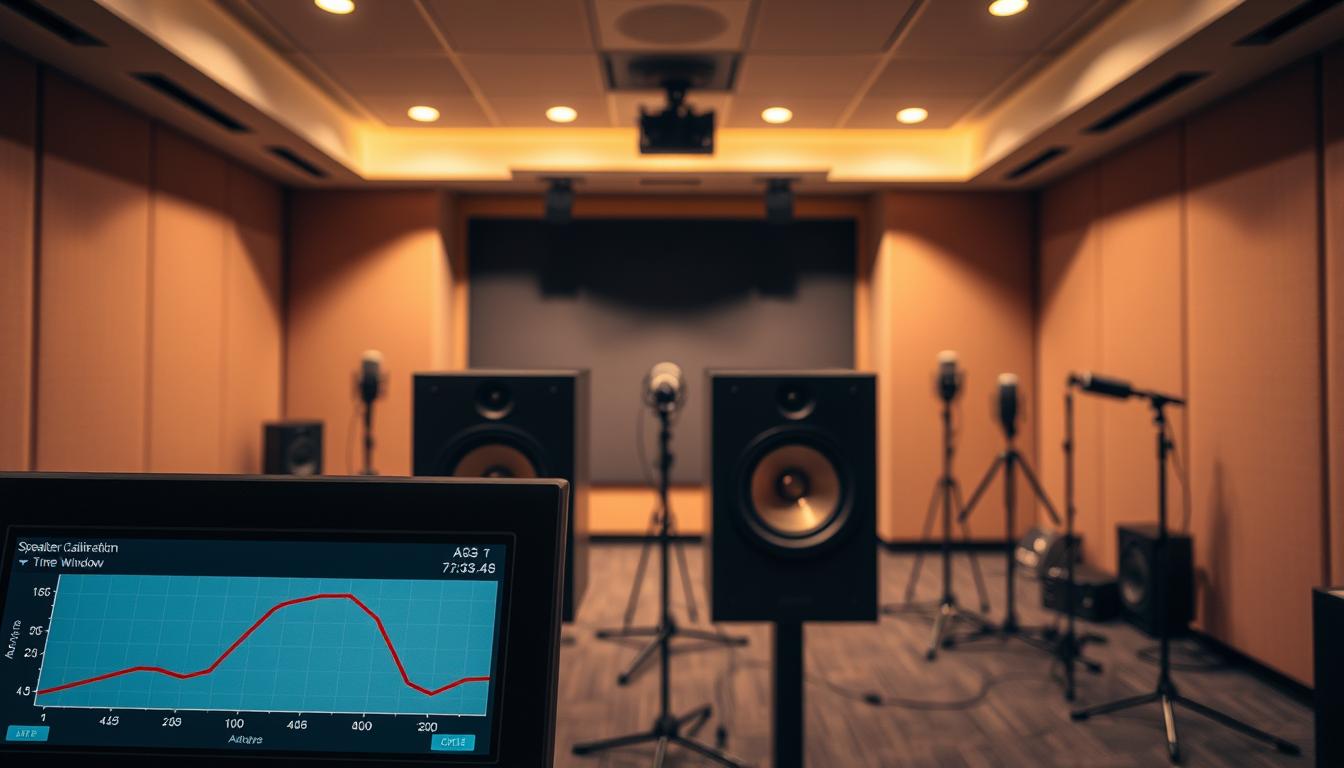
The Energy Time Curve (ETC) and Impulse Response (IR) graphs are essential tools for identifying reflections. The ETC shows the arrival time of sound waves, while the IR provides a detailed view of how sound interacts with your room. These graphs help you distinguish between the direct sound and reflections.
For example, the direct sound appears as a sharp peak in the IR graph, while reflections show up as smaller peaks later in time. By analyzing these graphs, you can determine where reflections are coming from and how they affect your measurements.
Optimizing the Measurement Window
To exclude reflections, adjust the time window in your measurement software. Moving the cursor recalculates the data, focusing on the direct sound. This ensures your frequency response results are accurate and free from room interference.
Here’s how to optimize your measurement window:
- Set the window to capture the direct sound peak.
- Exclude reflections by narrowing the window.
- Balance precision with natural room effects.
While excluding reflections is ideal for precise calibration, there are cases where including them can be beneficial. For example, in a home theater setup, reflections contribute to the immersive experience. However, for critical measurements, exclusion is preferred.
“Adjusting time windows is a simple yet powerful way to improve measurement accuracy.”
By mastering time window adjustments, you can ensure your audio system delivers the best possible performance. This technique is especially useful for achieving accurate frequency response and minimizing distortion in your setup.
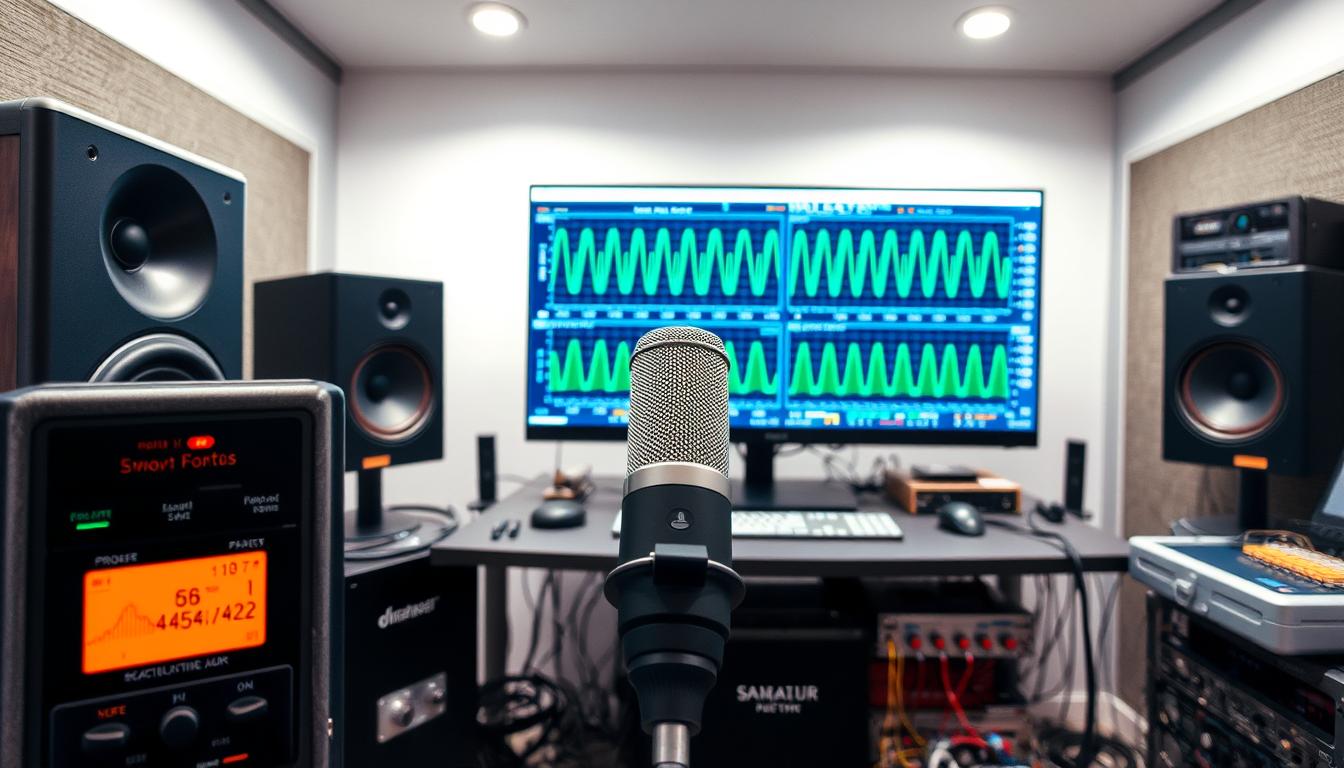
Breaking Down Speaker Calibration for Audio Precision
Achieving crystal-clear sound requires more than just basic adjustments. Advanced calibration techniques can fine-tune your system for optimal performance. These methods ensure your audio setup delivers the best possible results, even in challenging environments.
Advanced Techniques for Signal Clarity
To achieve signal clarity, start by analyzing your system’s frequency response. Use specialized software to identify peaks and dips in the sound output. This data helps you make precise adjustments to balance the audio across all frequencies.
Here are some advanced methods to refine your calibration process:
- Isolate Anomalies: Use software features to detect and correct signal distortions. This ensures your sound remains clean and accurate.
- Verify Clarity: Perform higher-level analysis to confirm the adjustments have improved the signal quality. This step is crucial for achieving consistent results.
- Experiment with Settings: Test different configurations to find the optimal setup for your room. This includes adjusting crossover points and phase alignment.
For example, tools like the APx Series offer advanced features for isolating and correcting anomalies. These features allow you to focus on specific frequency ranges, ensuring every detail of your sound is optimized.
“Advanced calibration techniques are the key to unlocking your system’s full potential.”
By experimenting with these methods, you can enhance your audio setup’s performance. Whether you’re working on a home theater or a professional studio, these techniques ensure your sound is clear, balanced, and immersive.
Exploring Frequency Response Measurement Techniques
Measuring frequency response is essential for achieving balanced sound in any setup. Two primary methods are commonly used: chirp-based signals and stepped frequency sweeps. Each technique offers unique advantages, depending on your goals and the environment.
Chirp-Based Methods vs. Stepped Frequency Sweeps
Chirp-based methods use continuous signals, such as exponential sine sweeps, to measure frequency response quickly. These signals cover a wide range of frequencies in seconds, providing detailed data on how your system performs. This method is ideal for fast, high-resolution measurements.
Stepped frequency sweeps, on the other hand, measure one frequency at a time. While slower, this method excels at capturing distortion and noise levels. It’s particularly useful for identifying specific issues in your system that may not be apparent with chirp-based techniques.
Benefits of Chirp Signals
Chirp signals are known for their speed and efficiency. They allow you to measure the entire frequency range in a single sweep, saving time without compromising accuracy. This makes them a popular choice for quick tests and initial setup adjustments.
For example, in a home theater setup, chirp-based methods can quickly identify peaks or dips in the frequency response. This data helps you fine-tune your system for optimal performance.
When to Use Stepped Sweeps
Stepped sweeps are better suited for detailed analysis. They provide precise measurements of distortion and noise, making them ideal for troubleshooting. If you notice irregularities in your sound quality, stepped sweeps can help pinpoint the cause.
For instance, in a professional studio, stepped sweeps are often used to ensure every frequency is accurately reproduced. This level of detail is crucial for achieving high-quality recordings.
By understanding these methods, you can choose the right approach for your needs. Whether you’re optimizing a home theater or a studio, accurate frequency response measurements ensure your system delivers the best possible sound quality.
Utilizing Software for Precise Measurements
Modern audio systems rely on advanced software to achieve precise measurements. Tools like APx and APx500 streamline the calibration process, ensuring your setup delivers optimal performance. These solutions simplify complex tasks, making it easier to analyze and adjust your system for the best possible sound quality.
Key Features of APx and APx500 Software
APx software offers a range of features designed for accuracy and efficiency. With just a few clicks, you can launch multiple tests, including frequency response, phase analysis, and distortion measurements. The intuitive interface guides you through each step, ensuring even beginners can achieve professional results.
One standout feature is the ability to automatically recalculate data when adjusting time windows. This ensures your measurements remain accurate, even as you refine your setup. The software also supports advanced techniques like chirp-based sweeps, providing detailed insights in seconds.
Streamlining the Measurement Workflow
Using APx software significantly reduces the time and effort required for calibration. For example, the continuous sweep method captures comprehensive data in a single pass. This includes metrics like impulse response and crosstalk, giving you a complete picture of your system’s performance.
Here’s how APx enhances your workflow:
- Efficiency: Perform multiple tests simultaneously, saving time.
- Accuracy: Automatic recalibration ensures reliable results.
- Flexibility: Adapt to different environments and setups with ease.
“APx software transforms complex measurements into a seamless process, delivering precision and clarity.”
Real-Time Guidance and Examples
The user interface provides real-time feedback, guiding you through each step of the calibration process. For instance, when measuring frequency response, the software highlights peaks and dips, suggesting adjustments for balanced sound. This hands-on approach ensures you achieve the best possible results, even in challenging rooms.
Here’s a comparison of APx features:
| Feature | Benefit |
|---|---|
| Continuous Sweep | Fast, detailed measurements |
| Automatic Recalculation | Ensures accuracy during adjustments |
| Real-Time Feedback | Guides users through the process |
By leveraging APx software, you can optimize your audio system with confidence. Whether you’re setting up a home theater or a professional studio, these tools ensure every detail is perfect.
Integrating Acoustic and Production Testing Methods
Combining acoustic and production testing methods provides a complete picture of your audio system’s performance. While acoustic tests focus on frequency response and room interactions, production tests delve into parameters like impedance and Thiele-Small values. Together, they offer actionable insights for precise calibration.
Comparing Test Approaches for Comprehensive Data
Acoustic response tests measure how your system performs in a specific room. These tests focus on frequency response, phase alignment, and distortion levels. Production testing, on the other hand, includes additional metrics like impedance response and Thiele-Small parameters. These are critical for evaluating driver performance and ensuring consistency in manufacturing.
Here’s a comparison of the two approaches:
| Test Type | Key Parameters | Primary Use |
|---|---|---|
| Acoustic Response | Frequency response, phase, distortion | Room-specific calibration |
| Production Testing | Impedance, Thiele-Small parameters | Driver and system validation |
For example, the APx517B analyzer integrates both methods, allowing you to capture detailed data in a single sweep. This includes frequency response, distortion, and even Rub & Buzz detection for faulty drivers.
Combining these tests ensures your system performs optimally in any environment. Whether you’re setting up a home theater or validating a production line, this integrated approach delivers reliable results.
“Integrating acoustic and production testing methods is the key to achieving both precision and consistency in audio performance.”
When selecting a methodology, consider your specific goals. Acoustic tests are ideal for room-specific adjustments, while production tests ensure your system meets design specifications. By leveraging both, you can achieve a balance of quality and accuracy.
Fine-Tuning Calibration with Signal Analysis
Fine-tuning your sound system requires a deep dive into signal analysis. This process helps you uncover hidden issues like impedance mismatches and distortion levels. By analyzing these factors, you can ensure your setup delivers clean, precise audio tailored to your room’s acoustics.
Assessing Impedance and Distortion
Impedance and distortion are two critical factors that impact audio quality. Impedance measures how much resistance your system has to electrical signals. If mismatched, it can cause poor performance or even damage your equipment. Distortion, on the other hand, refers to unwanted changes in the audio signal, often caused by overloading or poor component quality.
To identify these issues, use specialized software to measure your system’s frequency response. Look for peaks or dips in the signal, which indicate impedance problems. Distortion levels can be visualized as irregularities in the waveform. Addressing these issues ensures your audio remains clear and balanced.
Techniques for Cleaner Signal Transmission
Monitoring and adjusting calibration parameters is essential for cleaner signal transmission. Start by setting the correct reference levels for your microphone and software. This ensures accurate measurements across all frequencies.
Here are some techniques to refine your calibration:
- Isolate Anomalies: Use software features to detect and correct signal distortions.
- Adjust Crossover Points: Fine-tune the crossover to ensure smooth transitions between drivers.
- Test Iteratively: Make small adjustments and retest to achieve optimal results.
For example, tools like the APx Series allow you to isolate specific frequency ranges. This helps you focus on problematic areas and make precise adjustments.
Visualizing and Quantifying Distortions
Modern measurement software provides detailed visualizations of your system’s performance. Graphs and charts show how sound behaves across different frequencies, making it easier to identify distortions.
Here’s a comparison of key parameters to monitor:
| Parameter | Impact on Audio |
|---|---|
| Impedance | Affects signal strength and system efficiency |
| Distortion | Causes unwanted noise and reduces clarity |
| Frequency Response | Shows how sound is reproduced across the spectrum |
By understanding these parameters, you can fine-tune your system for the best possible sound quality. Whether you’re setting up a home theater or a professional studio, signal analysis ensures every detail is perfect.
“Signal analysis is the foundation of achieving precise and balanced audio in any setup.”
For more advanced setups, consider integrating multiple subwoofers to enhance bass distribution. Learn how to optimize your home theater system for the best audio experience.
Managing Subwoofer Calibration in Home Theater Systems
Optimizing low-frequency sound in your home theater starts with proper subwoofer placement. The right position ensures balanced bass output, enhancing the overall sound quality of your system. Whether you’re using one or multiple subwoofers, careful calibration is key to achieving a seamless audio experience.
Placement and Level Matching Tips
Place your subwoofer in a corner for maximum bass output, but avoid areas where the sound becomes boomy. For dual subwoofers, position them diagonally across the room to balance the frequency response. This setup minimizes peaks and dips caused by room interactions.
Level matching is crucial for dual subwoofers. Adjust the gain or trim levels so both subs produce the same sound pressure level (SPL). This ensures a cohesive bass response, avoiding asymmetrical output that can disrupt the audio experience.
Using Y-Connectors for Dual Sub Setups
Y-connectors simplify the process of connecting multiple subwoofers. They split the signal from your receiver, allowing both subs to receive the same input. This method ensures consistent sound across the room, enhancing the overall quality of your home theater.
However, be mindful of the electrical implications. Ensure your receiver can handle the additional load when using Y-connectors. Proper setup prevents overloading and maintains the integrity of your system.
| Placement Strategy | Effect on Sound |
|---|---|
| Corner Placement | Maximizes bass output |
| Diagonal Placement | Balances frequency response |
| Level Matching | Ensures cohesive bass |
By following these tips, you can achieve a smooth frequency response and avoid cancellation effects. Proper subwoofer calibration transforms your home theater into an immersive audio haven.
Leveraging Room EQ for Enhanced Audio Quality
Room EQ systems are designed to fine-tune your audio setup for optimal performance. These tools analyze your room’s acoustics and adjust the frequency response to deliver balanced and immersive sound. Whether you’re setting up a home theater or a studio, Room EQ ensures your system performs at its best.
Optimizing Frequency Response with Automated EQ
Automated Room EQ systems use advanced algorithms to measure and correct your room’s acoustic issues. They identify peaks and dips in the frequency response, ensuring every note is heard clearly. Tools like Audyssey MultEQ analyze multiple listening positions, providing a comprehensive solution for your sound system.
Here’s how automated EQ improves your setup:
- Balanced Sound: Adjustments eliminate uneven frequency ranges.
- Reduced Distortion: Fine-tuning minimizes unwanted noise.
- Immersive Experience: Creates a cohesive soundstage for all listeners.
Balancing Multiple Subwoofer Outputs
When using multiple subwoofers, balancing their outputs is crucial for consistent bass. Room EQ systems like Audyssey Dynamic EQ adjust subwoofer levels in real-time, ensuring smooth transitions between frequencies. This prevents abrupt changes in bass output, enhancing the overall sound quality.
Here are some tips for balancing subwoofers:
- Symmetrical Trim Levels: Maintain equal settings for both subwoofers.
- Room Correction Data: Use measurements to fine-tune levels.
- Optimal Placement: Position subwoofers for even bass distribution.
| Feature | Benefit |
|---|---|
| Automated EQ | Balances frequency response |
| Dynamic EQ | Adjusts subwoofer levels in real-time |
| Room Correction | Tailors sound to your room’s acoustics |
For more detailed strategies, check out our guide on optimizing subwoofer placement.
“Room EQ systems transform your audio setup, delivering precision and clarity tailored to your space.”
By leveraging Room EQ, you can achieve a balanced and immersive listening experience. Whether you’re fine-tuning a home theater or a studio, these tools ensure your system delivers the best possible sound quality.
Conclusion
Mastering the art of sound optimization in your room requires attention to detail and the right techniques. From selecting the ideal space to positioning your speakers and microphone, every step plays a crucial role in achieving accurate results. Advanced tools like modern measurement software and automated room EQ systems simplify the process, ensuring your system delivers balanced and immersive audio.
By focusing on frequency response, signal clarity, and proper calibration, you can eliminate distortion and enhance overall quality. Whether you’re setting up a home theater or a studio, these methods ensure every note is heard as intended.
Take the time to apply these techniques in your own setup. Explore further optimization strategies to unlock the full potential of your audio system. For professional guidance, consider consulting experts to achieve perfection in your sound experience.
FAQ
What is the purpose of speaker calibration?
Speaker calibration ensures your audio system delivers accurate sound by adjusting settings like frequency response, phase, and level to match your room’s acoustics.
How does room acoustics affect calibration?
Room acoustics influence sound waves through reflections and absorption, which can alter frequency response and signal clarity. Proper calibration compensates for these effects.
What equipment is needed for accurate measurements?
You’ll need a measurement microphone, calibration software, and a test signal generator. Tools like the APx500 software are commonly used for precise results.
How do I position my microphone for calibration?
Place the measurement microphone at ear level, aligned with the speaker’s driver, and ensure it’s at the primary listening position for accurate readings.
What is the difference between chirp and stepped frequency sweeps?
Chirp-based methods provide faster measurements, while stepped frequency sweeps offer higher accuracy by analyzing each frequency individually.
How do I manage subwoofer calibration in a home theater?
Position your subwoofer to minimize room modes, use a Y-connector for dual setups, and match levels with the center channel for balanced bass.
What is the role of time windows in measurements?
Time windows help exclude unwanted reflections from your measurements, ensuring you capture the direct sound for more accurate frequency response analysis.
Can I use automated EQ for room correction?
Yes, automated room EQ systems optimize frequency response by adjusting settings based on your room’s acoustic characteristics, improving overall sound quality.
How do I ensure proper dBSPL reference levels?
Use a calibrator to set your microphone’s dBSPL reference level or manually enter the correct value in your software for accurate measurements.
What are the benefits of integrating acoustic and production testing?
Combining both methods provides comprehensive data, helping you identify issues like distortion or impedance variations for better system performance.


