Did you know that over 70% of people prefer personalized home decor over mass-produced items? Crafting your own custom display not only adds a personal touch but also saves money compared to high-end store-bought options. This guide will show you how to design a functional and stylish piece using oak wood and LED lighting.
By combining traditional woodworking with modern technology, you can create a stunning piece that fits your space perfectly. The use of oak ensures durability, while LED strips provide a sleek, backlit effect. This project is ideal for those who enjoy DIY and want to add a unique element to their home or business.
Throughout this guide, you’ll learn about materials, techniques, and design tips. From precise measurements to wiring LED lights, every step is covered. Whether you’re a seasoned builder or a beginner, this project offers a rewarding experience.
For more inspiration on creating immersive spaces, check out our guide on building a dedicated home theater room. It’s a great way to explore how design and functionality can transform any space.
Key Takeaways
- Personalized displays are more appealing than mass-produced items.
- Oak wood and LED lighting combine durability and style.
- DIY projects can save money and add a unique touch to your space.
- Precise measurements are crucial for proper LED installation.
- This guide covers materials, techniques, and design tips in detail.
Introduction
Transform a simple poster case into a stunning custom piece with this guide. This project combines traditional woodworking with modern LED technology to create a functional and stylish display. Whether you’re a beginner or an experienced DIY enthusiast, this step-by-step guide will walk you through every detail.
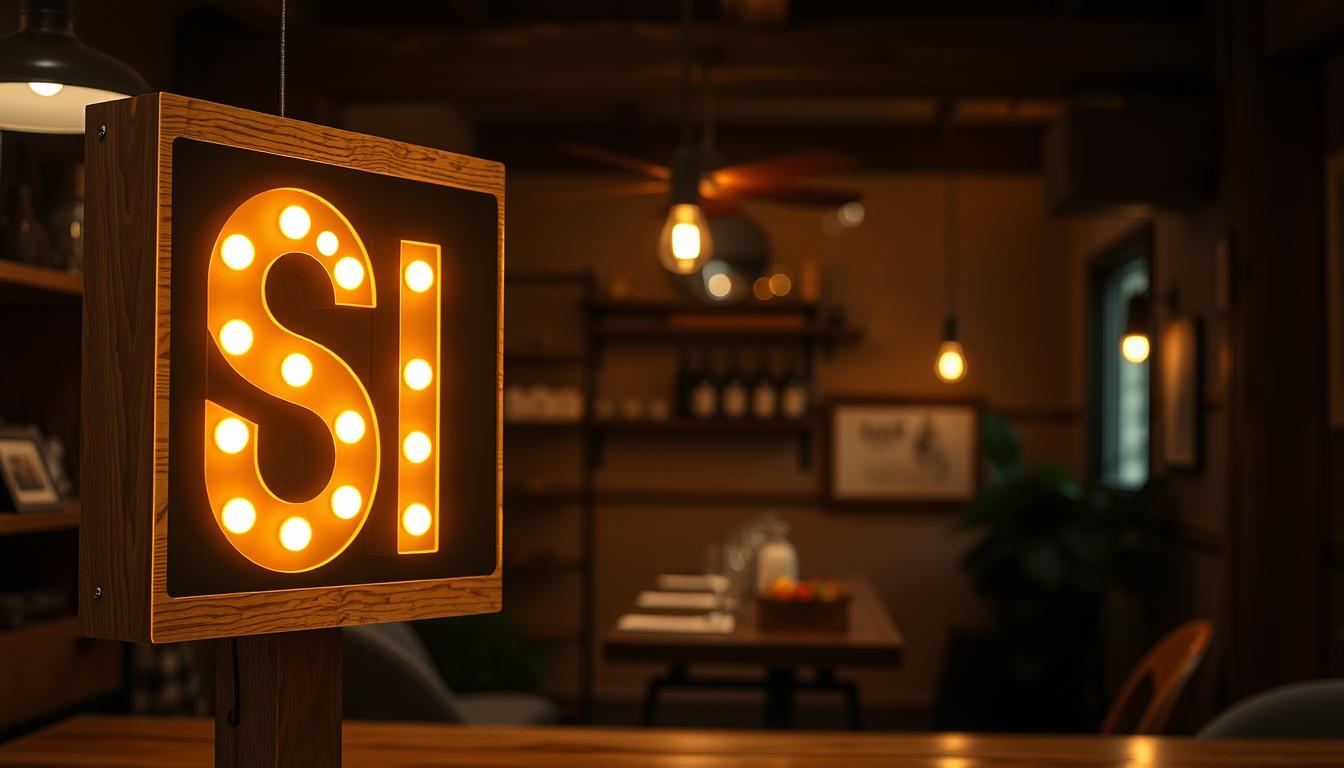
Project Overview
This project focuses on creating a custom display piece using oak wood and LED lighting. The process involves transforming a poster case into a unique sign that fits your space perfectly. By integrating woodworking techniques with modern technology, you’ll achieve a professional look without breaking the bank.
Here’s a quick breakdown of the steps:
- Selecting the right materials, including oak wood and LED strips.
- Measuring and cutting the frame to ensure precision.
- Wiring the LED lights for a sleek, backlit effect.
- Adding finishing touches to enhance durability and style.
What You’ll Learn
This guide covers everything from initial planning to final assembly. You’ll learn how to choose the best materials, wire LED lights, and apply finishing touches. Additionally, we’ll explore cost-saving solutions and creative customization ideas to make your project stand out.
Here’s a table comparing cost-saving methods:
| Method | Cost | Benefit |
|---|---|---|
| DIY LED Wiring | $20-$30 | Customizable and affordable |
| Pre-cut Wood Panels | $15-$25 | Saves time and effort |
| Recycled Materials | $0-$10 | Eco-friendly and budget-friendly |
By following this guide, you’ll create a piece that not only enhances your space but also reflects your personal style. Let’s get started!
Materials and Tools
Crafting a custom display starts with gathering the right materials and tools. High-quality components ensure durability and a polished finish. This section outlines everything you’ll need to bring your project to life.
Essential Materials
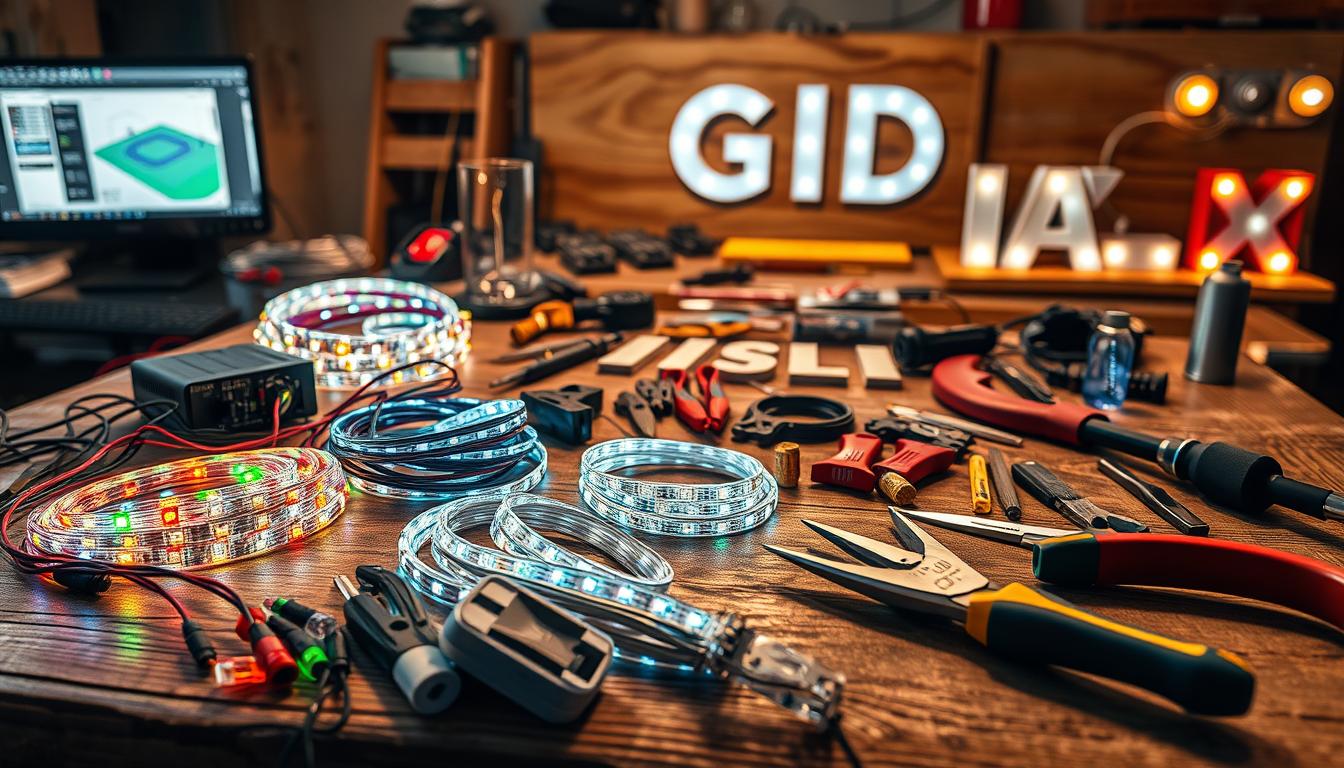
To create a professional-looking sign, you’ll need a few key materials. Start with oak wood for the frame. Oak is durable and provides a sleek, natural look. For the lighting, opt for LED strips, which offer energy efficiency and a modern touch.
Here’s a list of essential materials:
- Oak wood (2 x 4 pieces)
- LED light strips (12″ recommended)
- Snap frame for easy assembly
- Black paper for inner letter opacity
- Aluminum foil for light reflection
Using high-quality materials ensures your display lasts longer and looks professional. For sourcing, consider retailers like Home Depot or specialized LED suppliers.
Tool Checklist
Having the right tools is just as important as the materials. Precision tools help you achieve clean cuts and secure assembly. Here’s what you’ll need:
- Saw for cutting wood
- Measuring tape for accurate dimensions
- Drill for pilot holes
- Wiring equipment for LED installation
- Sanding tools for a smooth finish
Straight oak pieces are crucial for a precise fit. Pilot holes prevent splitting, and sanding ensures a polished look. Investing in quality tools saves time and enhances safety.
Plan and Design Your Project
Designing a custom display requires careful planning and precise execution. A well-thought-out plan ensures your project turns out both functional and stylish. Start by sketching your ideas and setting accurate dimensions to avoid costly mistakes.
Sketching Your Design
Begin by sketching your design on paper. Include the placement of the backlit lettering and LED strips. This step helps visualize the final product and ensures all elements fit seamlessly.
Use a ruler to scale your sketch accurately. For example, if your frame is 28½ x 40 inches, mark these dimensions on your paper. This ensures your sign will fit perfectly in its intended space.
Setting Dimensions
Accurate measurements are crucial for a polished look. Measure the size of your poster case and adjust the acrylic board for proper light spacing. A scale drawing can guide material cutting and assembly.
Consider both aesthetic and technical constraints. For instance, ensure the LED strips align with the edges for even illumination. This balance enhances the functionality and appeal of your final product.
Understand LED Lighting and Backlit Concepts
LED lighting is a game-changer for creating eye-catching displays. Whether you’re designing a sign for your business or a custom piece for your home, understanding your options ensures the best results. This section explores the types of LED lighting available and the advantages of backlit designs.
LED Lighting Options
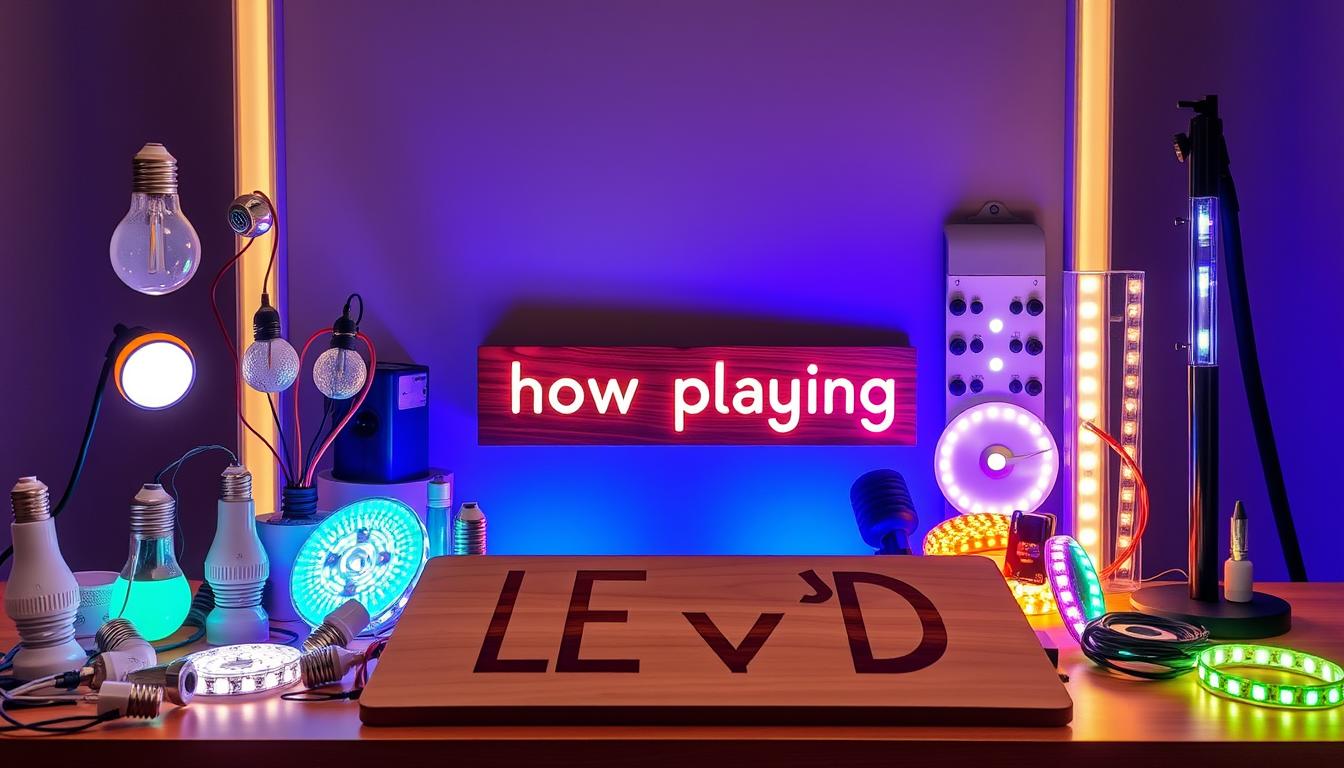
When choosing LED lighting, consider brightness, energy efficiency, and cost. LED strips are a popular choice for backlit projects due to their flexibility and ease of installation. They come in various colors, including white, warm white, and RGB for mixed effects.
Here’s a comparison of common LED types:
| Type | Brightness | Energy Efficiency | Cost |
|---|---|---|---|
| Standard LED Strips | High | Excellent | $20-$30 |
| RGB LED Strips | Moderate | Good | $25-$40 |
| Waterproof LED Strips | High | Excellent | $30-$50 |
Standard LED strips are ideal for most projects, while RGB options offer versatility for creative designs. Waterproof strips are perfect for outdoor use or areas prone to moisture.
Backlit Advantages
Backlit designs enhance the appearance of lettering and create a dynamic visual effect. They make your sign stand out, especially in low-light conditions. This technique is widely used in advertising and marketing to attract attention.
Key benefits of backlighting include:
- Improved visibility in any lighting condition.
- A professional, polished look for your display.
- Enhanced brand recognition for businesses.
For optimal results, space LED strips 3/4” on each side of the frame. This ensures even illumination and a clean, modern aesthetic. Proper wiring and power supply are also crucial for consistent light output and longevity.
By selecting the right LED solution, you can create a stunning display that fits your design and budget. Whether for personal or professional use, backlit signage offers a blend of functionality and style.
Measuring and Cutting Your Wood Frame
Precision is key when creating a custom display that stands out. Accurate measurements ensure your frame fits perfectly, while clean cuts give your project a professional finish. This section guides you through the essential steps to measure and cut your wood with confidence.
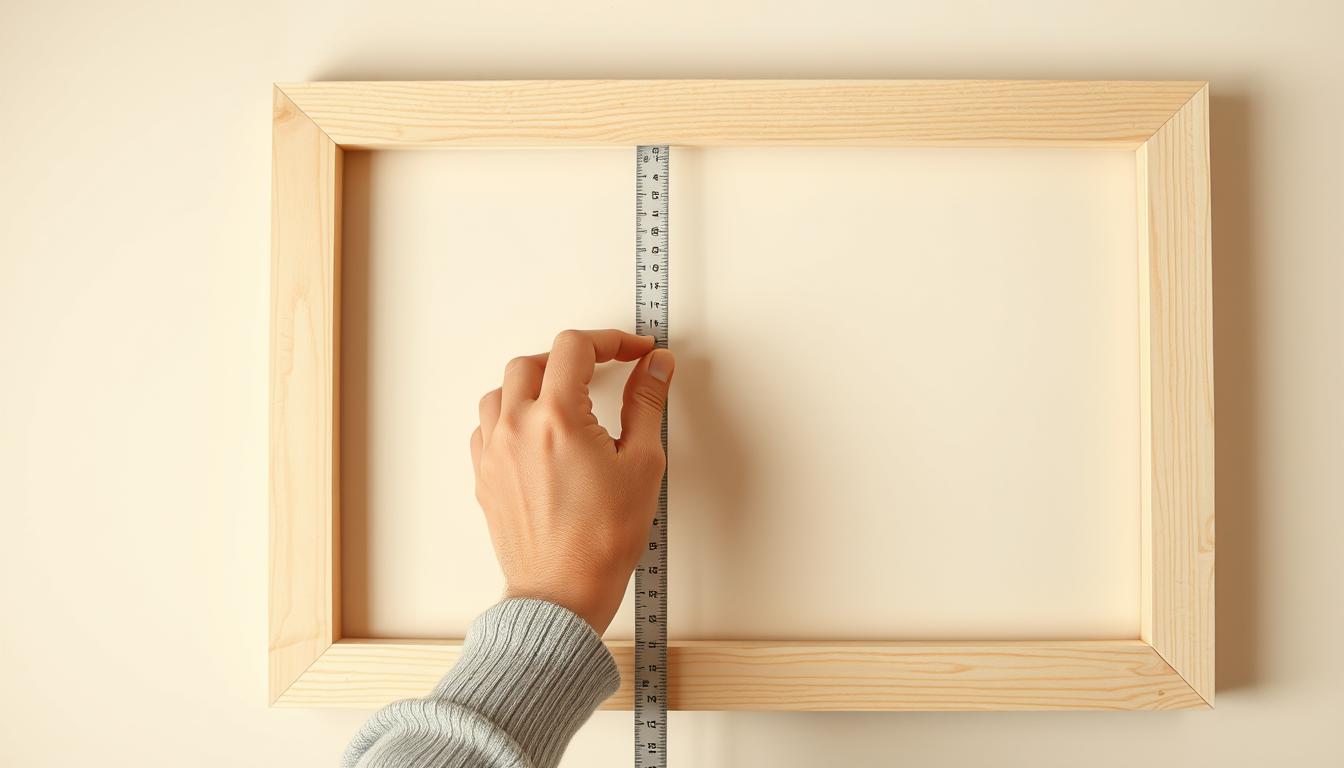
Measurement Techniques
Start by marking your wood with a measuring tape and square. Measure twice to avoid errors, especially when accounting for the 1 ½” lip inside the oak case. This ensures the poster fits snugly without gaps.
Calculate the dimensions for the frame based on the edge-lit acrylic board. Include the depth of the frame, typically 3½” when using a 2×4. This step ensures the light distributes evenly across the display.
Here’s a quick guide to marking and cutting:
- Use a level to ensure straight lines.
- Mark the wood with a pencil for clear visibility.
- Double-check measurements before cutting.
Common mistakes include uneven cuts and incorrect measurements. If errors occur, recalibrate your tools and remeasure. Safety is paramount—wear protective gear and work in a well-lit space.
| Tool | Purpose |
|---|---|
| Measuring Tape | Accurate length and width |
| Square | Straight edges and angles |
| Level | Horizontal and vertical alignment |
By following these steps, you’ll create a frame that enhances your sign and fits your space perfectly. Precision leads to a professional-quality assembly, saving you time and effort in the long run.
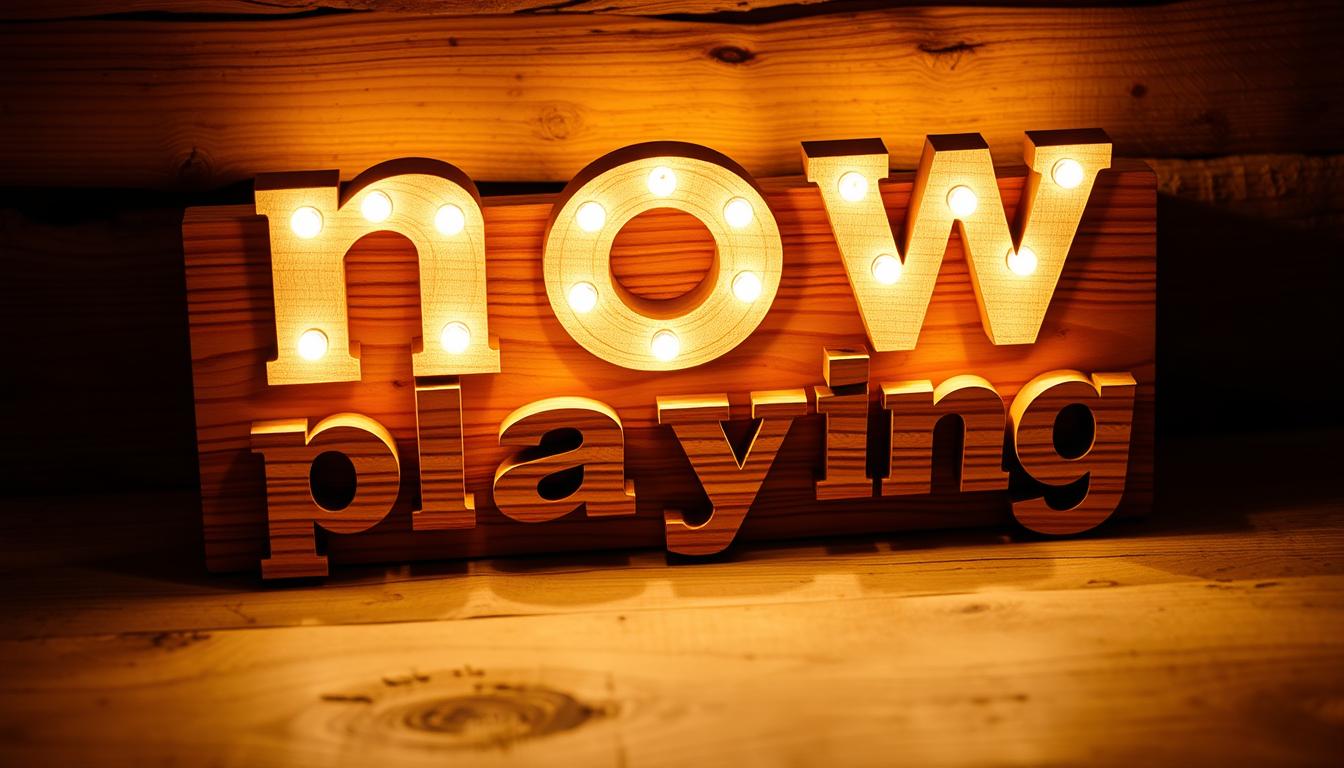
Build a wooden “now playing” board with backlit lettering.
Creating a custom display that merges functionality and style requires attention to detail and a clear plan. This section walks you through the final steps to assemble your project, combining the oak frame, LED components, and brass tubing into a cohesive product.
Start by constructing the oak frame around a 2×4, ensuring it matches the dimensions of the edge-lit acrylic board. This step is crucial for a snug fit and even light distribution. Use precise measurements to align the frame with the LED strips and brass tubing.
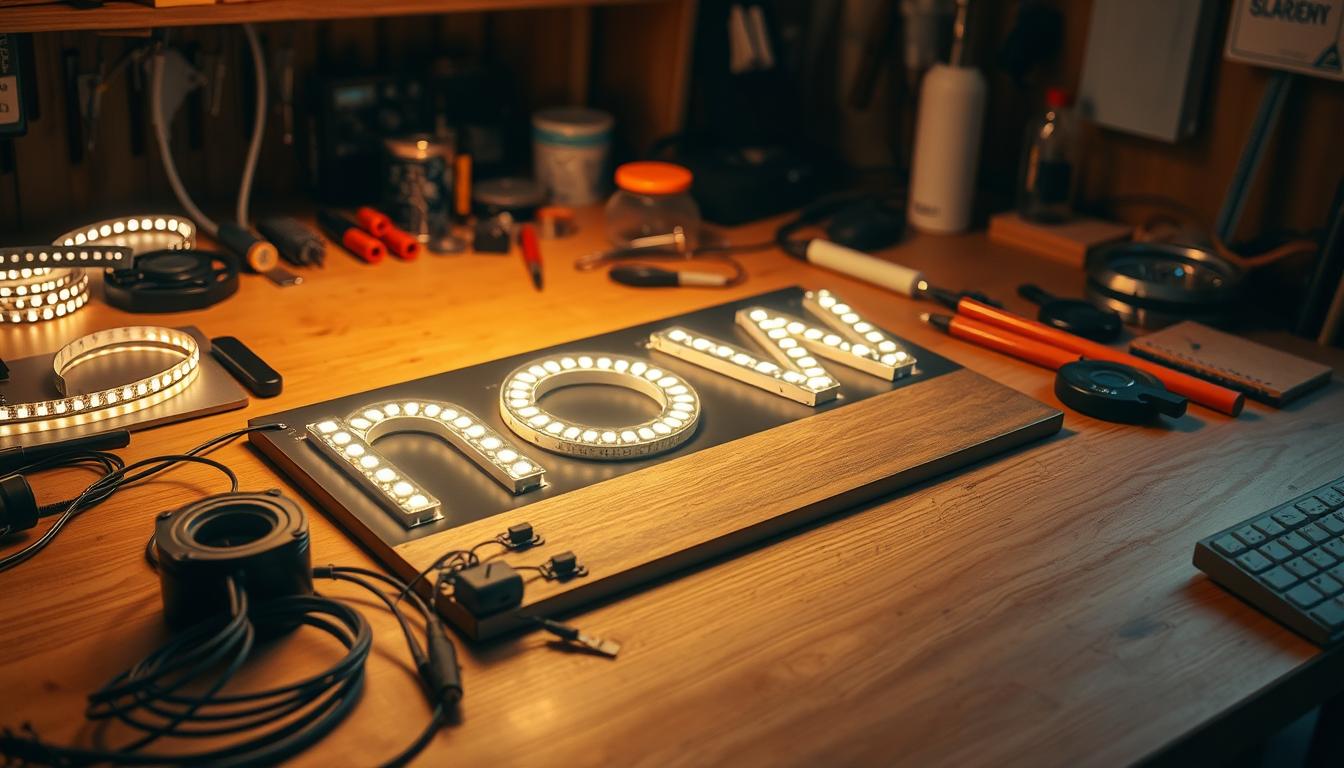
- Secure the oak frame pieces using wood glue and clamps. Allow time for drying to ensure stability.
- Install the LED strips along the edges of the frame, ensuring proper spacing for even illumination.
- Place the acrylic board inside the frame, aligning it with the LED strips for optimal light diffusion.
- Add brass tubing if desired, positioning it to enhance the overall design and functionality.
Combining all these elements results in a beautifully assembled sign that fits perfectly in your space. Each step builds on the previous one, ensuring a professional finish.
Safety is paramount during assembly. Wear protective gear, work in a well-lit area, and follow all tool instructions. Taking these precautions ensures a smooth process and reduces the risk of accidents.
By following these steps carefully, you’ll achieve a stunning product that reflects your personal style. This project not only enhances your brand but also adds a unique touch to your home or business.
Assembling the Frame and Components
Assembling a custom display requires precision and attention to detail to ensure a professional finish. The frame is the backbone of your sign, and its assembly sets the tone for the entire project. Start by aligning the pre-cut oak pieces carefully to create a sturdy structure.
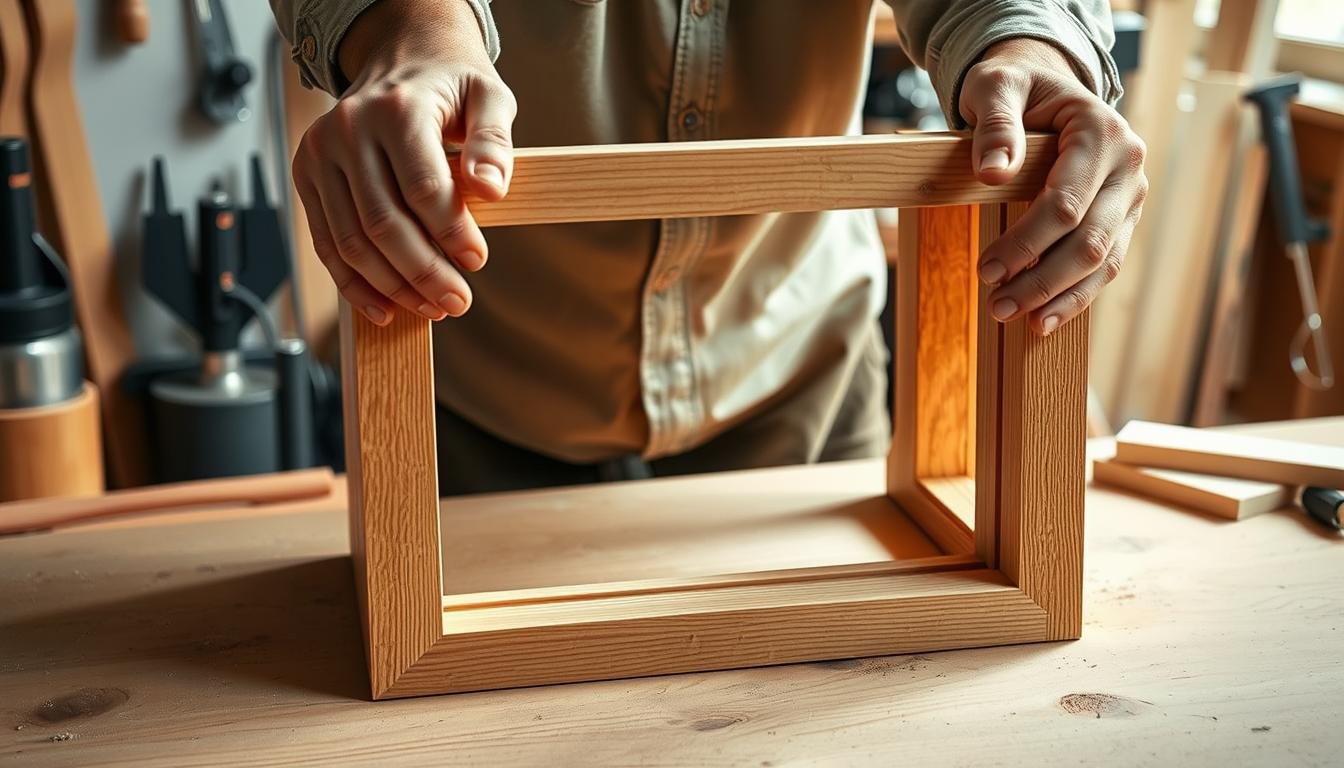
Joining the Oak Pieces
Begin by laying out the oak strips on a flat surface. Use wood glue and clamps to secure the corners, ensuring they are square. For extra strength, consider using traditional joinery techniques or modern fasteners. This step ensures the frame remains durable and stable over time.
Once the glue dries, check the alignment with a level. Revisit your measurements to confirm the frame matches the dimensions of the acrylic board. A well-assembled frame enhances the overall quality of your product and ensures a seamless fit.
Securing the Acrylic Board
After assembling the frame, place the acrylic board inside. Use 3/4” oak strips and shoe moulding to hold the board securely in place. This method prevents movement and ensures the light distributes evenly across the display.
Here’s a quick comparison of securing methods:
| Method | Strength | Ease of Use |
|---|---|---|
| Wood Glue | High | Moderate |
| Fasteners | Very High | Easy |
| Shoe Moulding | Medium | Simple |
Selecting straight oak pieces is crucial for a consistent appearance. Avoid warped or uneven wood, as it can compromise the frame’s durability. A well-assembled frame not only enhances the sign’s functionality but also adds a professional touch to your space.
By following these steps, you’ll create a sturdy and visually appealing frame that complements your custom display. Take your time to ensure precision, as it directly impacts the final product’s quality.
Installing Backlit Lettering
Installing backlit lettering is the final step to bring your custom display to life. This process ensures your sign stands out with a professional and polished look. Proper installation enhances visibility and adds a dynamic visual effect, especially in low-light conditions.
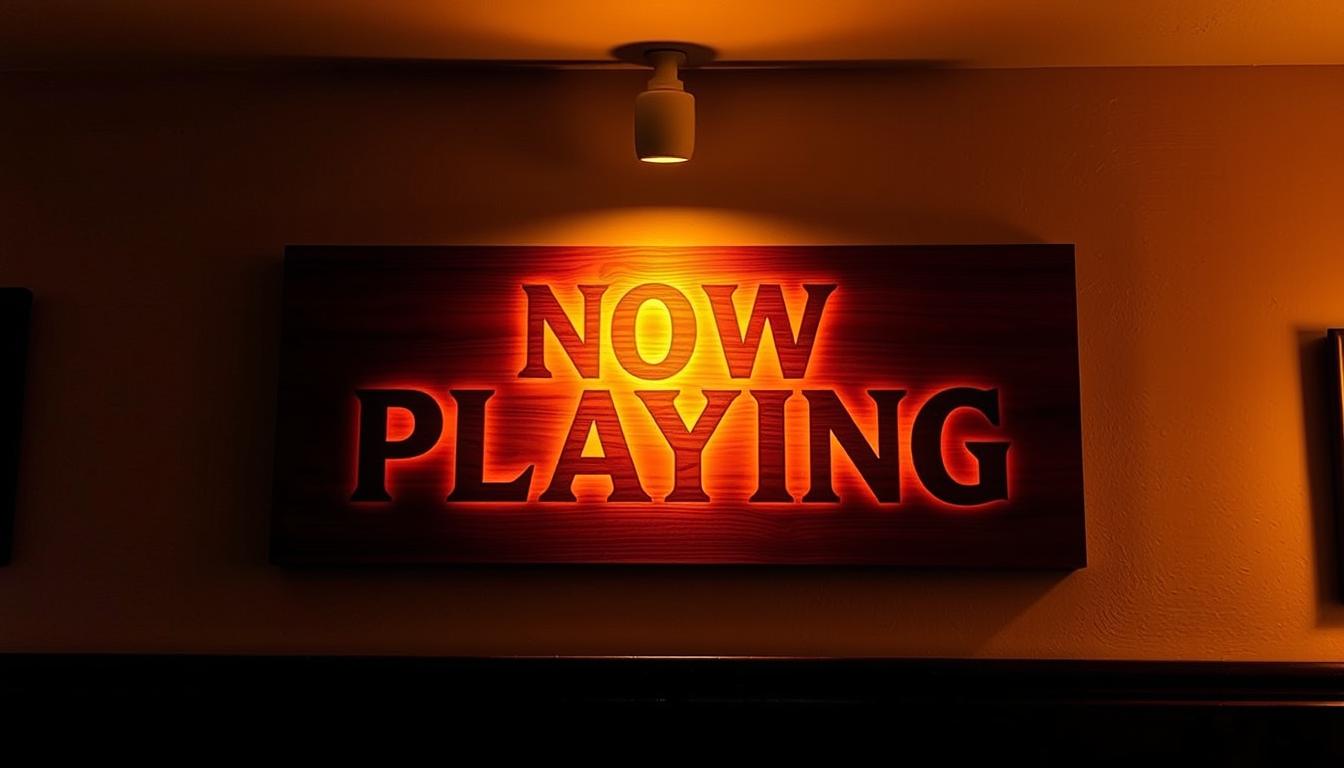
Securing the Letters
Start by preparing the letters using templates or stencils. This ensures each letter is cut precisely and fits perfectly within the frame. Align each letter with the frame’s lip to maintain even spacing and a balanced appearance.
Here’s how to secure the letters effectively:
- Use adhesive or fasteners to attach the letters to the acrylic panel.
- Ensure the LED light is visible behind each letter for a backlit effect.
- Check alignment from different viewing angles to guarantee a seamless look.
Safety is crucial during this process. Handle sharp tools carefully and work in a well-lit area. Wear protective gear to avoid accidents and ensure a smooth installation.
Once the letters are secured, inspect the product for any gaps or misalignments. Adjust as needed to achieve a professional finish. This step ensures your sign looks cohesive and visually appealing.
Finally, clean the surface to remove any fingerprints or dust. This enhances the overall appearance and ensures your brand or message is displayed clearly. Well-installed backlit lettering transforms your display into a standout piece that captures attention.
“The right installation technique can make or break the visual impact of your backlit signage.”
By following these steps, you’ll create a custom display that not only looks professional but also reflects your unique style. Proper installation ensures longevity and enhances the overall appeal of your space.
Wiring and Power Setup for LED Lights
Proper wiring is the backbone of any LED-powered display. It ensures consistent illumination and long-term performance. This section covers the essentials of LED wiring and power supply setup, helping you create a safe and efficient lighting system.
LED Wiring Fundamentals
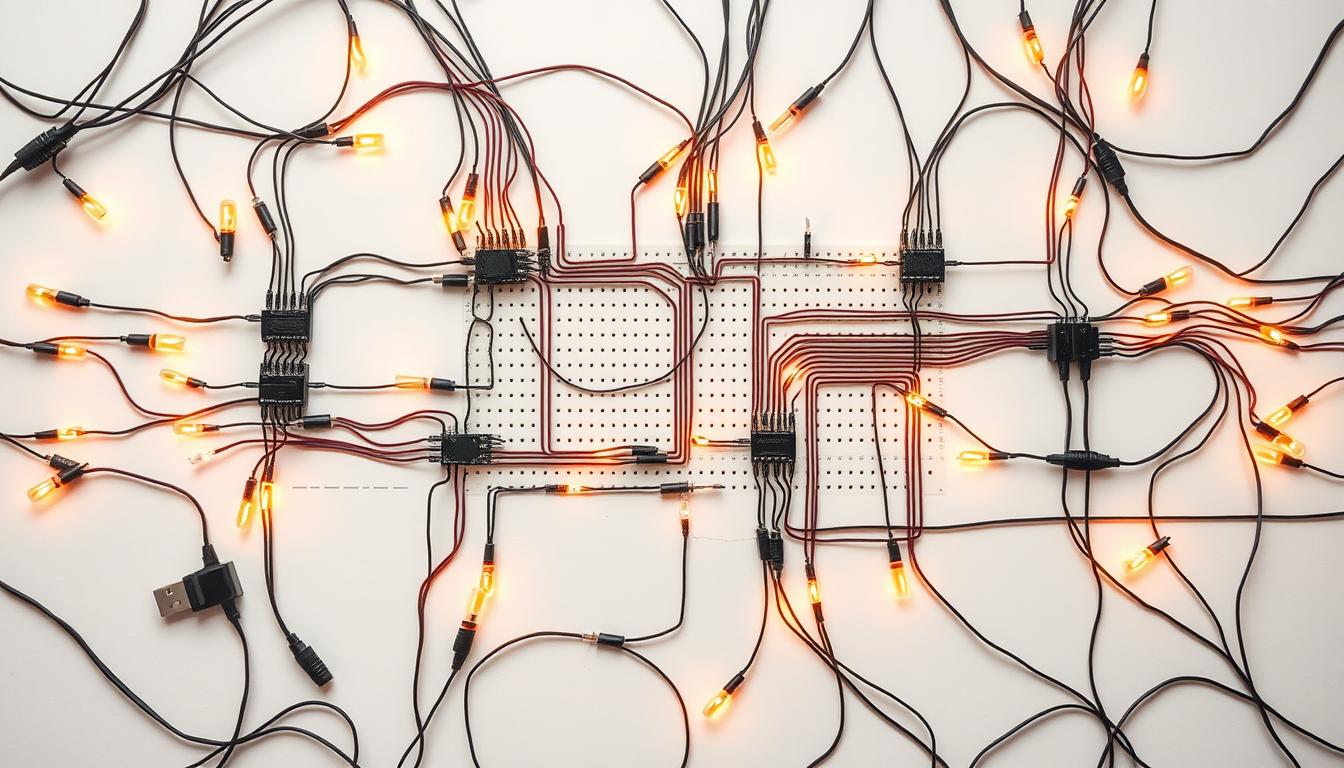
Start by running wires along the frame’s inner lip. This method keeps the wiring hidden and ensures continuous power to the LED strips. Use 22-gauge wire for small projects or 18-gauge for longer runs to avoid voltage drop.
Here’s how to connect LED strips for even illumination:
- Secure the strips to the frame using adhesive or clips.
- Ensure the wires are properly soldered or connected with connectors.
- Test the connection before finalizing the setup.
Safety is crucial when handling electrical components. Always turn off the power before working and wear protective gear. A well-organized wiring setup not only looks professional but also reduces the risk of accidents.
Power Supply Considerations
Choosing the right power supply is essential for your LED setup. Match the voltage of the LED strips with the power supply to prevent issues like flickering or overheating. For most projects, a 12V power supply works well.
Here’s a quick guide to selecting a power supply:
| LED Type | Voltage | Power Supply |
|---|---|---|
| Standard LED Strips | 12V | 12V, 5A |
| RGB LED Strips | 12V | 12V, 10A |
Mount the power supply in a secure location, preferably inside the frame or a nearby box. This keeps the setup clean and minimizes visible wires. Proper wiring and power supply selection ensure your sign looks professional and lasts for years.
If you encounter issues like flickering lights or loose connections, double-check the wiring and connectors. A well-organized setup not only enhances the product’s aesthetics but also ensures safety and reliability.
Safety Tips and Best Practices
Safety is the cornerstone of any successful DIY project, ensuring both quality and peace of mind. Whether you’re working with wood or handling electrical components, following industry-standard guidelines is essential. This section provides practical tips to keep you safe while creating your custom display.
Essential Personal Safety Equipment
Before starting, equip yourself with the right protective gear. Goggles shield your eyes from dust and debris, while gloves protect your hands from splinters and sharp edges. Ear protection is crucial when using loud power tools, and a dust mask prevents inhalation of harmful particles.
Here’s a quick comparison of safety equipment:
| Equipment | Purpose |
|---|---|
| Goggles | Eye protection |
| Gloves | Hand safety |
| Ear Protection | Noise reduction |
| Dust Mask | Respiratory safety |
Handling Power Tools Safely
Proper tool handling is critical for avoiding accidents. Always read the manufacturer’s instructions before use. Keep your workspace well-lit and free of clutter to minimize tripping hazards. When cutting wood, use clamps to secure the material, ensuring stability and precision.
Here are some key tips:
- Inspect tools for damage before use.
- Keep cords away from sharp edges.
- Use push sticks when operating saws.
Electrical Safety Precautions
Working with LED lighting requires extra care. Turn off the power supply before wiring to avoid shocks. Use insulated tools and ensure all connections are secure. A well-organized workspace reduces the risk of accidents and ensures a smooth process.
“A safe workspace is not just a requirement; it’s a mindset that ensures success in every project.”
Maintaining a Clean Workspace
A tidy workspace enhances efficiency and safety. Regularly remove sawdust and debris to prevent slips and fires. Store tools in designated areas to avoid clutter. This practice not only keeps you safe but also extends the life of your equipment.
Adhering to Safety Standards
Always follow local safety codes and manufacturer guidelines. Regular equipment checks ensure tools are in good condition. By prioritizing safety, you create a professional-quality product while protecting yourself and others.

By implementing these safety tips, you’ll enjoy a seamless DIY experience while achieving outstanding results. Safety is not just a step—it’s the foundation of every successful project.
Finishing Touches for a Professional Look
The final touches on your custom display can make all the difference in achieving a polished, professional look. These steps ensure your sign not only functions well but also stands out as a high-quality piece. From sanding to sealing, every detail matters.
Sanding and Sealing
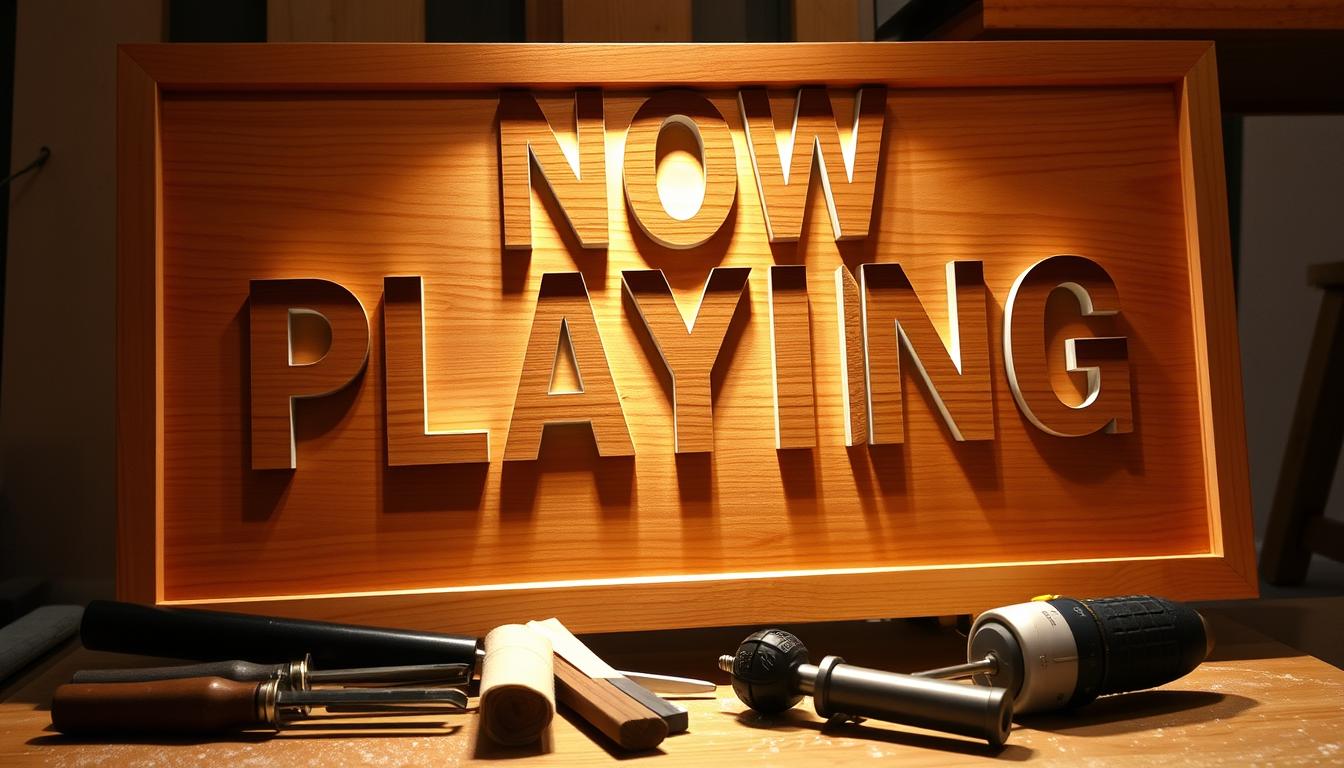
Start by sanding all wood surfaces and edges to remove roughness. Use fine-grit sandpaper for a smooth finish. This step ensures the frame feels polished and looks refined.
After sanding, apply a durable sealant to protect the wood. Sealants enhance the natural grain and guard against moisture and wear. Choose a finish that complements your design and adds longevity to your product.
Adding Decorative Elements
Decorative accents like trim or molding can elevate your display. These elements add depth and style, making your sign more visually appealing. Ensure they complement the backlit lettering for a cohesive look.
Here are some tips for adding decorative touches:
- Use matching or contrasting colors to highlight key features.
- Incorporate materials like brass or aluminum for a modern touch.
- Ensure all elements are securely attached for durability.
Finally, perform a quality check to ensure every surface looks professional. Attention to these details ensures your brand or message is displayed with clarity and impact.
“A well-finished display not only looks great but also reflects the care and effort put into its creation.”
By focusing on these finishing touches, you’ll create a custom display that enhances your space and leaves a lasting impression.
Troubleshooting and Adjustments
Even the most well-planned projects can encounter unexpected challenges. Addressing these issues early ensures your sign looks professional and functions perfectly. This section covers common problems and provides practical solutions to keep your project on track.
Common Issues
During assembly, you might face issues like misaligned components or uneven light distribution. These problems can affect the overall look and functionality of your display. Identifying them early is key to a smooth process.
Here are some typical challenges:
- Misaligned frame pieces causing gaps.
- Uneven LED lighting due to improper wiring.
- Loose fasteners or joints that compromise stability.
Quick Fixes
For misaligned pieces, re-measure and adjust the frame before securing it. Use clamps to hold the pieces in place while the glue dries. This ensures a snug fit and prevents gaps.
If the light is uneven, check the wiring connections. Ensure the LED strips are evenly spaced and properly soldered. Test the lighting before final assembly to avoid rework.
Here’s a comparison of common fixes:
| Issue | Solution |
|---|---|
| Misaligned Frame | Re-measure and adjust with clamps |
| Uneven Lighting | Check wiring and spacing of LED strips |
| Loose Joints | Reinforce with additional fasteners |
For loose joints, tighten fasteners or add wood glue for extra strength. Sand rough edges to ensure a smooth finish. These small adjustments enhance both safety and aesthetics.
Finally, test each component separately before final assembly. This step minimizes troubleshooting later and ensures your sign looks professional. By addressing issues early, you’ll create a display that enhances your space and reflects your brand.
Customization Ideas and Design Inspirations
Customizing your display opens endless possibilities to reflect your unique style and creativity. Whether you’re creating a piece for your home or business, personal touches make it stand out. Let’s explore innovative ways to elevate your project.
Personalized Lettering
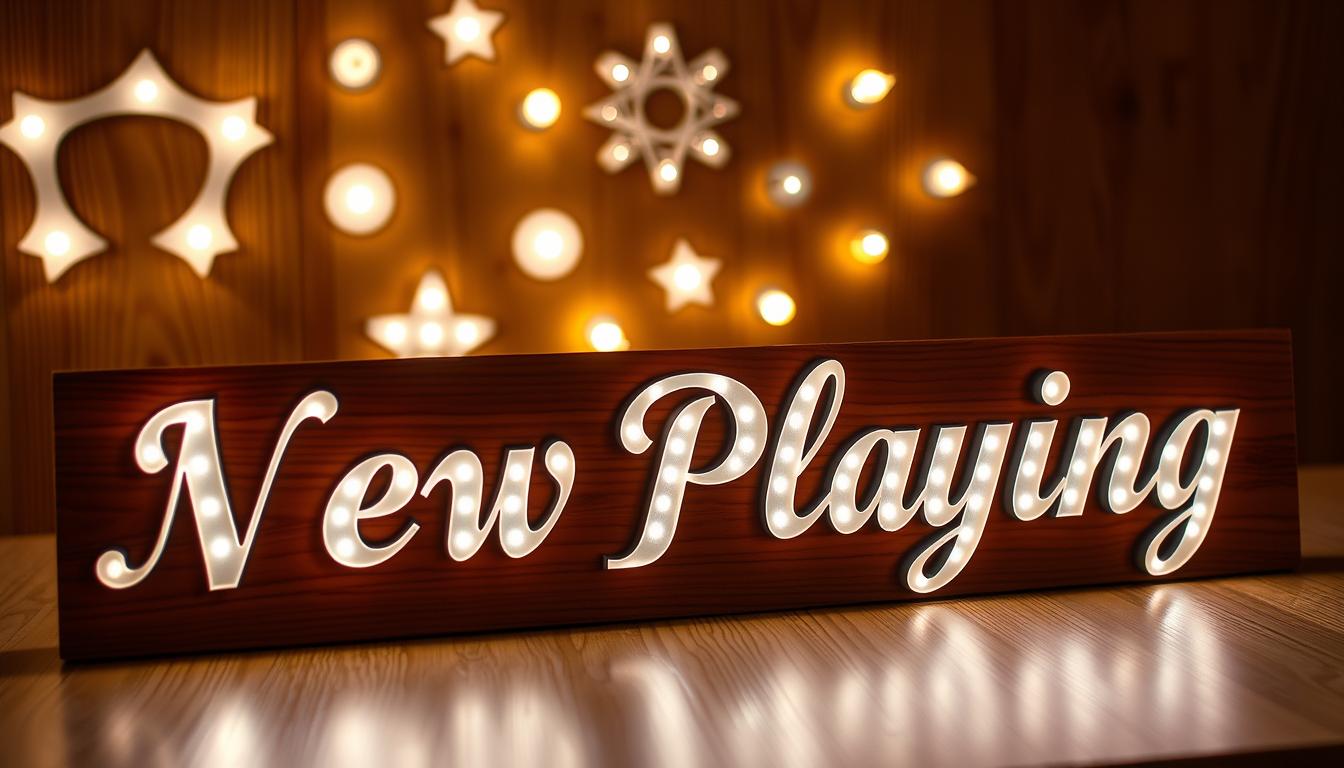
Your sign’s lettering is its focal point. Experiment with unique fonts, engraving, or paint effects to make it truly yours. Consider using laser-cut designs for precision or hand-painted details for a rustic charm.
For a modern touch, integrate backlit lighting behind the letters. This not only enhances visibility but also adds a dynamic visual effect. Small changes in font style or spacing can dramatically impact the overall aesthetic.
Creative Display Options
Think beyond traditional mounting. Adjustable frames or interchangeable panels allow you to update your display effortlessly. This is perfect for businesses that frequently change promotions or events.
Incorporate illuminated backdrops for added depth. Use materials like acrylic or aluminum to create a sleek, professional look. These elements not only enhance the design but also improve durability.
Here are some creative ideas to inspire you:
- Use mixed materials like wood and metal for a bold contrast.
- Add decorative trim or stencils for a personalized touch.
- Experiment with RGB LED strips for customizable lighting effects.
“Customization transforms a simple display into a statement piece that reflects your personality or brand identity.”
By exploring these ideas, you’ll create a display that’s not only functional but also uniquely yours. Let your creativity shine and make your space truly one-of-a-kind.
Benefits for Home Theaters and Branding
A well-designed LED display can transform both your home theater and business branding efforts. Its versatility makes it a valuable addition to any space, whether for personal enjoyment or professional promotion.
Enhancing Your Home Theater Experience
In a home theater, a backlit sign adds a touch of sophistication. The illuminated lettering creates a striking focal point, enhancing the ambiance of your entertainment room. It’s not just a functional piece but also a decorative element that elevates the overall look.
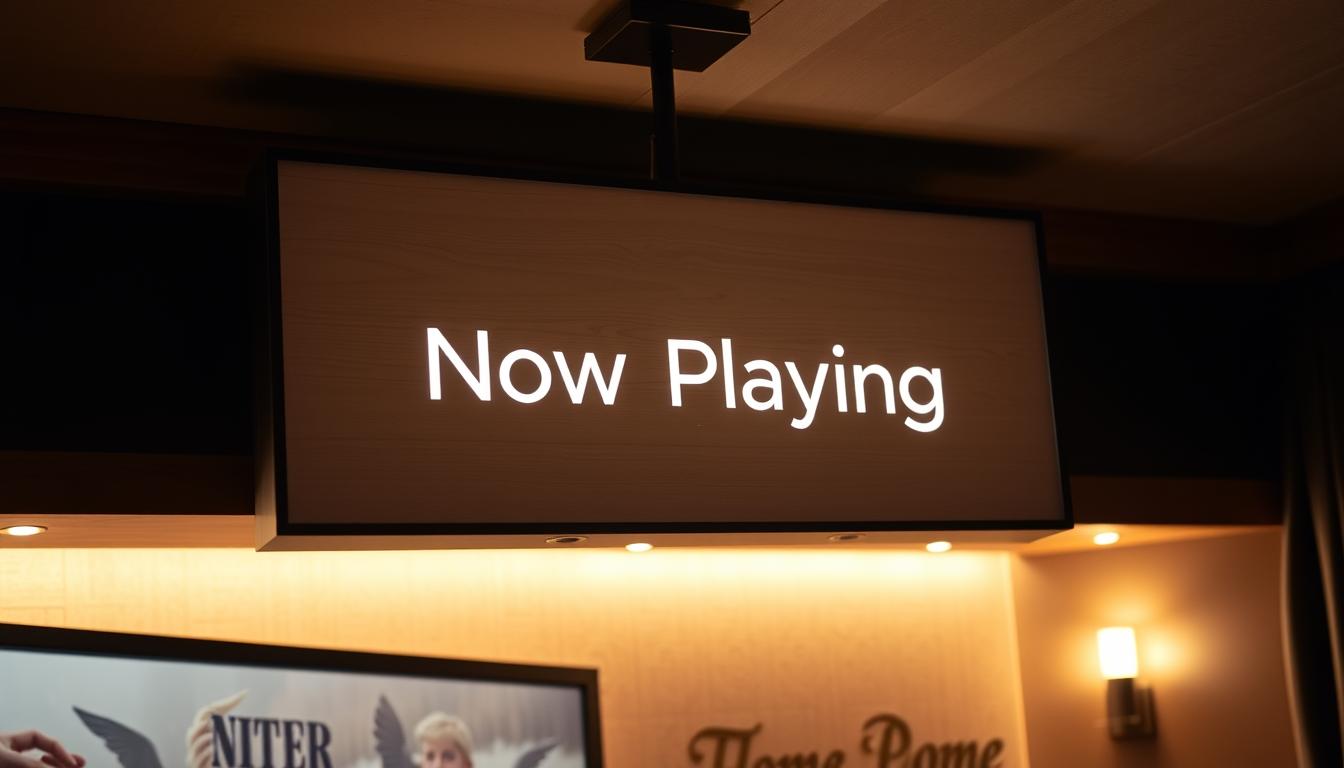
Positioning the sign strategically ensures maximum impact. Place it near the screen or as part of a themed wall to unify your décor. The soft glow of the light adds depth and warmth, making your theater feel more immersive.
Boosting Business Branding
For businesses, LED signage is a powerful tool for brand promotion. Its high visibility ensures your message stands out, whether in a storefront or at an event. The modern design of backlit signs aligns with contemporary marketing trends, making your business appear more professional.
Here’s how businesses can benefit:
- Consistent brand image across all displays.
- High visibility in low-light conditions.
- Energy-efficient LED technology reduces operational costs.
“A well-placed LED sign not only attracts attention but also reinforces your brand identity, making it a smart investment for any business.”
Practical Positioning Tips
Whether for home or business, positioning is key. For home theaters, ensure the sign complements the room’s layout. In commercial settings, place it where it’s easily visible to your target audience. Consider integrating it into a larger design scheme for a cohesive look.
By combining functionality with style, a backlit sign offers endless possibilities. It’s a creative solution that enhances both personal and professional spaces, making it a versatile addition to any setting.
Maintenance and Longevity of Your LED Board
Maintaining your LED board ensures it remains a standout piece in your space for years to come. Regular care not only preserves its appearance but also enhances its performance and safety. Here’s how to keep your sign looking and functioning like new.
Regular Maintenance Tips
Start by cleaning the wood and LED components regularly. Dust buildup can dull the light and affect the overall look. Use a soft cloth and mild cleaner to wipe down the surfaces. Avoid harsh chemicals that could damage the materials.
Check and tighten any loose hardware periodically. Screws and fasteners can loosen over time, especially in high-traffic areas. Tightening them ensures the frame remains sturdy and secure.
Inspect the LED wiring and power connections for wear and tear. Look for frayed wires or loose connections, which can affect the light’s performance. Replace damaged parts promptly to avoid bigger issues.
Reseal or refinish the wood to protect it from moisture. This step is especially important if your sign is exposed to varying weather conditions. A fresh coat of sealant can extend the life of the wood and maintain its appearance.
Maintenance Schedule
Create a routine to keep your board in top condition. Here’s a simple schedule to follow:
- Clean the surfaces monthly to prevent dust buildup.
- Inspect hardware every three months and tighten as needed.
- Check wiring and connections biannually for wear and tear.
- Reseal the wood annually to protect against moisture.
“Proper maintenance not only preserves your LED board but also ensures it continues to enhance your brand or space effectively.”
Troubleshooting Minor Issues
Address small problems before they escalate. If the light flickers, check the power supply and connections. For uneven illumination, ensure the LED strips are evenly spaced and properly installed.
By following these tips, you’ll extend the life of your LED board and keep it looking professional. Regular care ensures your sign remains a valuable addition to your space for years to come.
Conclusion
Crafting a custom LED display combines creativity and precision, offering a unique way to enhance your space. By carefully planning each step and using quality materials, you can achieve professional results that stand out. This project blends traditional woodworking with modern LED technology, creating a piece that’s both functional and stylish.
From precise measurements to proper wiring, every detail matters. Regular maintenance ensures your sign remains vibrant and durable over time. Whether for your home theater or business branding, this project adds a personal touch that captivates attention.
We encourage you to try this project and explore further customization options. Share your experience and creative variations to inspire others. With the right approach, you can create a display that reflects your brand or personal style, making your space truly one-of-a-kind.
FAQ
What materials are essential for this project?
You’ll need oak wood for the frame, LED light strips, acrylic panels for backlit lettering, and basic tools like a saw, drill, and sandpaper.
How do I choose the right LED lighting for my board?
Opt for energy-efficient LED strips with adjustable brightness. Ensure they match the size of your frame and provide even illumination for the lettering.
What are the advantages of using backlit lettering?
Backlit lettering enhances visibility, adds a professional touch, and creates a modern aesthetic. It’s perfect for home theaters or branding displays.
How do I secure the letters to the board?
Use adhesive or small brackets to attach the acrylic letters to the panel. Ensure they’re evenly spaced and aligned for a polished look.
What safety precautions should I take during assembly?
Wear protective gear like gloves and goggles. Handle tools carefully, and ensure all electrical connections are secure before powering the LED lights.
Can I customize the design for branding purposes?
Absolutely. You can personalize the lettering, choose specific colors, or add logos to align with your brand’s identity.
How do I maintain the LED board for longevity?
Regularly clean the surface, check wiring connections, and replace any worn-out LED strips to keep your board in top condition.
What are some creative display options for this project?
Consider mounting it on a wall, placing it on a stand, or integrating it into a larger display setup for maximum impact.
How does this project enhance a home theater experience?
It adds a professional and stylish element to your space, making it perfect for displaying movie titles or music playlists.
What are common issues I might encounter during assembly?
Uneven lighting, loose letters, or wiring problems are typical. Double-check measurements and connections to avoid these issues.


