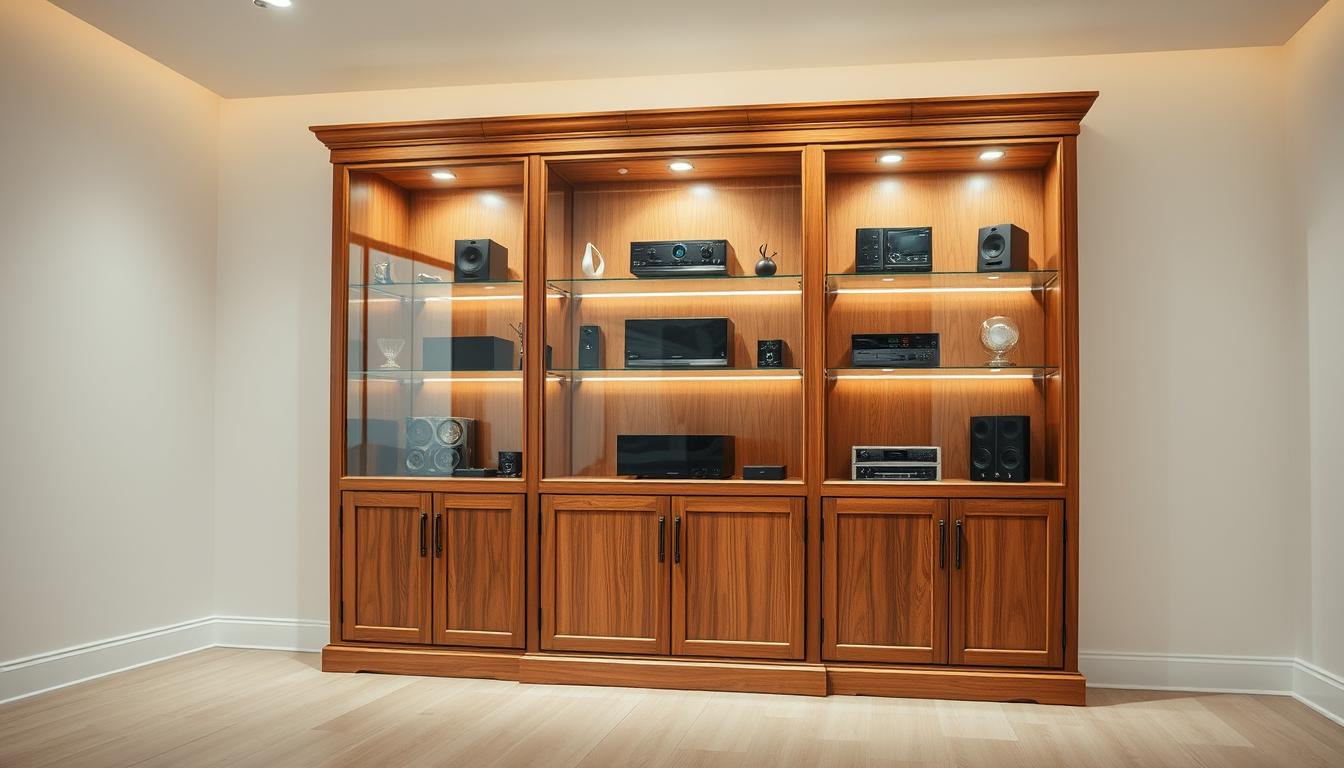
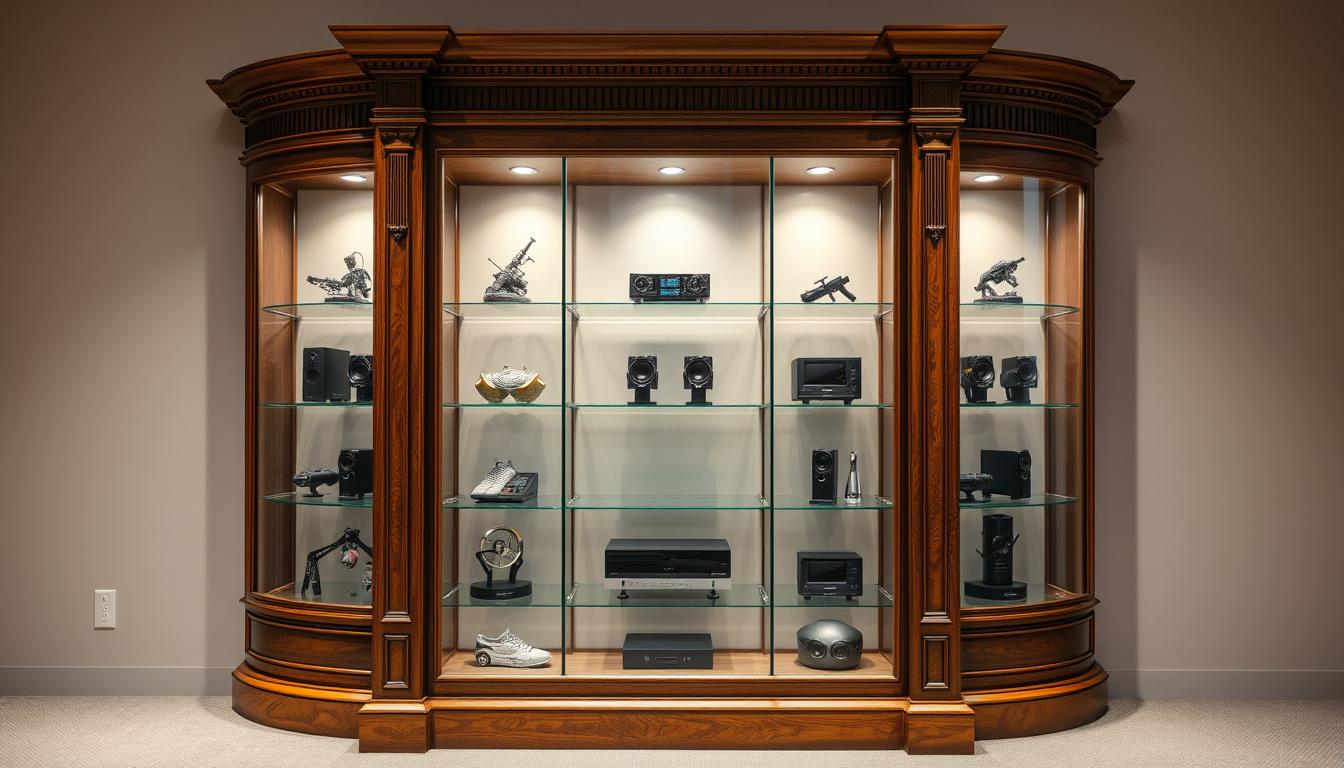
Did you know that 71% of people prefer watching new releases at home? This shift has made home theaters more popular than ever. With this trend, protecting and showcasing your collectibles becomes essential. A custom-built display case is the ideal solution to elevate your setup.
Creating your own case allows you to tailor it to your space and style. Using glass panels ensures visibility, while materials like walnut wood add durability and elegance. Optional leather linings can further enhance the aesthetics, making it a standout piece in your room.
This article will guide you step-by-step, from selecting materials to assembling the final product. You’ll learn how to make precise cuts, secure panels, and add finishing touches. By the end, you’ll have a display case that not only protects but also beautifully showcases your collectibles.
Key Takeaways
- Custom-built cases offer tailored solutions for your home theater.
- Glass panels provide visibility while wood ensures durability.
- Material selection impacts both aesthetics and longevity.
- Step-by-step guidance simplifies the building process.
- A well-designed case keeps collectibles safe and stylish.
Planning, Materials, and Tools for Your Project
Proper preparation is the foundation of any DIY project. Before you start, take accurate measurements to determine the size of your case. This ensures it fits your space and showcases your collectables perfectly.
Selecting the Right Wood, Glass, and Lining Materials
Choosing the right materials is crucial. Walnut wood is a popular choice for its durability and elegant finish. Pair it with glass panels for clear visibility and leather linings for added sophistication.

When selecting wood, avoid pieces with knots or imperfections. These can weaken the structure. For glass, opt for tempered or acrylic panels for safety and clarity. Leather linings should be smooth and easy to clean.
Gathering Essential Tools and Safety Equipment
Having the right tools makes the process smoother. A miter saw is essential for precise 45-degree cuts. The Kreg Pocket Hole Jig ensures strong joints, while the Microjig Grr-ripper enhances safety during cutting.
Don’t forget safety equipment like dust masks and safety goggles. These protect you from debris and ensure a safe working environment. Proper planning and preparation set the tone for a successful build.
Building the Perfect Wooden Display Case for Your Home Theater Collectibles
Crafting a custom showcase starts with precise measurements and cuts. This ensures every piece fits perfectly and aligns with your design. Begin by marking your wood pieces according to your plans, using a tape measure and pencil for accuracy.
Cutting, Measuring, and Preparing Wood Pieces
Use a miter saw or tablesaw to cut each piece to size. Ensure the blade is sharp for clean edges. Double-check measurements before cutting to avoid errors. Test cuts on scrap wood can help you refine your technique.

Creating Accurate 45-Degree Miters and Splined Joints
For a professional finish, create 45-degree miter joints. Use a miter gauge to guide your cuts. Insert splines into the joints for added strength. This step ensures your box sides are sturdy and well-aligned.
Dry Fitting and Assembling Box Sides and Panels
Before applying glue, dry fit all pieces together. This helps verify alignment and identify any adjustments needed. Once satisfied, assemble the sides and panels using clamps to hold them in place. Precision at this stage ensures a seamless final product.
Taking these steps carefully avoids common errors and ensures your showcase is both functional and visually appealing. With every piece aligned, your collectables will be beautifully protected and displayed.
Finishing Touches and Custom Display Enhancements
The final steps bring your project to life, adding both functionality and elegance. These enhancements ensure your display box is not only practical but also a standout piece in your space. From installing the glass to aligning the lining, every detail matters.
Installing Glass and Aligning the Interior Lining
Start by placing the glass panel into the frame. Ensure there’s enough space between the glass and your collectibles to avoid scratches. Use a soft cloth to clean the surface before installation for a clear view.
Next, align the inner lining. Choose between leather, felt, or handmade paper based on your preference. Secure it evenly using adhesive, ensuring no wrinkles or gaps. This step adds a touch of sophistication while protecting your items.
Incorporating Shelves, Notches, and Customizations for Collectibles
Add custom shelves to accommodate items of different sizes. Measure carefully to ensure they fit snugly. Carve notches into the wood for irregularly shaped pieces, providing a secure place for each item.
For a polished finish, smooth out the edges with a flush trim bit. Apply glue to secure any loose parts. These final touches not only enhance the aesthetics but also ensure durability for long-term use.
| Step | Details |
|---|---|
| Install Glass | Ensure proper spacing and clean the surface. |
| Align Lining | Choose material and secure evenly. |
| Add Shelves | Measure and carve notches for customization. |
| Final Finish | Smooth edges and secure with glue. |
These finishing touches transform your project into a professional, functional piece. With attention to detail, your display case will beautifully showcase and protect your collectibles for years to come.
Conclusion
Creating a custom display box is a rewarding project that combines functionality with style. From planning to finishing, each step requires precision and attention to detail. Proper measurements, accurate cuts, and secure joints ensure a sturdy and elegant piece.
Using the right tools, like a sharp blade and quality glue, makes the process smoother. Adding features like shelves and panels enhances its practicality. These elements allow you to showcase your items beautifully while keeping them safe.
Safety is key throughout the build. Always use protective gear and double-check your work. Once complete, your display case will be a standout addition to your space. Mount it on the wall to highlight your collection and enjoy the results of your effort.
For more ideas on enhancing your home entertainment setup, explore home theater in a box systems. They offer a convenient way to elevate your viewing experience.
FAQ
What type of wood is best for a display case?
Hardwoods like oak, maple, or cherry are ideal for durability and aesthetics. They provide a sturdy base and a polished finish for your collectibles.
How do I ensure precise 45-degree miter cuts?
Use a miter saw with a sharp blade and a protractor for accuracy. Double-check measurements before cutting to avoid gaps in the joints.
What safety equipment is essential for this project?
Safety goggles, gloves, and a dust mask are crucial. They protect you from wood particles and debris during cutting and sanding.
How do I align the glass panel correctly?
Measure the opening carefully and use a glass cutter for a precise fit. Secure the panel with silicone adhesive to prevent shifting.
Can I add shelves to the display case?
Yes, you can incorporate adjustable shelves by creating notches or using shelf pins. This allows flexibility for different-sized collectibles.
What lining material works best for the interior?
Felt or velvet lining is popular for its soft texture and ability to protect delicate items from scratches or damage.
How do I finish the wood for a professional look?
Sand the surface thoroughly and apply a stain or varnish. Use a brush or cloth for even coverage, and let it dry completely before assembly.
What tools are needed for splined joints?
A table saw with a dado blade is essential for creating splines. Ensure the blade is set to the correct depth for a snug fit.
How do I customize the case for specific collectibles?
Measure your items and adjust the interior dimensions accordingly. Add dividers or foam inserts for added protection and organization.
What’s the best way to secure the back panel?
Use wood glue and brad nails for a secure fit. Ensure the panel is flush with the edges to maintain stability.


