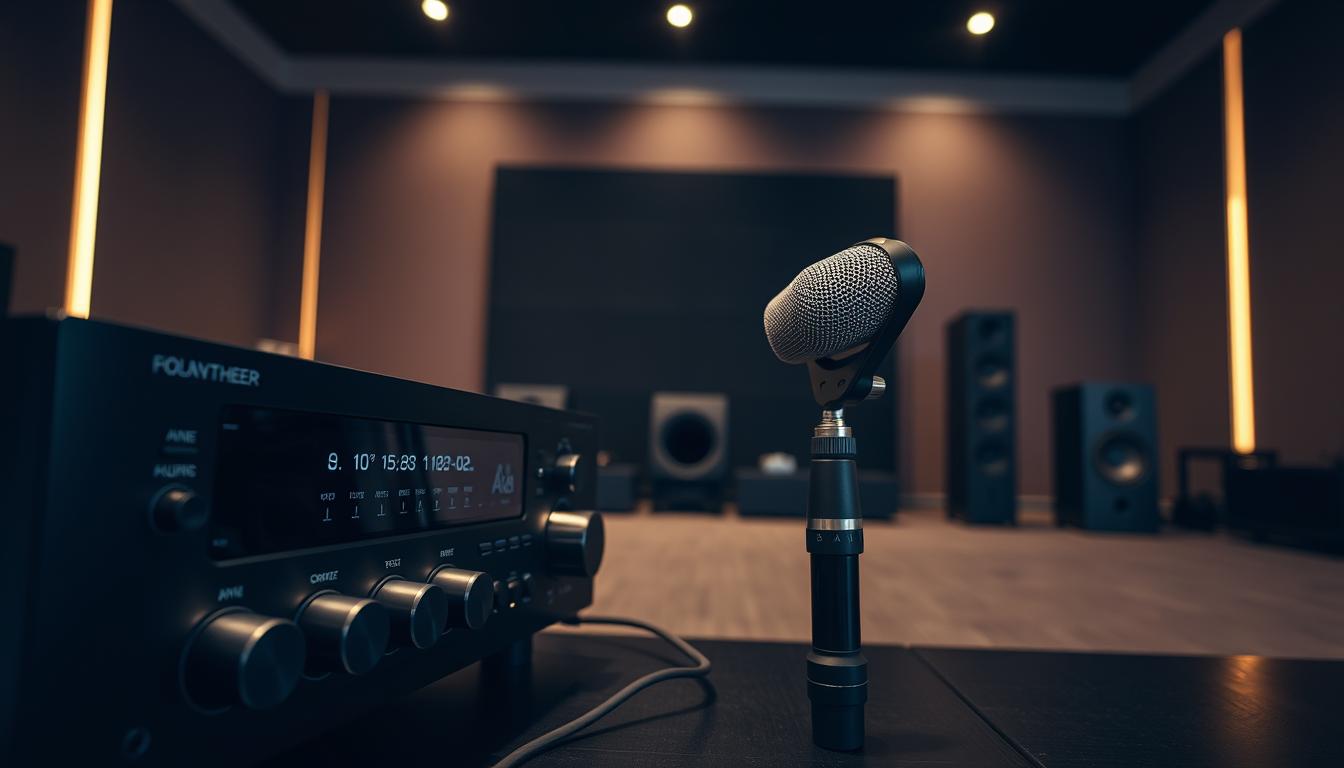

Over 60% of home theater systems never reach their full potential because owners skip a critical step: proper calibration. While modern receivers offer auto-setup features, most users press “skip” instead of letting the system analyze their room’s acoustics. The result? A $2,000 setup that sounds like a $500 bargain-bin special.
Professional installers reveal a shocking truth – even premium systems often get reduced to glorified cable boxes. Wires get connected, but crucial audio adjustments gather dust in menu settings. This oversight creates a sonic mismatch between your equipment and your space, like wearing noise-canceling headphones in a silent room.
Calibration transforms this relationship. It aligns your receiver with your room’s unique dimensions, furniture placement, and speaker positions. The process ensures dialogue cuts through explosions, subtle sound effects don’t get drowned out, and bass responses don’t rattle your windows unnecessarily.
Key Takeaways
- Proper calibration maximizes audio quality beyond basic speaker connections
- Auto-setup features require completion to achieve intended results
- Room acoustics dramatically impact sound reproduction accuracy
- Uncalibrated systems often underperform their price point
- Professional-grade results require systematic adjustment processes
Understanding the Importance of Calibration in Home Theaters
Most listeners never realize their system’s true capabilities because room acoustics sabotage audio performance. Your space isn’t just a container for speakers – it’s an active participant in shaping what you hear. Room correction tools bridge the gap between technical specs and real-world listening experiences.

Why Calibration Matters for Optimal Sound
Identical speaker setups produce wildly different results across rooms. Hardwood floors amplify high frequencies, while thick curtains absorb them. Low ceilings create echo chambers, and asymmetrical layouts skew directional effects. Calibration accounts for these variables, ensuring dialogue clarity and balanced bass.
Impact of Room Acoustics on Audio Quality
Sound waves bounce off surfaces, creating peaks and nulls that distort frequencies. A couch might absorb midrange tones, while glass windows reflect treble. Standing waves – those boomy bass spots – develop where waves reinforce each other. Room correction software maps these interactions, applying precise adjustments to counteract acoustic anomalies.
Professional studios use specialized treatments like bass traps, but modern DSP technology brings similar benefits to home theaters. By analyzing your space’s unique fingerprint, calibration tools restore the mix engineers originally crafted. The result? Explosions feel thunderous without overpowering whispers, and musical details emerge from what was once sonic mud.
Setting Up Your Home Theater Receiver and Surround Sound System
Proper speaker placement transforms your home theater from average to cinematic. Symmetrical arrangements create balanced soundfields that make explosions feel expansive and dialogue crystal clear. Start by measuring distances from your primary seating area – this foundation determines how well your system performs.

Establishing Correct Speaker Placement
Left and right speakers must form an equilateral triangle with your main listening position. Keep them identical distances from walls to prevent uneven bass buildup. Angled speakers? Maintain matching tilt degrees – even 5° differences skew directional effects.
Configuring Speaker Fine-Tuning and Angles
Play vocal-heavy tracks to test imaging. Adjust speaker toe-in until voices appear centered – this phantom center effect indicates optimal staging. For surround systems, position rear speakers 110-120° from seating. When integrating multiple subwoofers, place them asymmetrically to combat room modes.
| Optimal Practice | Common Mistake | Impact on Sound |
|---|---|---|
| 48″ from side walls | Corners or alcoves | Reduced echo |
| 30° toe-in angle | Facing straight ahead | Wider soundstage |
| Ear-level tweeters | Floor placement | Clearer dialogue |
Fine-tuning speaker positions first lets room correction software address acoustic issues rather than compensating for poor placement. Your receiver’s auto-setup works best when given a strong foundation – think of it as tuning a guitar before applying effects.
How to Calibrate Your Receiver Using Room Correction Software
Today’s home theater tech does the heavy lifting for you. Automated calibration transforms complex audio adjustments into a guided process. Simply connect the included measurement mic and let your receiver analyze the space.

Proper mic placement makes or breaks results. Position the device at ear level in your primary seating area. If your receiver didn’t come with a tripod, grab a $15 photography model – it ensures consistent height across measurements.
Follow these key steps during the automated sequence:
| Best Practice | Common Error | Result Difference |
|---|---|---|
| Mic pointed upward | Angled toward speakers | Accurate frequency capture |
| Silent room environment | Running AC during test | Clean acoustic analysis |
| Multiple measurement positions | Single seat calibration | Balanced surround imaging |
On-screen prompts walk you through each phase. Modern interfaces use color-coded indicators and progress bars. You’ll see real-time adjustments as the correction software maps your room’s unique acoustic signature.
Complete the process in under 15 minutes for theater-quality sound. The system stores multiple profiles – perfect for different seating arrangements or content types. Your receiver becomes a customized audio engine, tailored to your space’s exact dimensions and materials.
Step-by-Step Guide to Room Correction Setup
Accurate room correction starts with proper preparation. Your space must mirror real-world listening conditions to capture authentic acoustic data. Keep curtains closed if you typically watch movies that way, and leave recliners in their usual positions. This creates measurement conditions matching your actual entertainment habits.

Preparing Your Room and Equipment
Silence background noise sources before starting. Turn off air conditioning, ceiling fans, and electronics that produce hums or vibrations. Even a running projector can skew results by adding 15-20 dB of ambient noise. These steps ensure clean signal capture during the measurement process.
Running Test Tones and Taking Measurements
Position the measurement microphone at ear level in your primary seating area. Point it straight upward to align with factory calibration files. Most systems require 3-8 measurement positions around this central point for comprehensive analysis.
Follow this sequence for optimal results:
- Place the mic precisely where your head rests during viewing
- Maintain complete silence during test tone sweeps
- Allow the software to complete full frequency range scans
The correction system maps how sound interacts with walls, furniture, and flooring. It identifies frequency peaks needing adjustment and calculates optimal speaker delays. This room-specific tuning ensures balanced audio across all seating positions.
Optimizing Speaker Levels and Distance Settings
Perfect audio balance requires more than plug-and-play setups. Your system’s amplifier delivers equal power to all channels, but real-world factors create uneven listening experiences. Speaker efficiency varies between models, and room placement alters perceived volume.

Balancing Volumes with SPL Meters
Smartphone SPL meter apps transform guesswork into precision. Set your receiver’s test tone generator to play pink noise through each speaker individually. Aim for 75dB readings at your primary seat – this reference level matches professional mixing studios.
Common adjustments include:
- Boosting center channel dialogue clarity
- Reducing overpowering surround effects
- Fine-tuning subwoofer output to room size
Adjusting Speaker Distance for Time Alignment
Sound travels at 1,130 feet per second – delays as small as 1ms disrupt surround imaging. Measure each speaker’s exact distance from your listening position using a laser tape measure. Input these values into your receiver’s settings for synchronized audio arrival.
| Measurement Technique | Typical Error | Audible Impact |
|---|---|---|
| Laser distance tool | Pacing steps | ±3ms delay |
| Ear-level mic placement | Chest-height positioning | Muffled highs |
| 3-position averaging | Single-point reading | Uneven coverage |
These foundational settings let advanced room correction focus on frequency issues rather than basic timing errors. Your system gains the equivalent of a musical conductor – ensuring every element plays in perfect harmony.
Integrating Advanced Audio Settings and DSP Features
Modern home theater systems hide a secret weapon for breathing new life into stereo recordings. Your receiver’s digital signal processor can transform vintage tracks and classic films into immersive soundscapes that fill your entire speaker array.

Enhancing Stereo to Surround Sound Conversion
Navigate your receiver’s input settings to activate upmixing modes. For music streaming, Dolby Surround preserves original instrumentation while expanding spatial effects. Movie buffs prefer DTS Neural:X for its dynamic object-based processing.
| Processing Mode | Key Technique | Best For |
|---|---|---|
| Dolby Surround | Channel-based expansion | Music streaming |
| DTS Neural:X | Object-oriented mapping | Film content |
| Auro-Matic 3D | Height channel simulation | Legacy recordings |
Configure these settings per input source. Your Blu-ray player might auto-detect surround formats, while vinyl inputs need manual activation. This ensures dialogue always anchors to the center channel – crucial for clear vocal reproduction.
Advanced systems analyze audio signals in real-time, redirecting specific frequencies to appropriate speakers. The result? A concert-hall experience from mono recordings and precise effects placement in vintage films. Your full speaker complement finally earns its keep.
Leveraging Room Correction Software Features and Tools

Modern room correction systems transform raw speaker output into precision-tuned audio. These platforms analyze your space’s acoustic fingerprint, then apply surgical adjustments through your receiver’s digital signal processor. The difference between basic auto-setup and advanced correction lies in customization depth.
Platform Power: Dirac Live vs. Audyssey MultEQ
Dirac Live takes a scientific approach, targeting specific frequency ranges where rooms cause the most distortion. Its limited bandwidth version (20Hz-500Hz) tackles bass issues, while full-range correction polishes higher frequencies. Audyssey MultEQ focuses on broader adjustments, making it ideal for casual users seeking quick improvements.
| Feature | Dirac Live | Audyssey MultEQ |
|---|---|---|
| Frequency Range | 20Hz-20kHz | 10Hz-24kHz |
| Bass Control | Phase alignment | EQ optimization |
| Customization | Full curve editing | Preset filters |
“Focus correction efforts below 300Hz – that’s where rooms wreak havoc on sound quality.”
Tailoring Your Acoustic Profile
Advanced systems let you create multiple correction profiles. Design a “movie night” preset that boosts surround effects, or a “music listening” mode with tighter bass. Dirac Live Bass Control takes this further by syncing subwoofers with main speakers through phase alignment.
Entry-level processors automate most adjustments, while pro-grade tools offer manual curve editing. Start with automatic measurements, then fine-tune problematic frequencies using your receiver’s graphic EQ. This hybrid approach balances convenience with precision.
Expert Tips for Fine-Tuning Your Calibration
The final 10% of performance comes from manual tweaks after automated setup. While room correction software handles major issues, expert adjustments unlock reference-quality audio. These techniques bridge the gap between good and exceptional sound reproduction.
Adjusting Crossover Settings and Bass Control
Set all speakers to “small” in your receiver’s menu – even large towers. An 80Hz crossover frequency lets your subwoofer handle heavy lifting below this threshold. This reduces distortion and improves midrange clarity.
| Speaker Size | Recommended Crossover | Benefit |
|---|---|---|
| Bookshelf | 80-100Hz | Protects from bass strain |
| Tower | 60-80Hz | Maintains vocal presence |
| In-wall | 100-120Hz | Compensates for placement |
Bass management requires balancing multiple factors. Phase alignment ensures your subwoofer’s output syncs with main channels. Use test tones to identify cancellation points where frequencies clash.
Implementing Physical Acoustic Treatments
Room correction software can’t fix everything. Bass traps in corners absorb low-end buildup, while absorbers on first reflection points tame harsh echoes. Diffusers scatter sound waves for natural ambience.
- Place 4″ thick absorbers at ear level
- Install bass traps across room corners
- Use diffusers on rear walls for surround effects
“Treatments address 40% of acoustic issues – software handles the remaining 60%. Combine both for professional results.”
Complete acoustic adjustments before running final calibration sweeps. This layered approach ensures your system compensates only for unavoidable room anomalies.
Conclusion
Your home theater’s true potential lies dormant until room correction technology unlocks its full sonic capabilities. This personalized approach transforms generic audio into a tailored experience that respects your space’s unique architecture and acoustics.
Regular recalibration maintains peak performance as rooms evolve. Did you rearrange furniture or upgrade speakers? These changes alter sound wave interactions, requiring fresh adjustments. Even minor shifts in seating positions benefit from updated measurements.
Advanced systems adapt to both physical modifications and new content formats. Whether streaming immersive Dolby Atmos tracks or spinning vintage vinyl, proper calibration settings ensure every format shines. Your receiver becomes a chameleon, optimizing output for each listening scenario.
Embrace this powerful tool to elevate movie nights and music sessions alike. With periodic fine-tuning and attention to room dynamics, your home theater system consistently delivers studio-grade audio precision – exactly as creators intended.
FAQ
Does room correction software replace physical acoustic treatments?
No. While software like Dirac Live or Audyssey MultEQ compensates for room flaws, physical treatments (bass traps, diffusers) address root acoustic issues. Combining both delivers optimal sound quality in your home theater.
How often should I recalibrate my surround sound system?
Recalibrate after moving speakers, adding furniture, or changing room layout. For stable setups, check calibration every 6-12 months. Many AV receivers store multiple correction profiles for different content types.
Can I use multiple subwoofers with room correction systems?
Yes. Advanced receivers like Denon’s AVR-X series support dual subwoofers. Software analyzes bass response across seating areas, optimizing low-frequency distribution. Proper placement remains critical for balanced bass.
Why do my front speakers sound quieter after calibration?
Room correction adjusts levels to compensate for boundary gain (wall reflections) and listening distance. Verify measurements with an SPL meter. If discrepancies persist, manually tweak channel levels post-calibration.
Do HDMI cables affect room correction accuracy?
High-speed HDMI cables certified for 18Gbps+ ensure stable signal transmission during test tones. While cheap cables might introduce artifacts, they don’t directly alter calibration measurements.
Should I run room correction with furniture in place?
Absolutely. Sofas, rugs, and curtains impact acoustics. Always calibrate in your final room configuration. Move temporary obstructions, but keep permanent elements that influence sound reflections.
Can room EQ fix phase issues between speakers?
Modern systems like Anthem Room Correction analyze phase alignment. They adjust timing delays to synchronize drivers. For severe phase problems, check wiring polarity and speaker positioning first.
Why does bass still sound uneven after calibration?
Room modes create nulls/peaks below 300Hz. Use the receiver’s parametric EQ for targeted adjustments. Consider adding bass traps or relocating subwoofers. Measurement tools like REW help identify problem frequencies.
