Did you know a single custom shelf can hold up to 500 DVDs? That’s enough space to organize your entire collection in one place. If you’re tired of cluttered media storage, this project is for you.
Creating a dedicated storage solution isn’t just about functionality—it’s about blending aesthetics with practicality. Inspired by popular DIY tutorials, this guide will walk you through every step, from selecting the right wood to adding the finishing touches.
You’ll learn how to choose materials like sturdy boards and reliable glue. Precision is key, whether you’re drilling holes or measuring the height of each piece. With careful planning, your shelf will provide the support your collection needs.
Ready to dive in? Let’s explore how to build a shelf that’s as unique as your media library.
Key Takeaways
- Custom shelves maximize storage while enhancing room decor.
- Proper planning ensures stability and durability.
- DIY projects allow for personalized height and depth.
- Using quality wood and tools guarantees a professional finish.
- Step-by-step guidance simplifies the building process.
Overview and Materials for Your Shelf Project
Building a sturdy storage solution starts with the right materials and tools. Whether you’re a seasoned DIYer or a beginner, selecting high-quality supplies ensures your project is both functional and visually appealing. This section will guide you through the essentials, from choosing the best wood to gathering the necessary tools.

Gathering Essential Supplies and Tools
To create a durable and stylish shelf, you’ll need a few key items. Here’s a breakdown of the essentials:
- Wood: Opt for laminated panels or quality boards, typically 18mm thick, for stability.
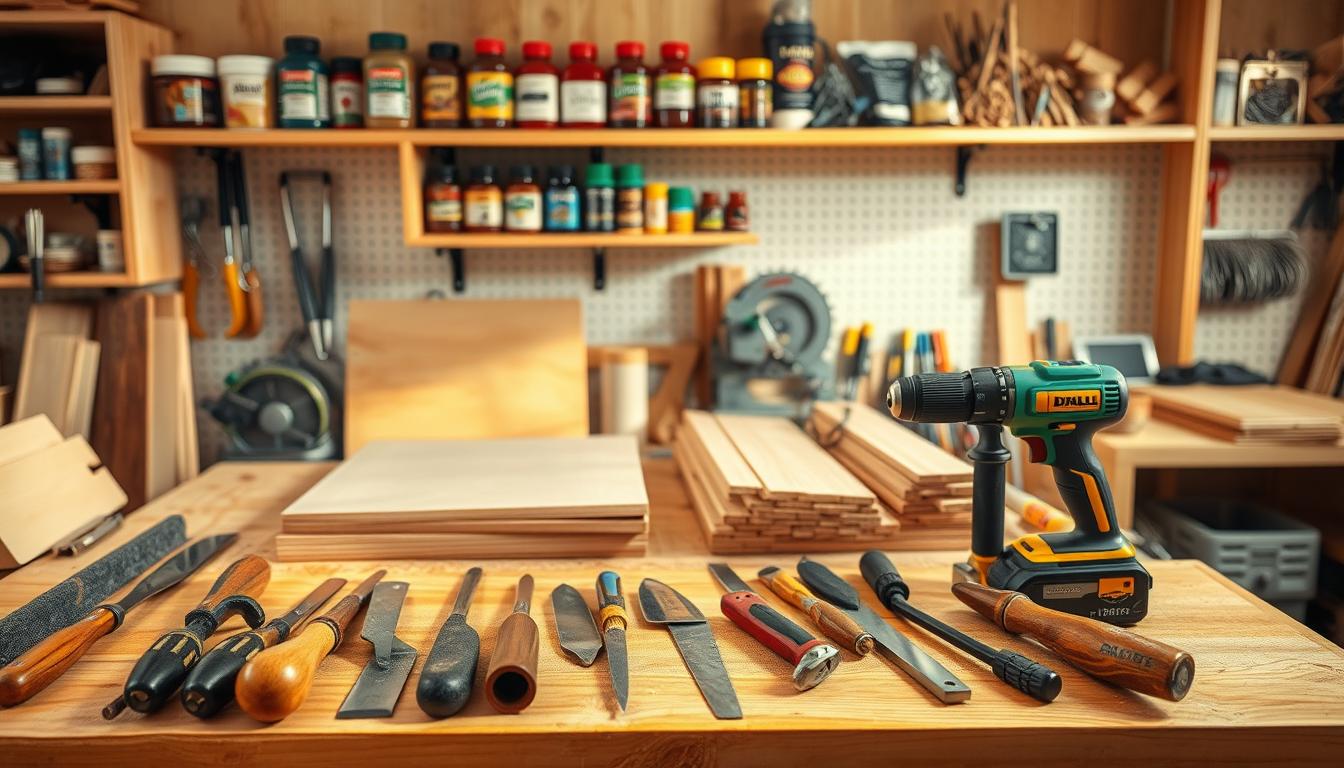
- Tools: A mitre saw, drill driver, measuring tape, and clamps are must-haves.
- Fasteners: Pocket hole screws and wood glue ensure strong joints.
- Finishing Supplies: Sandpaper (up to 240 grit) and linseed oil for a smooth, polished look.
Using the right tools not only saves time but also guarantees precision. For example, a pocket hole jig helps create hidden joints, while a mitre saw ensures clean, accurate cuts.
Understanding Wood Dimensions and Quality
The dimensions of your wood play a crucial role in the shelf’s stability and appearance. Standard DVD width is 140mm, so a board width of 200mm provides ample support. When purchasing wood, consider these tips:
- Choose boards that are straight and free of knots for a professional finish.
- Rip wood to 200mm width to match the standard DVD size.
- Measure twice and cut once to avoid mistakes.
Preparing the wood is a critical step. Start by purchasing materials from a local lumber yard, then adjust dimensions as needed. For instance, laminated panels measuring 1800mm x 600mm x 18mm are ideal for this project.
Proper planning and high-quality materials are the foundation of a successful build. If you’re looking for more DIY inspiration, check out this guide on constructing a riser platform for home. It’s a great resource for enhancing your home entertainment setup.
Planning and Design Considerations
Proper planning is the backbone of any successful DIY project. Before you pick up a tool, take the time to visualize your space and map out your design. This ensures your shelf not only fits perfectly but also enhances the room’s aesthetics.

Selecting Your Location and Visualizing the Space
Start by choosing the ideal spot for your shelf. Consider areas like basements or landing spaces, where it can serve both functional and decorative purposes. Measure the wall space carefully, accounting for room height and available width.
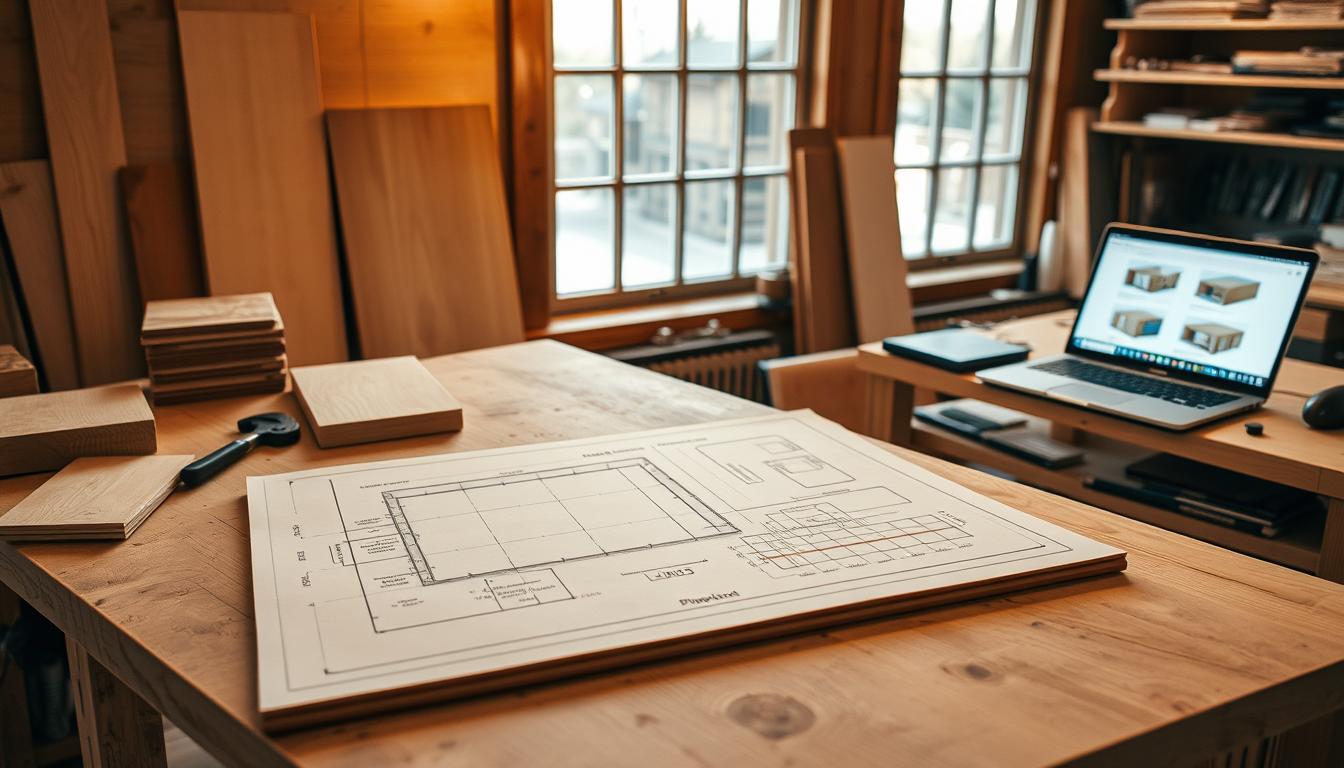
Visualizing the final product helps you make informed design decisions. For example, aligning the shelf with eye level ensures easy access while maintaining a balanced look. Use a tape measure to mark the exact dimensions, and sketch a rough layout to guide your build.
Measuring, Cutting Plans, and Customization Options
Accurate measurements are crucial for a seamless fit. Use a cutting plan to determine the size of each board, ensuring it accommodates your media collection. Customization allows you to tailor the design to your unique needs.
For instance, if your room has unconventional dimensions, adjust the standard plans accordingly. A pocket hole jig can help create hidden joints, while a mitre saw ensures clean, precise cuts. This step-by-step approach minimizes errors and maximizes functionality.
Remember, a well-planned project saves time and resources. By carefully measuring and customizing your design, you’ll create a shelf that’s both practical and visually appealing.
Constructing Wooden Shelves for Blu-ray and DVD Collections
Crafting a custom storage solution requires precision and attention to detail. This section will guide you through the entire process, from cutting and drilling to assembly and finishing. Follow these steps to create a sturdy and visually appealing shelf for your media collection.
Step-by-Step Cutting, Drilling, and Assembly
Start by cutting the board to 200mm width, ensuring it matches the standard DVD size. Use a mitre saw for clean, accurate cuts. Next, drill pocket holes with a depth of 18mm and spacing of 100mm. This ensures strong joints for the assembly.
Assemble the pieces using clamps and pocket hole screws. Align each piece carefully to maintain squareness. For added stability, use corner clamps during the assembly process. This step-by-step approach minimizes errors and ensures a professional finish.
Techniques for Strengthening Joints and Attaching Shelves
Reinforce joints by applying wood glue before inserting screws. This creates a durable bond that withstands weight. Attach middle shelf support pieces to provide extra strength. Verify internal dimensions to ensure a perfect fit for your media collection.
Secure the shelf to the wall using hollow wall anchors or angle brackets. This prevents tipping and ensures safety. Double-check the alignment before tightening all screws. Proper reinforcement guarantees a long-lasting storage solution.
Finishing Touches: Sanding, Filling, and Sealing
Sand the entire shelf with 240-grit sandpaper for a smooth surface. Fill pocket holes with wood plugs for a seamless look. Apply Danish oil in two coats, waiting 30 minutes between applications. This enhances the wood’s natural appearance and durability.
For added protection, consider applying a final coat of varnish after the oil cures for two weeks. This provides scratch resistance and a polished finish. These finishing steps ensure your shelf is both functional and aesthetically pleasing.
| Step | Tool/Supply | Purpose |
|---|---|---|
| Cutting | Mitre Saw | Precise board dimensions |
| Drilling | Drill Driver | Create pocket holes |
| Assembly | Clamps, Screws | Secure joints |
| Finishing | Sandpaper, Danish Oil | Smooth surface and protection |
Conclusion
Creating a functional and stylish storage solution is easier than you think. By following the steps outlined in this guide, you can build a shelf that’s both practical and visually appealing. Start with careful planning and precise measurements to ensure a perfect fit for your space.
Use quality materials like sturdy boards and reliable glue to guarantee durability. Each piece should be cut and assembled with attention to detail, reinforcing joints for added strength. Don’t forget the finishing touches—sanding and sealing protect the wood and enhance its natural beauty.
Enjoy the creative process and customize the design to suit your needs. A well-built shelf not only organizes your collection but also adds a personal touch to your room. For more tips and inspiration, revisit this article whenever you need guidance.
FAQ
What materials do I need to build a shelf for my Blu-ray and DVD collection?
You’ll need wood, screws, glue, a drill, a saw, and sandpaper. Choose high-quality wood like pine or oak for durability.
How do I determine the right height for my shelf?
Measure the height of your Blu-ray and DVD cases. Leave extra space for easy access and future additions.
What’s the best way to ensure my shelf is sturdy?
Use strong joints, secure screws, and add supports like brackets or braces to prevent sagging over time.
How do I attach the shelf to the wall?
Use wall anchors or screws directly into studs for a secure fit. A level will help ensure it’s straight.
Can I customize the shelf to fit my space?
Yes, measure your area and adjust the dimensions of the wood pieces. You can also add extra shelves or dividers.
What’s the best way to finish the shelf?
Sand the wood smooth, fill any holes, and apply a sealant or paint for a polished look and added protection.
How long does it take to complete this project?
Depending on your skill level, it can take a few hours to a full day. Plan ahead and work step-by-step for the best results.


