Did you know that building your own furniture can save you up to 50% compared to store-bought options? A multifunctional coffee table with hidden compartments not only enhances your living space but also adds a touch of creativity to your home theater setup. This project combines practicality with style, making it a perfect addition to any modern home.
Using high-quality wood and innovative design techniques, this piece transforms a simple table into a versatile storage solution. Whether you’re looking to declutter or add a unique element to your room, this project offers endless possibilities. The hidden compartments are perfect for storing remotes, magazines, or even blankets, keeping your space organized and stylish.
This guide will walk you through the entire process, from conceptualization to final assembly. You’ll learn how to integrate traditional woodworking methods with modern design trends, creating a piece that’s both functional and aesthetically pleasing. Get ready to elevate your home theater experience with this innovative storage solution.
Key Takeaways
- Save up to 50% by building your own furniture instead of buying it.
- High-quality wood ensures durability and a polished finish.
- Hidden compartments add functionality while maintaining a sleek design.
- Combines traditional woodworking with modern home theater trends.
- Perfect for decluttering and organizing your living space.
Introduction to Your DIY Home Theater Coffee Table Project
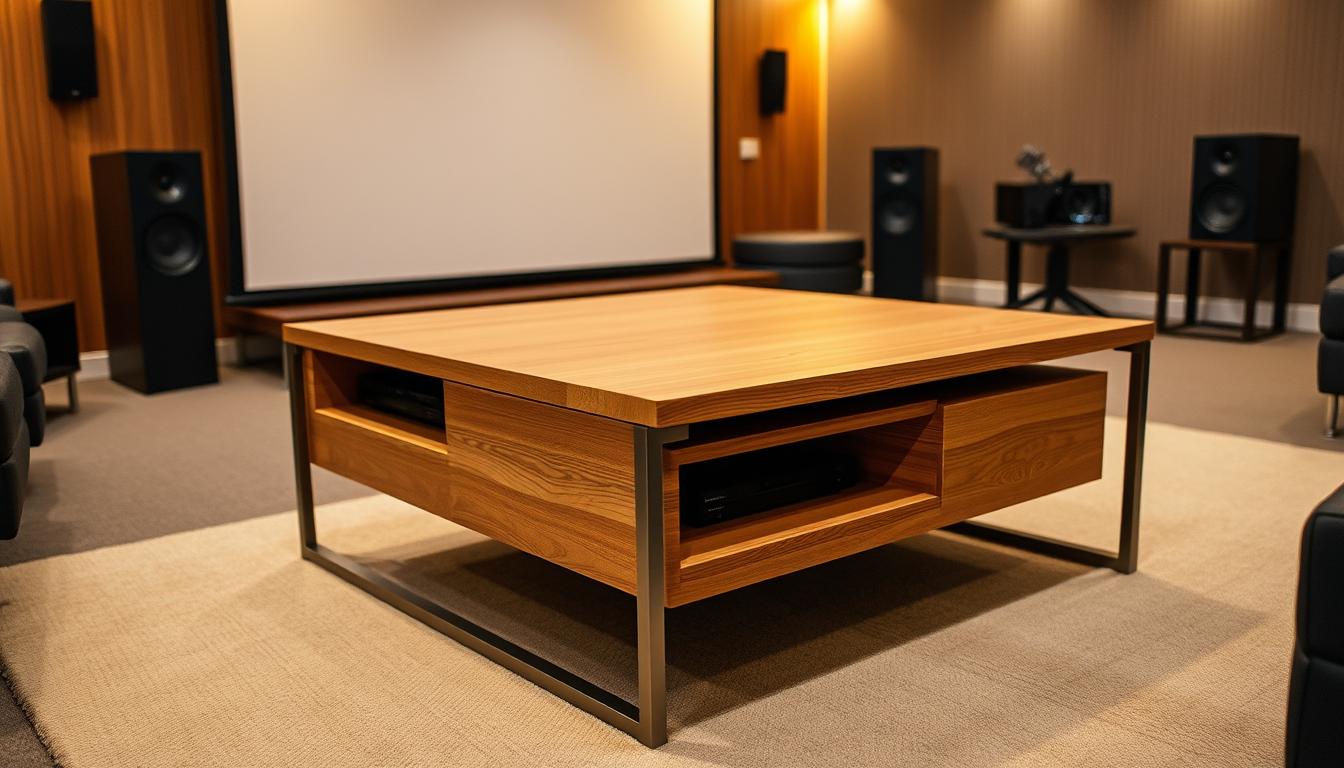
Transforming your living space with a custom piece can be both rewarding and cost-effective. This project focuses on creating a multifunctional item that combines storage with style, perfect for enhancing your home theater setup. By integrating hidden compartments, you’ll achieve a sleek design while keeping your space organized.
Overview of the Project and Benefits
This project is designed to elevate your living space by blending functionality with aesthetics. The hidden compartments are ideal for storing remotes, magazines, or blankets, ensuring your room stays clutter-free. Here are the key benefits:
- Customization: Tailor the design to fit your exact needs and preferences.
- Cost-Effectiveness: Save money by building your own piece instead of buying pre-made furniture.
- Durability: High-quality materials ensure your table lasts for years.
Understanding Hidden Storage and Home Theater Design
Integrating hidden storage into your home theater design is a smart way to maximize space. This approach keeps essentials within reach while maintaining a clean, modern look. Using tools like SketchUp, you can plan the layout and dimensions with precision. This ensures every step of the process is smooth and efficient.
When selecting materials, consider the overall style of your room. For example, a dark wood finish can complement a modern aesthetic, while lighter tones add a touch of warmth. The side panels and tabletop should be sturdy yet easy to work with, ensuring a polished final result.
By following this guide, you’ll create a piece that’s both functional and visually appealing. Stay tuned for detailed instructions on measurements, tool usage, and assembly in the next sections.
Essential Tools and Materials Overview
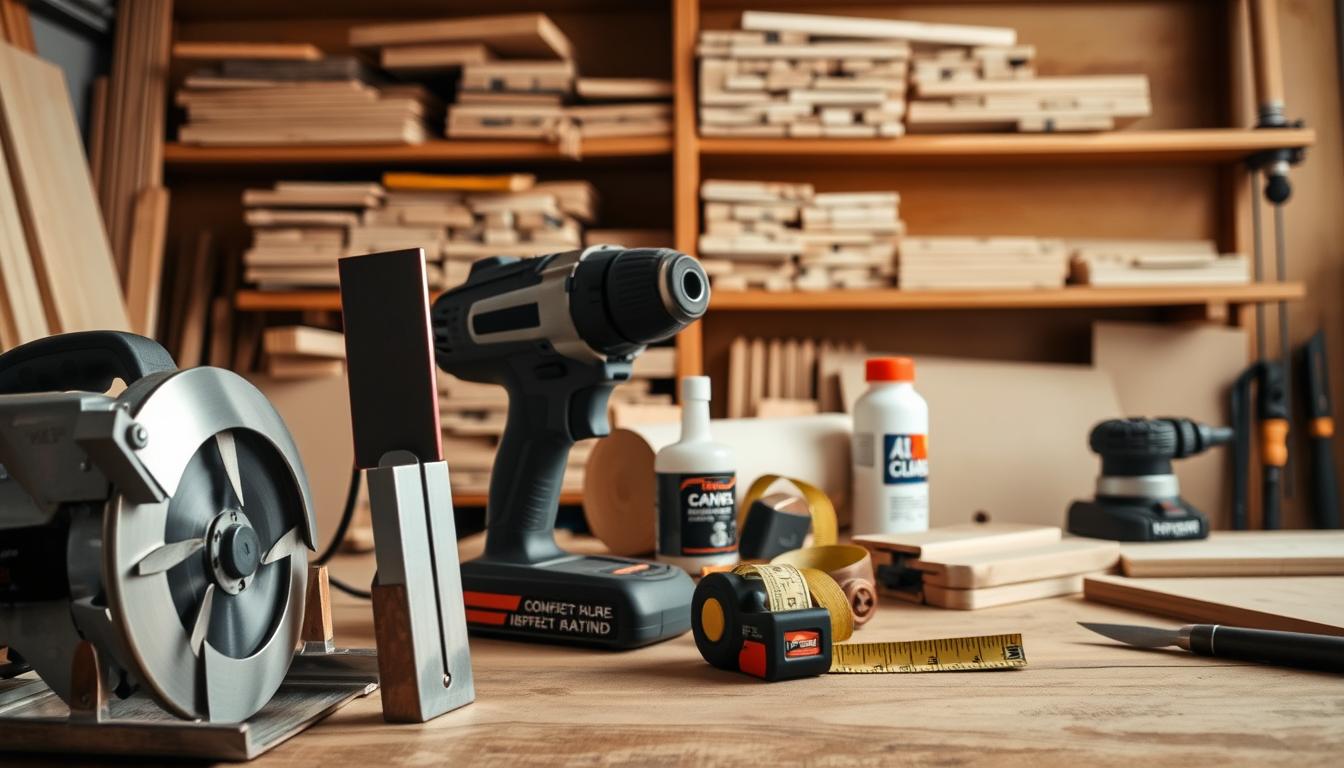
Starting a DIY project begins with gathering essential tools and quality materials. This ensures your work is efficient and the final product is durable. Below, we’ll break down everything you need to get started.
Materials Checklist: Wood, Screws, and More
To build a sturdy and functional piece, you’ll need the following materials:
- Wood: Two 2x4s and a 4’x4′ plywood sheet for the main structure.
- Screws: Wood screws in various sizes for secure assembly.
- Adhesives: Wood glue for added strength in joints.
- Drawer Slides: Ensure smooth operation for hidden compartments.
- Magnet Lock: Keeps compartments securely closed.
Each material plays a crucial role in the project. For example, the panel thickness determines the durability of the structure. Accurate measurements are key to ensuring everything fits perfectly.
Tool Essentials: Drill, Chop Saw, and Brad Nail Gun
Having the right tools makes the process smoother and more precise. Here’s what you’ll need:
- Drill: For creating pilot holes and driving screws.
- Chop Saw: Ensures clean and accurate cuts for pieces.
- Brad Nail Gun: Ideal for securing smaller components without splitting the wood.
Using these tools correctly is a critical step in achieving professional results. For instance, a dial indicator can help measure thickness accurately, ensuring uniformity in your cuts.
By gathering these materials and tools, you’re setting yourself up for success. The next step is planning and designing your project, which we’ll cover in the following section.
Planning and Designing Your Table
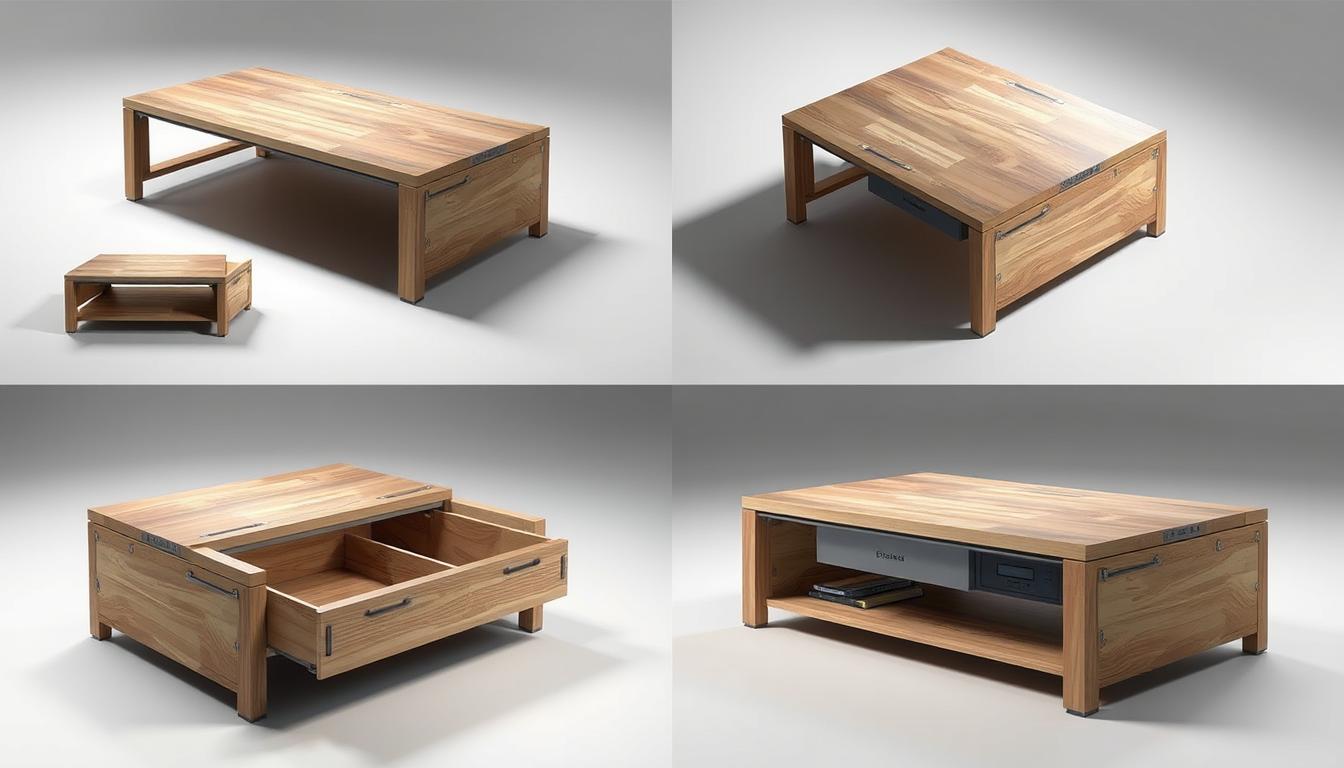
Planning your furniture project digitally ensures precision and efficiency from the start. Using tools like SketchUp allows you to visualize every step of the process. This approach helps you avoid costly mistakes and ensures a smooth workflow.
Digital Modeling Using SketchUp
SketchUp’s push/pull tool is ideal for creating accurate 3D models. Start by outlining the table’s dimensions, including the side panels and hidden compartments. This step ensures that every piece fits perfectly during assembly.
Focus on integrating the hidden compartments seamlessly. Use SketchUp to map out the box dimensions and ensure they align with your design goals. This process helps you visualize the final product and make adjustments before cutting materials.
Creating Detailed Schematics and Cut Lists
Detailed schematics are essential for accurate material cuts. Create a cut list that includes the length, width, and thickness of each panel. This list will guide you during the cutting phase, reducing waste and saving time.
Double-check the end measurements to ensure consistency. Use SketchUp to generate printable schematics that you can reference during assembly. This step minimizes errors and ensures a professional finish.
| Component | Dimensions | Material |
|---|---|---|
| Tabletop | 28×44 inches | 3/4 inch plywood |
| Side Panels | 16×40 inches | 3/4 inch plywood |
| Hidden Compartment | 12×18 inches | 3/4 inch plywood |
Organize your measurements into a life-sized layout for accuracy. This approach ensures that every step of the process is precise. By following these guidelines, you’ll create a functional and visually appealing piece that meets your needs.
Constructing the Table Framework
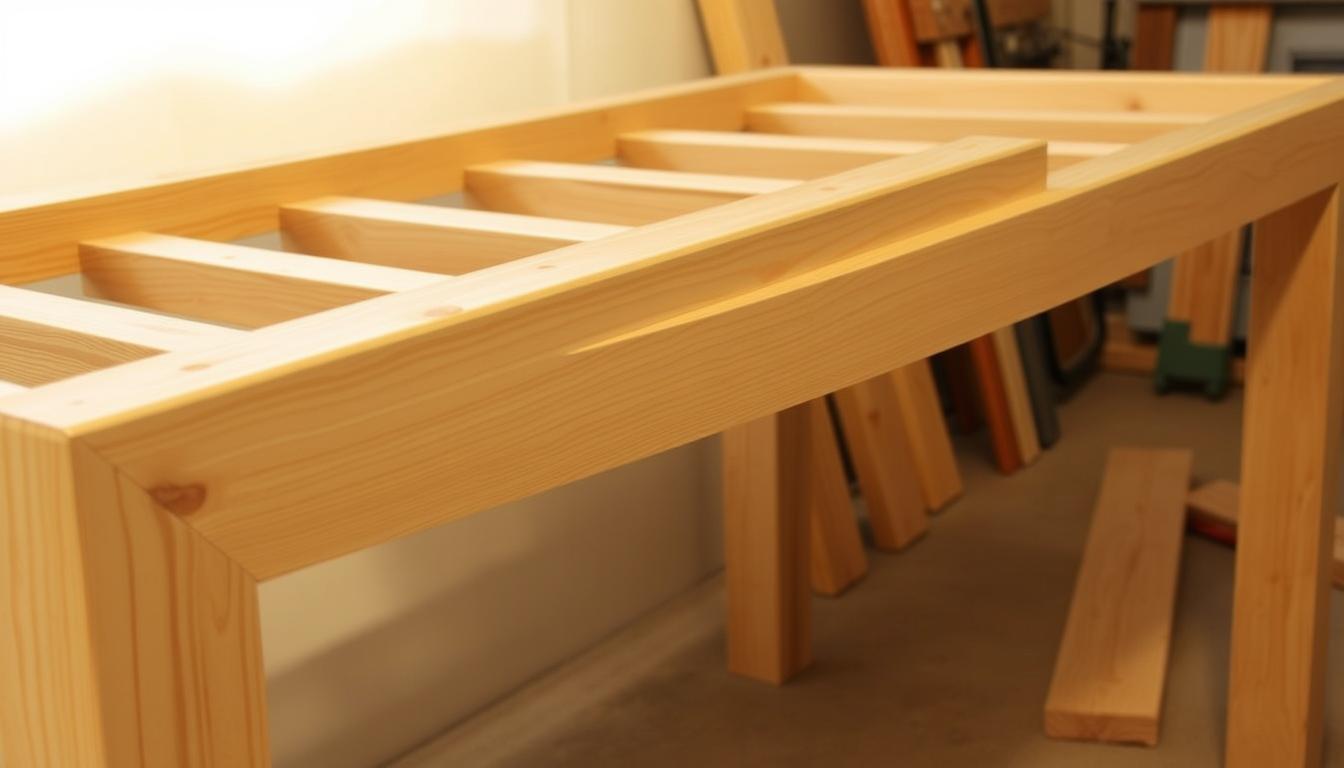
Building a sturdy framework is the foundation of any successful furniture project. This step ensures your table is durable and functional. Start by cutting and assembling the legs, sides, and shelf braces using precise measurements.
Assembling Legs, Sides, and Shelf Braces
Begin by ripping 2×4 lumber to the required thickness. Use a chop saw for clean, accurate cuts. This ensures each piece fits perfectly during assembly. Double-check the dimensions to avoid misalignment later.
Attach the legs to the side panels using wood glue and screws. This combination reinforces the joints, making the framework more durable. Measure and mark the positions for the bottom shelf braces to ensure stability.
Secure the shelf braces to the legs and sides. This step adds strength to the structure, preventing wobbling. Ensure each foot is aligned correctly for a level final product. Precision is key to achieving a professional finish.
Follow each step diligently to avoid errors. Misalignment at this stage can cause issues during final assembly. By focusing on accuracy, you’ll create a solid foundation for your project.
Crafting a Home Theater Coffee Table with Hidden Compartments
The tabletop is the focal point of your project, requiring careful planning and execution. Dual-piece construction ensures a seamless fit, blending form and function. This approach not only enhances the table‘s appearance but also adds practicality through hidden storage.
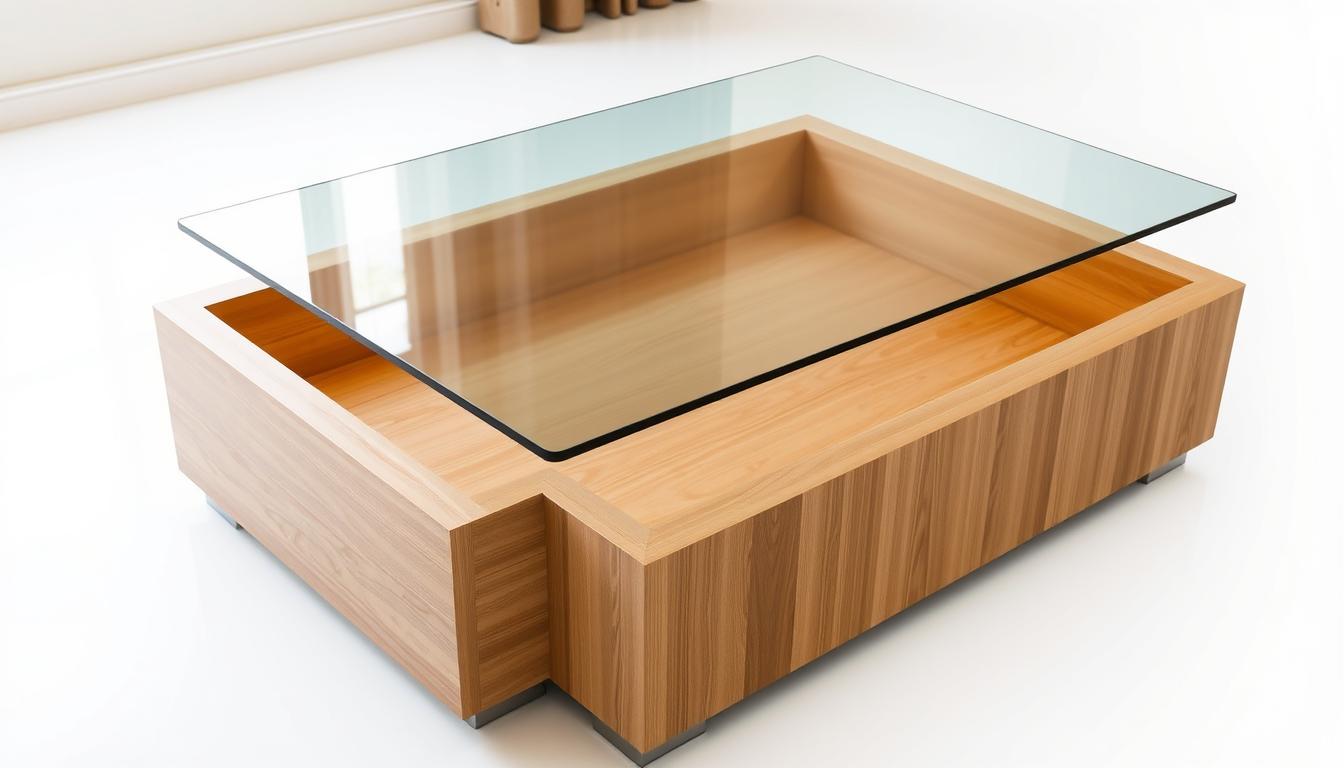
Building the Tabletop with Dual-Piece Construction
Start by tracing the exact size of the top onto 3/8″ plywood. This ensures precision when cutting both the fixed and sliding components. Use a chop saw for clean edges, and double-check measurements to avoid errors.
Next, create cleats to support the sliding piece. These cleats should align perfectly with the fixed section, ensuring smooth operation. Secure them using wood glue and screws for added stability.
Align the top and bottom pieces carefully. This step is crucial for achieving a professional finish. Use clamps to hold the pieces in place while securing them. Precision here ensures the table functions as intended.
Designing and Cutting Hidden Compartment Spaces
Hidden compartments add functionality without compromising the design. Begin by marking the spaces on the side panels. Use a jigsaw to cut these areas, ensuring clean edges for a polished look.
Check all alignments before final assembly. This ensures the compartments remain discreet yet fully accessible. Follow video tutorials for visual guidance, especially for complex steps.
For a seamless integration, consider adding soft-close mechanisms to the compartments. This enhances usability while maintaining the table‘s sleek appearance. By following these instructions, you’ll create a piece that’s both functional and visually appealing.
For more tips on enhancing your living space, check out our guide on building a dedicated home theater room.
Installing Hidden Storage Mechanisms
Installing hidden storage mechanisms is a crucial step in ensuring your furniture is both functional and stylish. Proper placement of hardware like drawer slides and magnet locks ensures smooth operation and a polished finish.
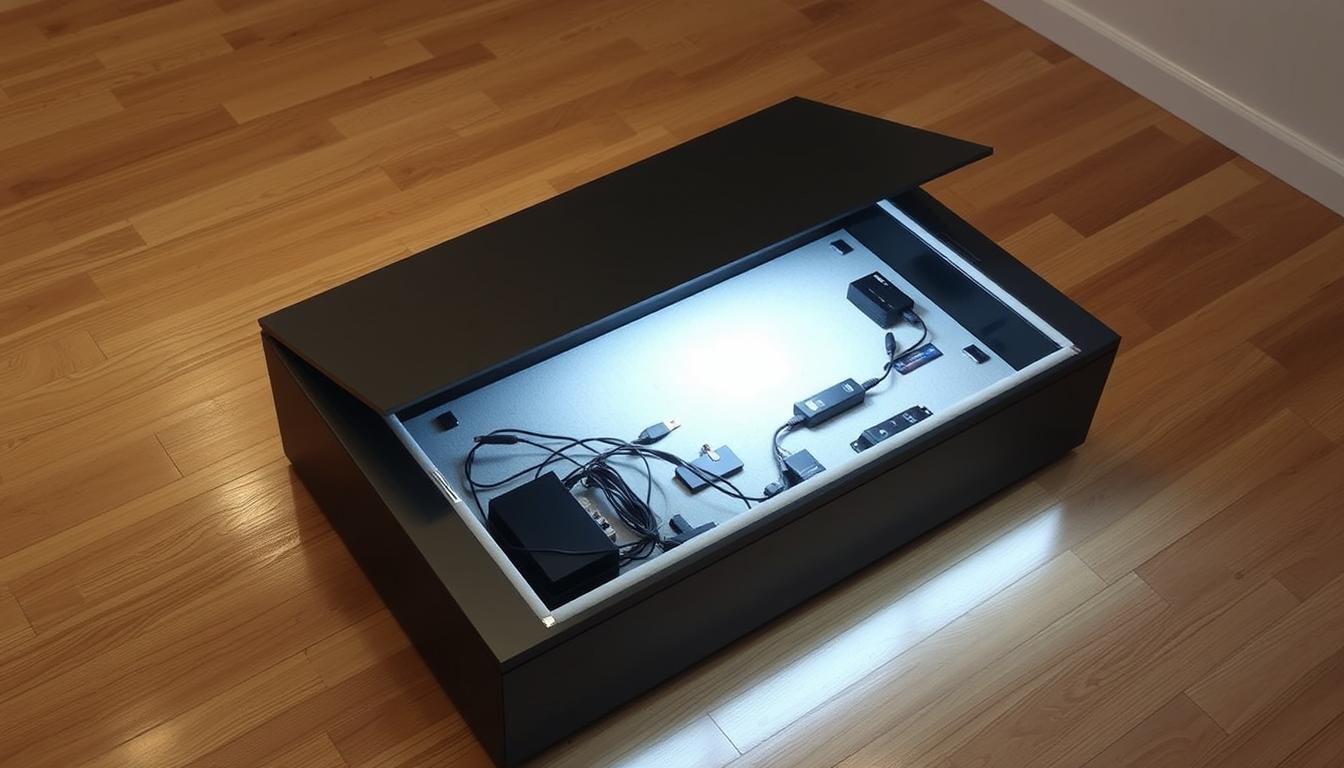
Attaching Drawer Slides and Magnet Locks
Start by attaching drawer slides to the side panels of the structure. Align them carefully to ensure the movable top panel slides effortlessly. Use screws to secure the slides firmly in place.
Next, install magnet locks to keep compartments securely closed. Drill the correct size hole for the lock mechanism. This ensures a snug fit and prevents misalignment over time.
Incorporating Sliding Panel Techniques
Sliding panels add functionality while maintaining a sleek exterior. Begin by marking the positions for the panels on the box structure. Use a jigsaw to cut precise openings for smooth movement.
Secure the panels using nails and screws in the correct sequence. This ensures the mechanism operates seamlessly. Double-check alignments to avoid any issues during use.
By following these detailed instructions, you’ll create a storage solution that’s both practical and visually appealing. Each step is designed to help you achieve professional results with ease.
Finishing Techniques for a Professional Look
Achieving a professional finish requires attention to detail and the right techniques. The final stages of your project involve sanding, staining, and adding decorative elements to enhance its appearance. These steps ensure your piece looks polished and stands out in your space.
Sanding, Staining, and Woodburning Details
Start by sanding the entire surface to remove rough edges and imperfections. Use fine-grit sandpaper for a smooth finish. This step prepares the wood for staining and ensures an even application.
Apply your chosen stain using a brush or cloth, working in the direction of the grain. Allow it to dry completely before adding a second coat. For a unique touch, consider woodburning designs onto the top or panel surfaces. This adds personality and style to your piece.
Final Assembly and Decorative Touches
Once the finish is complete, proceed with final assembly. Secure all components, including the top and panel sections, using nails or screws. Ensure the foot alignments are level for stability.
Add decorative elements like trim or inlays to enhance the design. For visual guidance, refer to video tutorials that demonstrate these techniques. This ensures every place is evenly coated and aesthetically pleasing.
| Material | Purpose |
|---|---|
| Fine-grit sandpaper | Smoothing surfaces |
| Wood stain | Enhancing color |
| Woodburning tool | Adding decorative details |
By following these steps, you’ll achieve a flawless finish that elevates your project. Take your time to ensure every detail is perfect, and enjoy the professional results.
Conclusion
Completing your DIY project successfully brings both satisfaction and functionality to your space. This piece of furniture combines practicality with style, making it a standout addition to any room. From precise measurements to the final finishing touches, every step was crucial to achieving a polished result.
Using quality materials like sturdy wood and the right tools, such as a drill and saw, ensured durability. Attention to detail, like aligning the side panels and securing each screw, made the project seamless. The hidden compartments, integrated with precision, add both storage and elegance.
For further guidance, review the supporting video tutorials. They provide a clear way to replicate this project or tackle similar builds. By following these steps, you’ve created a functional and stylish piece that enhances your space.
FAQ
What materials do I need for this project?
You’ll need wood panels, screws, nails, and storage hardware like drawer slides. Ensure you have the right thickness of wood for durability.
Which tools are essential for building the table?
A drill, chop saw, and brad nail gun are key tools. These help with cutting, assembling, and securing the pieces effectively.
How do I plan the design of the table?
Use digital modeling software like SketchUp to create schematics. This ensures precise measurements and a clear cut list for your project.
How do I assemble the table framework?
Start by attaching the legs, sides, and shelf braces. Use screws to secure each part, ensuring stability and alignment.
How do I create hidden compartments?
Design spaces within the table structure and cut them carefully. Attach sliding panels or drawer slides for smooth functionality.
What finishing techniques should I use?
Sand the surface for smoothness, apply stain for color, and add woodburning details for a professional touch. Assemble all parts for the final look.
Can I customize the storage mechanisms?
Yes, you can add magnet locks or adjust sliding panels to fit your needs. This enhances both functionality and design.
How do I ensure the table is sturdy?
Use quality wood and secure all joints with screws. Double-check alignment during assembly to maintain stability.


