
Did you know that bar carts have been a staple in homes for over a century? These versatile pieces not only add style but also maximize functionality in any space. Whether you’re hosting a gathering or enjoying a quiet evening, a well-designed cart can elevate your experience.
This DIY project focuses on building a rustic industrial piece that fits perfectly in your home. Inspired by real-life tutorials and plans, this guide offers a step-by-step approach to crafting a functional and stylish addition to your space. From selecting materials to final assembly, you’ll find everything you need to create a unique piece that reflects your personality.
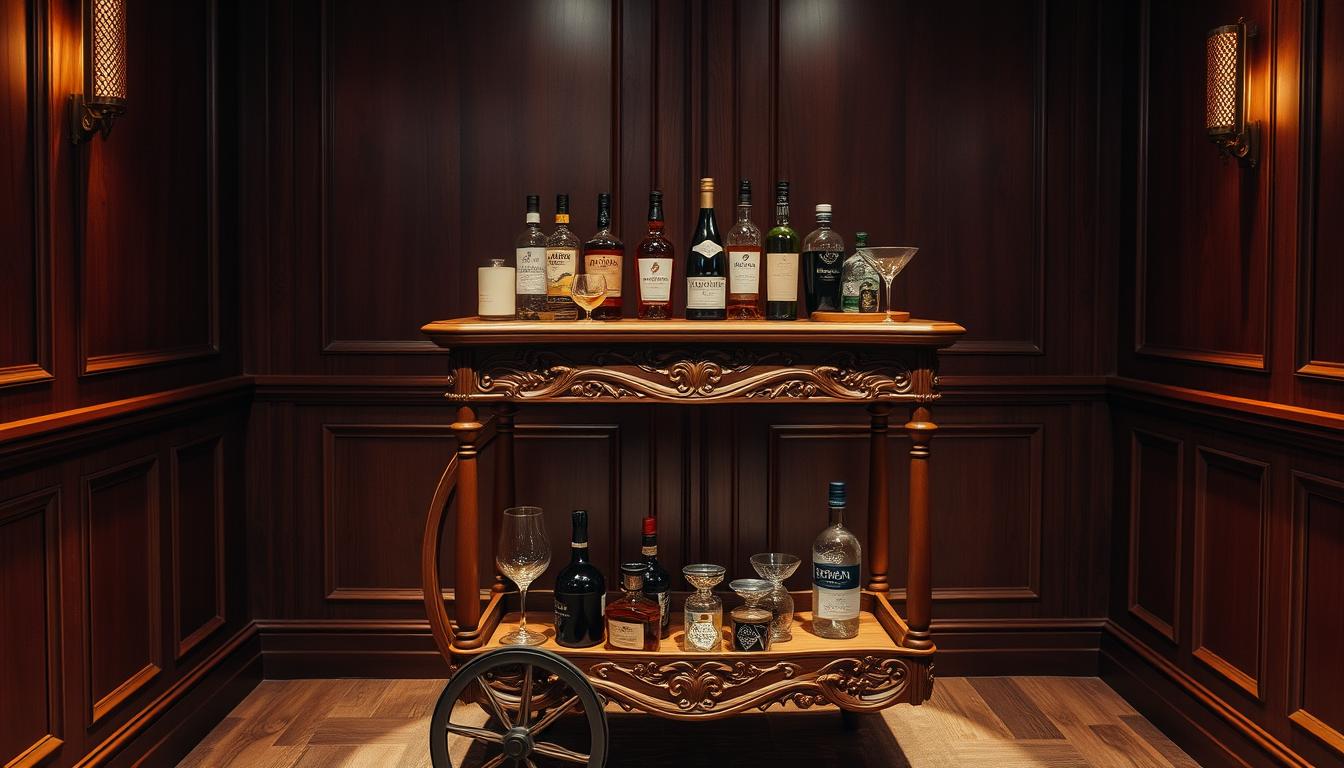
Custom-built bar carts are not just practical; they also enhance the ambiance of your room. Whether you’re a seasoned DIY enthusiast or a beginner, this project is designed to be straightforward and enjoyable. Let’s dive into the details and transform your space with a piece that’s both functional and visually appealing.
Key Takeaways
- Bar carts have been a popular home accessory for over 100 years.
- This DIY project combines rustic industrial design with practicality.
- Step-by-step instructions make the process easy and enjoyable.
- A custom-built cart enhances both functionality and aesthetics.
- Perfect for adding a personal touch to your space.
Planning Your Wooden Bar Cart Project
Proper preparation is the foundation of any successful build. Before you start, take time to outline your goals and gather the necessary resources. This ensures a smooth process and a polished final result.
Selecting Materials and Tools
Choosing the right materials is crucial for durability and aesthetics. Solid wood is a popular choice for shelf lamination due to its strength and natural appeal. Alternatives like plywood or MDF are budget-friendly options.
For the frame, consider using 2” x 2” and 2” x 4” lumber. You’ll need screws (2 1/2 inches) and wheels for mobility. A table or designated workspace is essential for accurate measurements and cuts.

Establishing Your Budget and Timeline
Set a realistic budget, typically between $50 and $100, depending on material choices. Salvaged wood can help reduce costs while adding character. Plan for a timeline of 1-2 weekends to complete the project.
Think about how the cart will integrate into your home theater space. Consider its size, design, and functionality to ensure it complements the room’s ambiance.
Finally, gather all tools and materials before starting. This includes screws, lumber, and a screwdriver. Proper planning ensures a seamless build and a piece you’ll be proud to showcase.
Step-by-Step Guide: Creating a Wooden Bar Cart for Your Theater Room
The key to a successful DIY project lies in attention to detail and proper techniques. This guide walks you through the essential steps to create a durable and stylish addition to your space. From selecting materials to applying the final finish, each step is designed to ensure a polished result.
Shelf Lamination and Wood Selection
Start by choosing solid wood for your shelf lamination. This ensures durability and a natural aesthetic. If you’re on a budget, plywood or MDF are excellent alternatives. Cut the wood into equal-sized strips for lamination.
Apply wood glue evenly between the strips and clamp them together. Use scrap wood or cauls to ensure even pressure. Let the glue dry completely before sanding the surface smooth. This process creates a sturdy and seamless shelf.

Frame Cuts, Dadoes, and Assembly Techniques
Measure and cut the frame pieces using 2” x 2” and 2” x 4” lumber. Precision is crucial here. Use a stop block to ensure consistent lengths. Create rabbet joints at the corners for a snug fit.
Next, cut dadoes into the frame to house the shelfs. These grooves should match the thickness of your shelves. Assemble the frame using clamps to hold everything in place. Secure the joints with screws or bolts for added stability.
Shelf Finishing and Protective Coatings
Sand the entire piece, starting with coarse-grit paper and finishing with fine-grit. This removes any rough edges and prepares the surface for staining. Apply a pickling stain for a rustic look or choose a clear coat for a natural finish.
Once the stain is dry, apply a protective coating like high-build lacquer or paste wax. This enhances durability and adds a polished sheen. Your cart is now ready to complement your home theater setup.
| Step | Tools Needed | Tips |
|---|---|---|
| Shelf Lamination | Wood glue, clamps, sandpaper | Use cauls for even pressure |
| Frame Assembly | Saw, screws, clamps | Measure twice, cut once |
| Finishing | Stain, brush, lacquer | Apply thin, even coats |
For more tips on optimizing your entertainment space, check out our guide on building a dedicated home theater room.
Enhancing Your Theater Room Experience
Transform your movie nights with a functional and stylish addition. A well-designed cart can seamlessly blend into your home theater setup, offering both practicality and aesthetic appeal. Let’s explore how to integrate it with complementary ideas and optimize its placement for maximum impact.
Integrating the Bar Cart with Complementary Snack Bar Ideas
Pair your cart with creative snack displays to elevate the movie-watching experience. Consider setting up a popcorn bar with various toppings or a corner dedicated to chips and candy. A nacho station with all the fixings can also add a fun, interactive element.
Use decorative boxes or containers to organize snacks neatly. Add LED strips or marquee signs to mimic a true cinema ambiance. These small touches can make your home theater feel like a professional venue.
Optimal Placement and Space Utilization
Place your cart in a corner or near a table to ensure it doesn’t obstruct the viewing area. This keeps the space open while providing easy access to snacks and drinks. If space is limited, consider a compact design that fits snugly against a wall.
Use vertical space by adding a shelf or two for additional storage. This maximizes functionality without cluttering the room. Coordinate the design with other home theater elements, like seating or decor, to create a cohesive look.
By balancing functionality and style, your cart will enhance both the practicality and ambiance of your entertainment space. With thoughtful placement and creative touches, it becomes more than just a piece of furniture—it’s a key part of your movie night experience.
Conclusion
Building your own piece of furniture can be both rewarding and practical. This DIY tutorial has walked you through the essential steps, from selecting materials to applying the final finish. Careful planning and precise execution ensure a polished result that enhances your home.
Integrating a custom-made bar piece into your space offers both functionality and style. The shelf construction, frame assembly, and finishing techniques highlighted in this guide ensure durability and aesthetic appeal. Multifunctional designs, like this one, can save space while adding character to your room.
Use this step-by-step guide as a resource for your next project. It’s designed to inspire and empower you to create something unique. With thoughtful design and attention to detail, you can elevate your space with a piece that’s both practical and visually appealing.
FAQ
What materials are best for building a wooden bar cart?
Solid wood like oak, maple, or pine is ideal for durability and aesthetics. Pair it with quality hardware for stability.
How do I choose the right tools for this project?
Essential tools include a saw, drill, sander, and clamps. Opt for brands like DeWalt or Bosch for reliability.
What’s the average cost of building a wooden bar cart?
Costs range from 0 to 0, depending on materials and tools. Plan your budget to include wood, hardware, and finishes.
How long does it take to complete a wooden bar cart?
With proper planning, it typically takes 2-3 days. Allocate time for cutting, assembly, and finishing.
What are the best finishes for a wooden bar cart?
Use polyurethane or varnish for protection. For a natural look, consider Danish oil or beeswax.
Where should I place the bar cart in my theater room?
Position it near seating areas for easy access. Ensure it doesn’t obstruct pathways or viewing angles.
Can I customize the bar cart to match my theater room decor?
Yes, choose stains or paints that complement your room’s color scheme. Add decorative elements like handles or trim.
How do I ensure the bar cart is sturdy?
Use strong joinery techniques like dadoes and screws. Test stability before adding weight.
What are some snack bar ideas to pair with the cart?
Include popcorn, candy, or mini-fridges for drinks. Use baskets or trays for organized storage.
Can I build a bar cart if I’m a beginner?
Absolutely. Start with simple designs and follow step-by-step guides. Practice safety measures while using tools.
