
Did you know 85% of home theater system malfunctions stem from software conflicts in entertainment hubs? Your audio-video center handles up to 12 simultaneous processing tasks, from decoding surround formats to managing HDMI inputs. When glitches strike, even premium systems can turn into expensive paperweights.
Modern entertainment hubs store 230+ configuration parameters that control everything from bass management to streaming service logins. These complex settings sometimes clash, causing frozen screens or distorted audio. A full system refresh often becomes the last resort before costly repairs.
Manufacturers design reset protocols differently across brands. While some use physical button combinations, others employ menu-driven processes. You’ll want to preserve custom calibrations before proceeding – speaker distances and equalizer tweaks vanish instantly during this operation.
Key Takeaways
- Factory resets solve persistent software conflicts affecting sound and video output
- Reset methods differ across brands like Denon, Yamaha, and Sony
- Backup custom configurations to avoid rebuilding settings from scratch
- This process resolves issues standard troubleshooting can’t fix
- All network connections and user profiles get erased during reset
Understanding the Need for a Factory Reset on Your AV Receiver
Advanced audio equipment can develop software gremlins after years of service. When standard fixes like power cycling or cable checks fail, restoring original configurations often becomes the smartest solution. This nuclear option wipes corrupted data while preserving core functionality.

When to Consider Resetting Your Device
Persistent audio cutouts during movies signal deeper issues. Units that ignore remote commands or display endless error codes typically need memory clearance. Failed network logins to streaming platforms also indicate settings conflicts requiring resolution.
Resets prove vital when HDMI ports stop recognizing game consoles or Blu-ray players. One Denon user reported solving “no signal” errors through defaults restoration after months of frustration. Always attempt firmware updates first – manufacturers often patch bugs without wiping preferences.
Benefits of Restoring Factory Defaults
Original configurations eliminate phantom settings from outdated calibrations. Your system regains its ability to auto-detect speaker layouts and optimize sound profiles. Network connections reset completely, often resolving Wi-Fi dropouts plaguing music streaming.
Pre-owned equipment sellers should always perform this operation. It erases previous owners’ Netflix credentials and personalized EQ curves. “Resetting gave my Marantz receiver new life,” shared a home theater enthusiast. “Dialog clarity improved instantly after years of muffled center channel audio.”
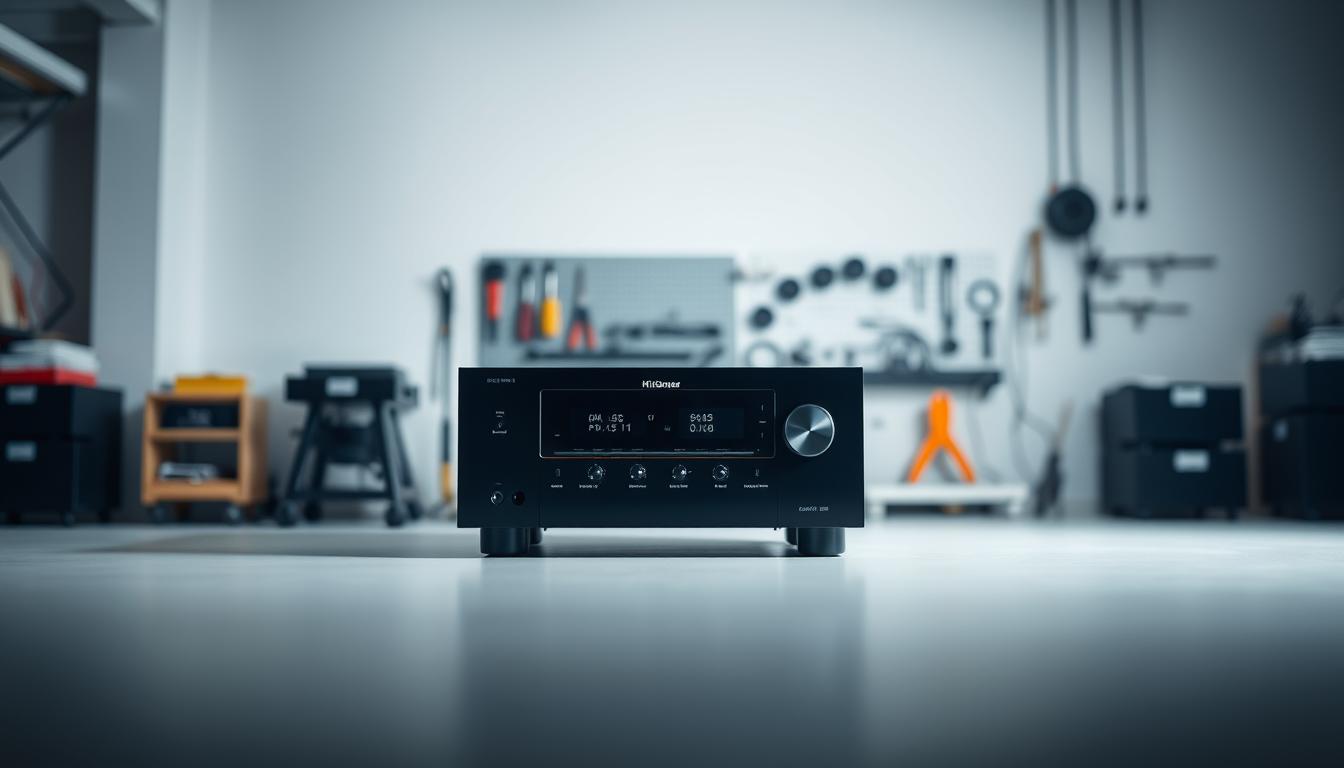
How to Reset Your AV Receiver to Factory Settings
Modern entertainment hubs demand precise input sequences for memory clearance. Sony models require physical button combinations rather than menu navigation – a critical detail many users overlook. Front panel controls ensure direct communication with the receiver’s processing unit during this sensitive operation.

Step-by-Step Reset Procedure
Begin by powering off your device completely. Press and hold the MUTING and MUSIC buttons simultaneously. While maintaining pressure, tap the POWER button once – keep fingers on the first two controls for five seconds after the unit restarts.
The display will show “CLEARING” as memory erasure begins. Release the buttons when this message appears. Wait 30 seconds until “CLEARED” confirms successful restoration of factory defaults.
Important Precautions and Warnings
Never use remote controls during this process – infrared signals can disrupt the sequence. Alternative methods for newer models involve holding the POWER button for five seconds until status messages appear.
This operation erases all network credentials and audio calibrations. Speaker distances and equalizer profiles vanish permanently. For Marantz users needing guidance, this detailed walkthrough covers brand-specific nuances.
Ensure stable power throughout the 45-second memory wipe. Interruptions could corrupt system files, requiring professional repair. Reprogram Blu-ray player connections and AirPlay settings immediately after completion.
Troubleshooting and Key Considerations
After restoring default configurations, new challenges often emerge during system reactivation. Error codes and setup complexities demand careful navigation to ensure your entertainment hub operates as intended.
Dealing with Common Error Messages
“UNLOCK” warnings frequently appear when security features activate unexpectedly. These typically require holding specific front-panel buttons for 10 seconds while powering on. For remote-controlled models, inputting manufacturer codes often resolves protection mode conflicts.
Memory clearance durations vary between models. Most systems need 3-5 minutes to wipe stored information completely. Never interrupt power during display messages like “PROCESSING” or “CLEARING” – abrupt shutdowns can corrupt core software.
Managing Memory and Settings Reprogramming
Reconfiguring preferences demands strategic planning. Start with essential video connections before addressing audio profiles. Documented calibration data speeds up the process significantly – smartphone photos of original settings work perfectly.
| Step | Action | Priority |
|---|---|---|
| 1 | Reconnect HDMI sources | High |
| 2 | Configure surround sound modes | High |
| 3 | Pair Bluetooth devices | Medium |
| 4 | Restore radio presets | Low |
Hardware issues like distorted audio outputs often survive memory wipes. These typically indicate component failures needing professional attention. Always test all ports and speaker connections before declaring successful troubleshooting.
USB storage devices and network drives require fresh authorization post-reset. Streaming platforms will demand new logins – keep credentials handy. Automatic station scanning helps rebuild radio favorites quickly.
Conclusion
Taking control of your system’s reset capabilities transforms complex technical challenges into manageable solutions. You’ve gained critical insights into timing-sensitive operations and brand-specific button combinations that restore factory configurations effectively. This knowledge positions you to address persistent audio glitches and video playback errors that standard fixes can’t resolve.
Factory restoration serves dual purposes – it’s both a diagnostic tool and performance enhancer. By eliminating software conflicts, you create a clean slate for identifying hardware issues. The reconfiguration phase offers opportunities to optimize speaker layouts and refresh sound modes using current calibration standards.
While memory clearance erases custom settings, strategic planning minimizes downtime. Prioritize reconnecting HDMI sources and Bluetooth devices first. Documenting configurations beforehand speeds up restoration – snap photos of critical settings like equalizer profiles or network credentials for quick reference.
Balance the nuclear option’s benefits against temporary inconveniences. Reserve full resets for major malfunctions rather than minor hiccups. For recurring remote control issues like those with Marantz models, our troubleshooting guide provides targeted solutions without system-wide reboots.
Approach future technical hurdles methodically – start with simple reboots before considering complete memory wipes. Your enhanced understanding of audio-video systems ensures optimal performance while preserving personalized settings where possible.
FAQ
Will resetting my AV receiver delete stored presets or custom audio settings?
Yes. Restoring factory defaults erases all user-configured settings, including radio presets, sound modes, and HDMI input assignments. Backup critical configurations using your device’s memory export feature before proceeding.
What should I do if the reset process freezes or displays error messages?
Power-cycle the receiver by unplugging it for 60 seconds. Ensure the remote’s batteries are functional, and verify button inputs match your model’s reset sequence. Consult the manual for error-specific troubleshooting steps.
Can I reconnect Bluetooth devices after restoring factory settings?
Absolutely. Post-reset, re-pair your smartphone, headphones, or streaming devices via the receiver’s Bluetooth menu. Some models may require firmware updates for optimal compatibility with newer gadgets.
Does a factory reset affect HDMI-CEC or ARC functionality?
Resetting typically disables HDMI-linked features like device control or audio return channel. Re-enable these in the video/audio settings menu and reconfigure connections with your TV or Blu-ray player.
How do I preserve network settings for streaming services during a reset?
Most receivers erase Wi-Fi passwords and app logins. Write down credentials for Spotify, AirPlay, or HEOS beforehand. Post-reset, re-enter these details to restore access to online content.
Will resetting fix audio sync issues with my gaming console?
Possibly. If latency stems from incorrect processing settings, restoring defaults can help. After resetting, manually adjust lip-sync delays in the audio menu if issues persist with PlayStation or Xbox inputs.
