
Did you know that wood wall panels can reduce echo by up to 30% in a room? This makes them an ideal choice for creating a home theater that’s both stylish and functional. From the grand Victorian homes of the 19th century to the sleek media spaces of today, wood has been a timeless material for enhancing interiors.
In the 1980s and 1990s, media rooms often featured bold wood paneling for both insulation and decoration. Today, modern designs combine retro charm with contemporary practicality. Materials like oak, walnut, and even marble are now used to create immersive viewing experiences.
This guide will walk you through the process of transforming your space into a stunning media room. You’ll learn how to choose the right wall panels, incorporate wood slats for texture, and balance aesthetics with functionality. Whether you’re a fan of retro designs or prefer a modern look, this article has you covered.
Ready to elevate your room? Let’s dive into the first step of creating a media space that’s as functional as it is beautiful. For more tips on setting up your home theater, check out this comprehensive guide.
Key Takeaways
- Wood wall panels reduce echo, improving sound quality in media rooms.
- Materials like oak and walnut add warmth and timeless appeal.
- Modern designs blend retro charm with contemporary functionality.
- Mixing textures, such as wood and marble, creates a cohesive look.
- Pre-made panel kits make installation quick and efficient.
Planning Your DIY Wooden Paneling Project
The key to a stunning media room lies in thoughtful preparation. Before you start, take time to define your vision and match it with your personal style. This ensures your space feels cohesive and functional.
Defining Your Vision and Style
Start by imagining how you want your room to look and feel. Do you prefer a modern, sleek design or a warm, rustic atmosphere? Consider how the panels will complement your furniture and other decorative elements.
Spending time on planning helps you balance aesthetics and functionality. For example, if your room has a large screen, choose panels that enhance the viewing experience without overwhelming the space.

Budgeting and Material Selection
Budgeting is a crucial step in your project. Premium materials like walnut and oak add warmth and timeless appeal but can cost between $8 to $15 per square foot. For a more affordable option, consider MDF or veneer-coated slats.
Here’s a quick comparison of popular materials:
| Material | Cost per Sq. Ft. | Features |
|---|---|---|
| Walnut | $10 – $15 | Rich color, durable |
| Oak | $8 – $12 | Classic, versatile |
| MDF | $2 – $5 | Affordable, easy to paint |
| Veneer Slats | $4 – $7 | Lightweight, stylish |
Measure your space carefully to determine the right panel size and layout. This ensures your project remains both beautiful and cost-effective. Visualize the final design and how it will integrate with your existing decor.
Clear planning is the first step toward creating a custom media room environment. With the right vision and budget, your project will be a success.
Understanding Wood Panel Types and Materials
The material you select for your wall panels impacts both style and functionality. Whether you’re aiming for a sleek modern look or a warm, rustic feel, the type of wood you choose plays a crucial role. Let’s explore the distinct characteristics of wood slats, walnut, and oak to help you make an informed decision.

Comparing Wood Slats, Walnut, and Oak Options
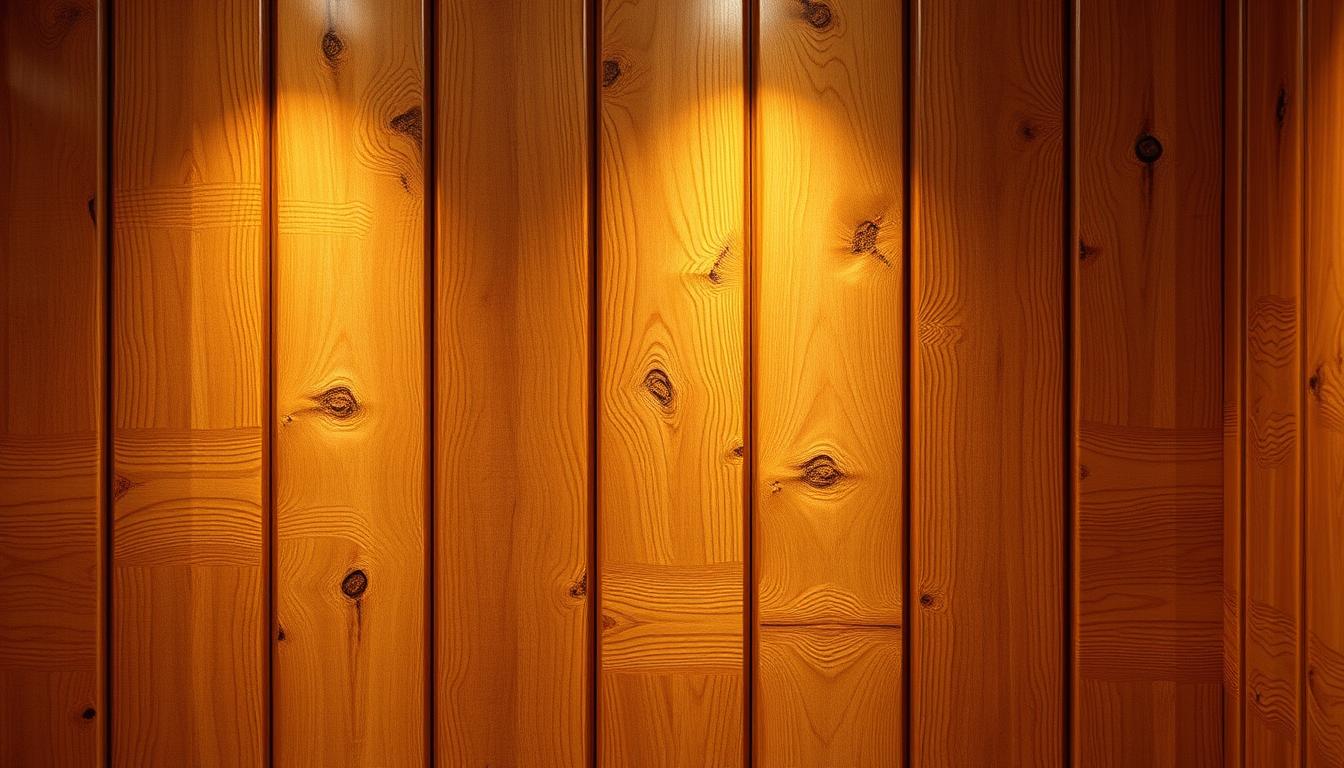
Wood slats are a versatile choice, offering a clean, linear design that adds depth to your space. They’re lightweight and easy to install, making them ideal for creating textured walls. However, they may lack the durability of solid wood options like walnut and oak.
Walnut is known for its rich, dark tones and natural grain patterns. It adds warmth and elegance to any room, making it a popular choice for media spaces. While walnut is durable, it’s also one of the more expensive options, costing between $10 to $15 per square foot.
Oak, on the other hand, is a classic material that’s both versatile and affordable. Its light color and prominent grain patterns make it a timeless choice for wall panels. Oak is also highly durable, making it a practical option for high-traffic areas.
When it comes to acoustic performance, solid wood panels like walnut and oak excel at reducing echo. Wood slats, while effective, may require additional insulation for optimal sound quality. Consider your room’s needs and your budget when selecting the right material.
Finally, think about sustainability. Oak and walnut are natural materials that can last for decades with proper care. Wood slats, often made from engineered materials, offer a more eco-friendly alternative. Matching the panel material to your room’s decor and practical needs ensures a cohesive and functional design.
DIY Wooden Paneling for a Classic Home Theater Look
Transforming your space into a functional and stylish media room starts with careful preparation. The installation process for wall panels requires precision and attention to detail. Whether you’re a seasoned DIY enthusiast or a beginner, following a structured approach ensures professional results.
Step-by-Step Installation Process
Begin by cleaning the wall surface thoroughly. Remove any dust, dirt, or old paint to ensure the panels adhere properly. Measure the wall dimensions accurately and mark the layout using a level and chalk line. This step prevents misalignment and ensures a polished finish.
Next, cut the panels to size using a saw. Double-check measurements before cutting to avoid errors. Apply adhesive to the back of each panel and press it firmly onto the wall. Use a level to ensure each piece is straight and aligned with the others.

For the wall behind the screen, consider using darker panels to enhance color depth and contrast. This small detail can significantly improve your viewing experience. Secure the panels with nails or screws for added stability, especially in high-traffic areas.
Preparing Your Home Theater Space
Before starting, clear the room of furniture and decorations. This gives you ample space to work and reduces the risk of damage. Cover the floor with a drop cloth to protect it from adhesive spills or scratches.
Check the wall for any imperfections, such as cracks or holes. Fill these with spackle and sand them smooth. A clean, even surface ensures the panels fit seamlessly and look professional.
Plan the layout to align with your screen and furniture. For example, position the panels to frame the screen, creating a focal point. This enhances the room’s aesthetics and functionality.
Essential Tools and Expert Tips
Gather the necessary tools before starting. These include a saw, drill, level, measuring tape, and adhesive. Having everything on hand saves time and ensures a smooth workflow.
Here are some expert tips to keep in mind:
- Use a stud finder to locate wall studs for secure panel installation.
- Wear safety gear, such as gloves and goggles, to protect yourself during the process.
- Work in sections to maintain focus and precision.
- Allow the adhesive to dry completely before moving to the next step.
Patience and attention to detail are key. Take your time to ensure each panel is perfectly aligned and securely attached. This ensures a flawless finish that enhances your room’s atmosphere.
Incorporating Modern and Classic Design Elements
Blending retro and modern styles creates a timeless yet fresh atmosphere in any space. Whether you’re designing a media room or updating your living area, combining classic wood textures with sleek contemporary accents can transform your space into a stylish haven.
Blending Retro Charm with Contemporary Accents
Classic wood paneling brings warmth and character to your room. Pair it with modern elements like clean lines, sleek hardware, and ambient lighting for a balanced look. For example, LED strips along the edges of wood slats add a futuristic touch while maintaining the panel’s natural appeal.

Furniture plays a key role in this fusion. Choose minimalistic pieces with neutral tones to complement the wood’s richness. A sleek, low-profile sofa or a glass coffee table can enhance the room’s modern vibe without overshadowing the classic paneling.
Using Wood Paneling to Enhance Acoustics and Texture
Wood panels are not just decorative; they also improve sound quality. The natural texture of wood slats reduces echo, creating a more immersive experience in your media room. For added depth, consider alternating panel sizes or mixing materials like wood and marble.
Here’s a quick guide to pairing wood panels with modern accents:
| Element | Retro Style | Modern Accent |
|---|---|---|
| Lighting | Warm, dimmable bulbs | LED strips or recessed lights |
| Furniture | Vintage leather chairs | Sleek, modular sofas |
| Decor | Wooden frames | Metallic or glass accents |
Balance is key. Too many retro elements can make the space feel dated, while excessive modern touches may lack warmth. Aim for a harmonious blend that reflects your personal style.
Finally, consider the role of color. Dark wood panels paired with neutral walls create a cozy yet sophisticated atmosphere. Add pops of color through artwork or decorative pillows to keep the room vibrant and inviting.
Optimizing Acoustics and Atmosphere with Wooden Panels
Sound quality and aesthetics go hand in hand when designing a media room. Wooden panels are a versatile solution, enhancing both the acoustic performance and the visual appeal of your space. Whether you’re aiming for a cozy home theater or a multifunctional entertainment area, these panels can make a significant difference.
Improving Sound Absorption and Visual Depth
Wooden panels are excellent for reducing echo and improving sound clarity. Their natural texture absorbs sound waves, creating a more immersive experience. For example, panels with a Noise Reduction Coefficient (NRC) of 0.9 can reduce reverberation by up to 50%.
To add visual depth, consider alternating panel sizes or mixing materials like wood and marble. This creates a dynamic look while maintaining functionality. For instance, darker panels behind the screen enhance color contrast, improving your viewing experience.
Integrating Lighting and Finishing Touches
Lighting plays a crucial role in enhancing the atmosphere of your room. LED strips or recessed lights can highlight the texture of wood panels, adding warmth and depth. For a modern touch, use backlighting to create a soft glow around the panels.
Finishing touches like paint or sealant can further improve both aesthetics and acoustics. Choose matte finishes to reduce glare and maintain a clean, polished look. These small details elevate the overall design of your space.
Practical Advice for Multifunctional Media Rooms
When planning your layout, consider the room’s dimensions and purpose. For example, in a multifunctional space, arrange panels to frame the screen or seating area. This creates a focal point while maintaining flexibility for other activities.
Here’s a quick guide to optimizing your room:
| Element | Tip |
|---|---|
| Panel Placement | Focus on walls behind the screen and seating area. |
| Lighting | Use LED strips to accentuate panel texture. |
| Material | Choose dense woods like oak or walnut for better sound absorption. |
For more detailed advice on acoustic treatment tips, explore this comprehensive guide. By balancing sound and style, you can create a media room that’s both functional and visually stunning.
Conclusion
The right wall panels can transform your space into a stylish and immersive environment. From reducing echo to adding visual depth, these panels enhance both the aesthetics and functionality of your room. Whether you prefer the warmth of wood or the sleekness of modern materials, the options are endless.
Planning is key to a successful project. Start by defining your vision, selecting the right materials, and measuring your space carefully. Combining retro charm with contemporary accents creates a timeless yet fresh atmosphere. Thoughtful preparation ensures a polished finish that elevates your media experience.
Attention to detail makes all the difference. From installation techniques to lighting integration, every step contributes to the final result. Reflect on the ideas and tips shared in this guide, and take the first step toward creating a personalized, immersive environment.
With the right approach, your room can become a haven of style and sound. Start your journey today and enjoy the enduring appeal of wall panels in modern interior design.
FAQ
What materials are best for creating a classic home theater look?
Wood slats, walnut, and oak are excellent options for achieving a timeless aesthetic. Each material offers unique textures and warmth, enhancing the overall atmosphere of your space.
How do I choose the right style for my home theater?
Start by defining your vision. Consider blending retro charm with contemporary accents to create a balanced design. Think about the acoustics, texture, and overall feel you want to achieve.
What tools are essential for installing wood paneling?
You’ll need basic tools like a saw, level, measuring tape, and adhesive. For a professional finish, consider using a nail gun or brad nailer. Proper preparation of your media room is also key.
Can wood paneling improve the acoustics of a home theater?
Yes, wood panels can enhance sound absorption and reduce echo. Their texture and depth also add visual interest, making your space both functional and stylish.
How do I incorporate lighting into a wood-paneled home theater?
Use recessed lighting or LED strips to highlight the texture of the panels. Soft, indirect lighting creates a cozy atmosphere, perfect for a home theater experience.
What are some tips for maintaining wood paneling?
Regularly dust the panels and use a wood-safe cleaner to maintain their quality. Avoid excessive moisture to prevent warping, ensuring your wood wall stays in top condition.
Can wood paneling be used in multifunctional spaces?
Absolutely. Wood panels add warmth and style to media rooms, offices, or living areas. Their versatility makes them a great choice for enhancing the aesthetics of any room.
