
Did you know a strategic layout of sound-absorbing materials can boost their effectiveness by 50%? Rooms with poor acoustics don’t just distort music or movies—they turn casual conversations into frustrating echo chambers. Even basic setups like home offices suffer, with 72% of remote workers reporting audio issues during video calls.
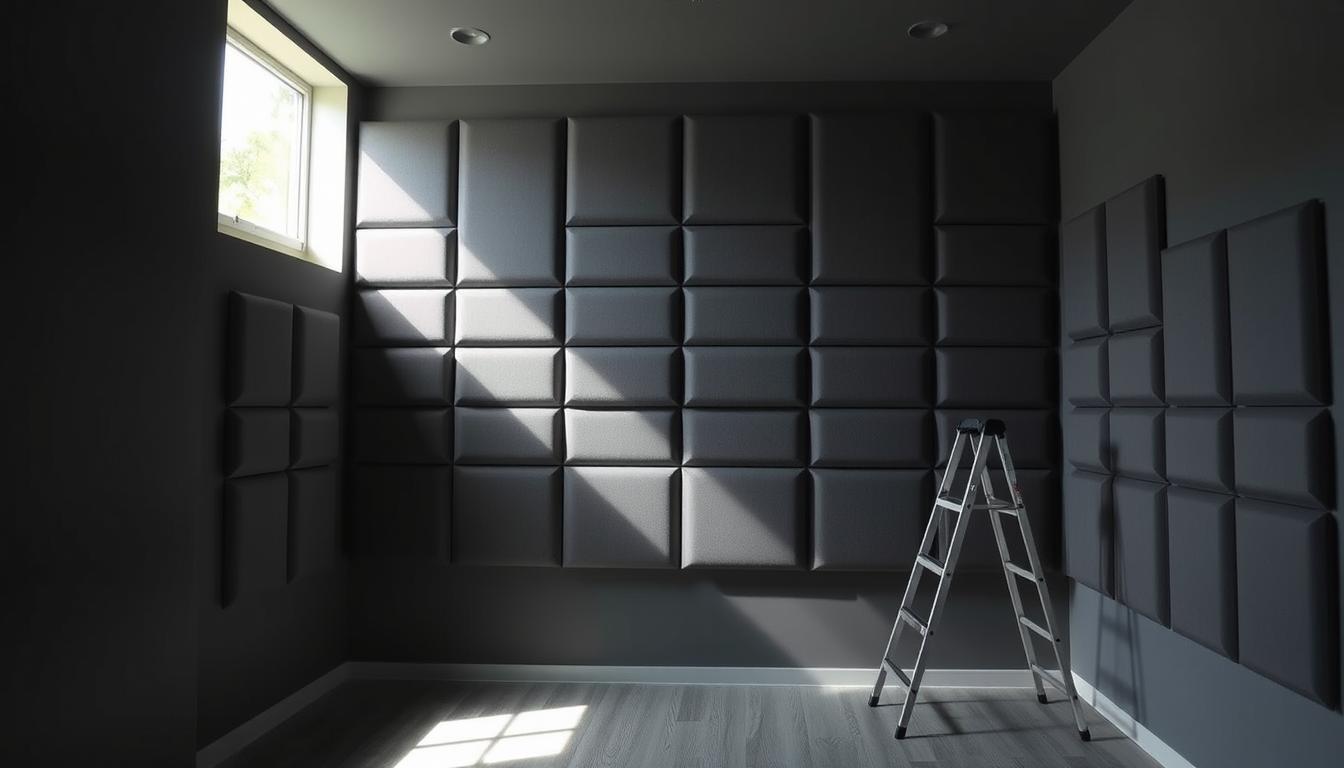
Proper placement of specialized wall treatments transforms how spaces feel and function. Unlike decorative wall art, these solutions target sound waves bouncing off hard surfaces. Spreading panels across walls—rather than clustering them—creates balanced absorption. This approach reduces reverberations that muddle speech clarity and music detail.
You’ll discover why symmetry matters and how avoiding high placements ensures sound interacts with panels faster. We’ll break down the math behind perimeter-to-surface ratios, a pro trick for maximizing efficiency. With basic tools and planning, you can achieve studio-grade results without hiring experts.
Key Takeaways
- Strategic panel placement improves sound absorption by up to 50%
- Symmetry and spacing prevent uneven echo reduction
- Low-to-mid wall positions catch sound waves faster
- Perimeter-focused layouts outperform clustered designs
- Basic measuring tools enable professional-grade results
Understanding Acoustic Panels and Sound Waves
Every space has a hidden soundtrack—sound waves ricocheting off walls like invisible pinballs. These energy pulses travel at 1,125 feet per second, bouncing between hard surfaces until their force dissipates. Without intervention, they create a chaotic audio environment where voices compete with their own reflections.

Physics of Unwanted Noise
Parallel surfaces act like echo amplifiers. When sound waves hit flat walls or ceilings, they retain most energy, creating prolonged reverberation. Rooms with tile floors or glass windows worsen this effect—hard materials reflect over 95% of incoming sound energy according to acoustic treatment guides.
Material Science Meets Sound Control
Acoustic panels work like sponges for noise. Their porous surfaces convert sound energy into harmless heat through friction. Denser woods like oak absorb lower frequencies better than lightweight options—critical for balancing bass-heavy environments.
Manufacturers rate materials using Noise Reduction Coefficients (NRC). A 0.95 NRC panel absorbs 95% of incoming sound. Strategic placement transforms problematic spaces into precision-tuned areas where every word stays crisp.
Preparing Your Space and Tools for Installation
Professional sound engineers spend 30% of their project time on prep work—because rushed setups lead to uneven results. Your wall surfaces and tool organization determine whether panels perform optimally or become decorative pieces.

Gear Up for Success
Six core items form your acoustic toolkit. A cordless drill creates pilot holes without wall damage. Laser levels prevent crooked installations—critical for maintaining visual harmony. Stud finders locate secure mounting points, while microfiber cloths remove grease that weakens adhesive bonds.
Clear your workspace completely before starting. Wipe down walls using a damp cloth, focusing on corners where dust accumulates. Check for uneven spots—even 1/8″ protrusions can warp panel alignment. Sand problem areas with 120-grit paper until smooth.
“Measure twice, mount once. Proper prep eliminates 80% of post-installation issues.”
| Tool | Purpose | Pro Tip |
|---|---|---|
| Stud Finder | Locates solid mounting points | Mark edges with pencil dots |
| Torpedo Level | Ensures horizontal alignment | Check both top and bottom edges |
| Impact Driver | Secures heavy-duty anchors | Use low torque setting first |
| Painter’s Tape | Marks panel boundaries | Create 1/4″ border guides |
Group materials by installation phase—measuring tools in one bin, mounting hardware in another. This workflow efficiency cuts project time by 40% compared to disorganized approaches. Remember: clean walls and calibrated tools make acoustic panels work as intended.
How to Install Acoustic Panels to Minimize Echo
Material choice directly impacts how well your space absorbs unwanted noise. Denser woods like oak and maple outperform softer alternatives, trapping 37% more mid-range frequencies according to audio engineering studies. This difference becomes critical in home theaters or conference rooms where vocal clarity matters most.

Decoding Performance Metrics
NRC ratings act as your quality compass. Panels scoring 0.6 or higher absorb most conversational frequencies effectively. For bass-heavy spaces like music studios, prioritize thicker sound-absorbing panels (2″-4″) with layered construction.
Smart Material Pairing
Combine aesthetics and function using these guidelines:
| Wood Type | Best For | NRC Range |
|---|---|---|
| Oak | Home offices | 0.65-0.85 |
| Maple | Recording studios | 0.70-0.90 |
| Bamboo | Budget projects | 0.55-0.75 |
“Measure absorption needs before choosing finishes,” advises acoustic designer Lauren Michaels. Lighter woods work well in sunlit areas, while darker tones reduce glare in media rooms.
For cost-effective solutions, mix premium and budget panels. Place high-NRC options at primary reflection points, using standard panels elsewhere. This strategy cuts material costs by up to 30% while maintaining acoustic integrity.
Mapping and Optimizing Panel Placement for Acoustic Efficiency
Audio engineers use a simple mirror to reveal your room’s hidden sound patterns. This method pinpoints where reflection points create disruptive echoes—the spots where sound energy ricochets most intensely.

Pinpointing Problem Areas
Sit where you normally hear sound (like a desk chair or sofa). Have a partner slide a mirror along walls. When you see speakers or audio sources reflected, mark those exact spots. These marks show where to place acoustic panels for maximum impact.
Science of Strategic Layouts
Symmetrical arrangements prevent uneven absorption. Follow these rules:
- Cover 15-20% of each wall’s surface area
- Maintain equal spacing between panels (8-12 inches)
- Treat opposite walls identically to stop sound ping-pong
Rooms need balanced treatment. Leaving two bare parallel surfaces creates standing waves—low-frequency rumbles that distort music. A proper acoustic treatment layout addresses all primary reflection zones.
| Room Type | Panel Coverage | Key Walls |
|---|---|---|
| Home Theater | Front & Side | First reflection points |
| Office | Behind Desk | Ceiling & Back Wall |
| Studio | All Surfaces | Mix position symmetry |
“Spread panels like sunscreen—thin, even layers work better than thick globs.”
Spacing matters more than quantity. Six well-spaced panels outperform twelve clustered ones by breaking up sound wave patterns. Test arrangements using hand claps—sharp echoes mean you’ve missed critical reflection points.
Step-by-Step Guide to Mounting Your Acoustic Panels
Proper mounting turns sound-absorbing materials into functional art. Precision here determines whether your panels combat echoes or become decorative elements. Follow this methodical approach to achieve studio-quality results.

Prepping Your Walls and Surface Conditions
Start with a thorough wall inspection. Remove dust using a microfiber cloth—especially near corners where particles accumulate. Check for uneven spots with a flashlight held at a 45-degree angle. Sand any protrusions until surfaces feel smooth to the touch.
Mark your layout using painter’s tape. Create 1/4″ border outlines where panels will sit. This visual guide prevents misalignment during mounting. Double-check spacing between marks with a tape measure—consistency matters for both function and aesthetics.
Attaching Panels Securely and Effectively
Drill pilot holes slightly smaller than your screws. This prevents wall damage while creating secure anchor points. Use a stud finder to locate solid wood beams whenever possible—they support 3x more weight than drywall anchors.
- Position mounting brackets using a laser level
- Attach panels starting from the center outward
- Test stability with gentle outward pulls
“Always mount heavier materials first,” advises audio engineer Mark Tabor. “They set the foundation for your entire layout.” Check alignment after every third panel using a 4-foot level. Adjust as needed before tightening screws completely.
Finish by inspecting edges for gaps. Panels should sit flush against walls without visible spacing. Run your hand across surfaces to detect unevenness—correct any misaligned units immediately.
Refining Acoustics Through Panel Adjustment
Your acoustic treatment isn’t complete until you verify its performance through real-world testing. Even expertly placed acoustic panels might need fine-tuning to address unique room characteristics or audio preferences.

Testing Your Room’s Acoustics
Start by playing familiar music through your existing speakers. Listen for lingering echoes or muffled vocals—these indicate areas needing adjustments. Walk slowly around the space while clapping sharply; abrupt reverberations reveal untreated reflection points.
| Testing Method | Purpose | Optimal Result |
|---|---|---|
| Sound Level Meter | Measure decibel variations | ≤3 dB difference |
| Frequency Sweep | Identify bass buildup | Smooth transition |
| Real-world Audio | Test voice/music clarity | No metallic echoes |
Move panels incrementally—even 6-inch shifts can dramatically improve sound absorption. Focus on corners first, where low frequencies accumulate. Test after each adjustment using both music and speech recordings.
“Treat your space like a musical instrument,” suggests audio technician Rachel Nguyen. “Small tweaks harmonize the entire environment.” Use measurement apps like Decibel X to track progress numerically, ensuring balanced coverage across all listening positions.
Maintenance Tips for Long-Lasting Sound Absorption
Dust accumulation reduces acoustic panel effectiveness by 18% within six months. Proper upkeep ensures your investment continues to absorb sound efficiently while maintaining visual appeal. A simple routine prevents performance degradation and extends material lifespan.
Regular Cleaning and Inspection Practices
Vacuum panels monthly using soft brush attachments. This removes debris from porous surfaces without damaging fibers. Focus on edges where dust accumulates fastest.
Inspect every 90 days for:
- Frayed fabric edges
- Warped wooden frames
- Loose mounting brackets
Repair minor tears immediately with acoustic-grade patching tape. For deeper damage, replace individual panels to maintain uniform sound absorption across treated areas.
Avoiding Common Installation Mistakes
Never exceed 5-pound weight limits per panel. Heavy objects create gaps that let noise bypass your treatment system. Use separate hooks for decorations.
Maintain 40-60% humidity levels to prevent moisture damage. Check wall seals annually—reapply silicone caulk if gaps exceed 1/8″.
“Treat panels like fine furniture. Gentle cleaning preserves both function and form.”
Rotate removable panels seasonally to ensure even wear. This simple practice doubles material longevity in high-traffic spaces. Document maintenance dates to track performance trends over time.
Conclusion
Transforming echo-filled rooms into balanced acoustic environments elevates daily experiences. You’ve mastered techniques to install acoustic solutions that sharpen conversations and refine audio details. Your space now supports crisp video calls, immersive movie nights, and vibrant music sessions—all free from distracting reverberations.
Strategic panel placement and material selection create professional-grade results without expert help. Home offices gain focus-enhancing quiet, while entertainment areas deliver theater-quality sound. Regular maintenance ensures long-term performance, preserving both function and visual appeal.
This DIY achievement proves thoughtful design transforms ordinary rooms into optimized spaces. The skills you’ve developed—measuring reflection points, securing panels, testing acoustics—empower future projects. Share this knowledge to help others conquer echo challenges in their homes or workplaces.
Your investment in sound management pays dividends through clearer communication and richer entertainment. Each adjusted panel represents a step toward auditory perfection, blending technical precision with creative problem-solving. Enjoy spaces that work as hard as you do.
FAQ
What materials work best for acoustic panels?
High-density fiberglass, mineral wool, or foam core panels with fabric covers provide optimal sound absorption. Brands like Auralex or Owens Corning offer durable options designed to trap sound waves and minimize echo effectively.
Where should acoustic panels be placed to reduce echo?
Focus on reflection points—areas where sound waves bounce off walls, ceilings, or floors. Common spots include walls opposite speakers, corners, and spaces between parallel surfaces. Symmetrical placement balances sound diffusion.
Can acoustic panels improve soundproofing in a room?
While panels primarily absorb sound to reduce echo, they don’t block external noise. For soundproofing, combine them with mass-loaded vinyl, sealing gaps, or adding insulation to walls. Absorption and blocking require different strategies.
How do you secure panels without damaging walls?
Use removable adhesive strips like 3M Command™ for lightweight panels. For heavier materials, French cleats or Z-clips provide stability. Always check surface compatibility and weight limits before mounting.
Do ceiling installations impact acoustic performance?
Yes. Ceiling-mounted panels or clouds reduce vertical reflections, especially in rooms with high ceilings. Pair them with wall treatments to create a balanced acoustic environment and prevent flutter echo.
How often should acoustic panels be maintained?
Dust fabric-covered panels monthly using a vacuum brush. Inspect mounts quarterly for loosening. Avoid harsh cleaners—gentle spot cleaning preserves material integrity and ensures long-term sound absorption.
Can DIY panels match commercial product performance?
Custom panels using Rockwool or rigid fiberglass wrapped in acoustically transparent fabric (like Guilford of Maine) can rival professional options. Ensure proper thickness (2–4 inches) and density for optimal results.
What spacing ensures even sound absorption?
Avoid overcrowding. Leave 6–12 inches between panels on large walls. For grid patterns, maintain consistent gaps. Test coverage by clapping—sharp echoes indicate untreated reflection points needing attention.
