A staggering 82% of homeowners assume premium home theaters require massive budgets. Yet, quality cinematic experiences now cost 60% less than they did a decade ago. The secret? Strategic planning trumps expensive gear every time.
Transforming compact spaces into immersive entertainment hubs isn’t about square footage. It’s about maximizing what you have. Audio-visual experts confirm that mid-range equipment, when positioned correctly, outperforms high-end systems in poorly designed rooms.
Your journey begins with understanding room acoustics and lighting control. For example, blackout curtains improve picture quality more than upgrading your projector. Want proof? Theater designers often prioritize building a dedicated home theater room layout over splurging on components.
Key Takeaways
- Affordable home cinema setups rival commercial theaters with proper design
- Mid-tier equipment often outperforms premium gear in optimized spaces
- Room treatment matters more than most technical specifications
- Strategic seating placement enhances both audio and visual experiences
- Lighting control doubles as a budget-friendly picture quality booster
This guide reveals industry secrets for creating theater-grade immersion without remodeling. You’ll learn to identify cost-effective upgrades that deliver the biggest impact. From acoustic panel placement to screen size ratios, we’ll help you avoid common pitfalls.
Room Assessment and Design Considerations
Successful home theater conversions begin with precise measurements. Document your room’s exact dimensions, including alcoves or irregular angles. These numbers dictate screen size limits, seating capacity, and equipment placement.

Evaluating Space and Ceiling Height
Vertical clearance determines projector placement and screen proportions. Most projectors need 1.5 feet of mounting space below 9-foot ceilings. Low ceilings? Consider short-throw models that work with 7-foot heights.
Use this formula for screen sizing: Divide viewing distance (in inches) by 2.4. A 120-inch screen suits seats 12-14 feet away. Wall stud locations impact mounting options—metal detectors help avoid electrical lines during installation.
Identifying Electrical and Wiring Needs
Builder-grade outlets often lack dedicated circuits for high-wattage systems. Install 20-amp circuits to prevent tripped breakers during movie nights. Label existing wires with colored tape for easy identification during upgrades.
| Component | Existing Setup | Recommended Upgrade |
|---|---|---|
| HDMI Ports | 1-2 ports | 4K-rated in-wall cables |
| Ceiling Power | No dedicated outlets | Projector-specific circuit |
| Speaker Wiring | 18-gauge copper | 14-gauge oxygen-free |
| Lighting Circuits | Single switch | Zoned dimmer controls |
Pre-wire for surround sound even if starting with basic speakers. Conduit tubes behind walls allow future tech upgrades without demolition. Always consult licensed electricians for ceiling-mounted equipment installations.
Budget-Friendly Strategies for a Home Theater Setup
Contrary to popular belief, premium theater experiences aren’t reserved for big spenders. The real magic happens when you focus on strategic investments rather than chasing luxury labels. Industry data shows mid-tier components deliver near-identical performance to top-shelf gear in properly configured spaces.

The Myth of “I Can’t Afford a Home Theater”
Your money works hardest when spent on core components. Audio experts at Crutchfield confirm: “Speaker placement affects sound quality more than price tags.” Position $200 bookshelf speakers correctly, and they’ll outperform $1,000 models haphazardly installed.
Here’s the smart way to build your system:
- Prioritize 1080p projectors from discontinued lines – they often match new 4K models in brightness
- Use acoustic foam panels instead of custom-built treatments
- Repurpose existing furniture with throw blankets for bass absorption
Room layout plays a surprising role in cost efficiency. Wall-mounted screens eliminate expensive stands, while strategic seating distances reduce the need for ultra-bright projectors. Home theater designers frequently recommend last year’s receiver models – you gain 80% of current features at 50% less cost.
These tips prove you don’t need Hollywood budgets for cinematic results. Focus on three essentials: proper equipment spacing, light control, and balanced audio calibration. Your wallet – and your guests – will thank you.
Optimizing Room Layout for Maximum Viewing Comfort
Effective home theater design transforms seating from furniture placement to immersive experience engineering. A recent case study reveals how a family achieved theater-quality sightlines using a Chelsea Pit Sectional and custom-built platform. Their solution demonstrates how strategic elevation solves common viewing challenges in compact spaces.

Seating Arrangements and Riser Installation
The 10-inch platform constructed from pressure-treated 2x8s and ¾-inch plywood created optimal tiered seating. This height difference allows back-row viewers to see over the front couch without neck strain. Industry standards recommend 8-12 inches between rows for uninterrupted screen visibility.
Measure eye levels when seated to determine riser requirements. For sectional sofas, maintain 18-24 inches of clearance between rows for safe movement. The Chelsea Pit’s low profile (22″ seat height) required specific calculations: platform height = front viewer eye level + 4″ minimum clearance.
Key layout principles for multi-row configurations:
- Position screen center at seated eye level (42-48″ from floor)
- Maintain viewing angles under 35 degrees from screen edges
- Allow 24″ walkway space behind last row
This approach transformed a standard family room into a functional entertainment space. The graphite polyester upholstery minimizes light reflection, while the pit configuration fosters social viewing. Remember: proper spacing trumps maximum seat count every time.
How to Make a Small Room Feel Like a Private Cinema
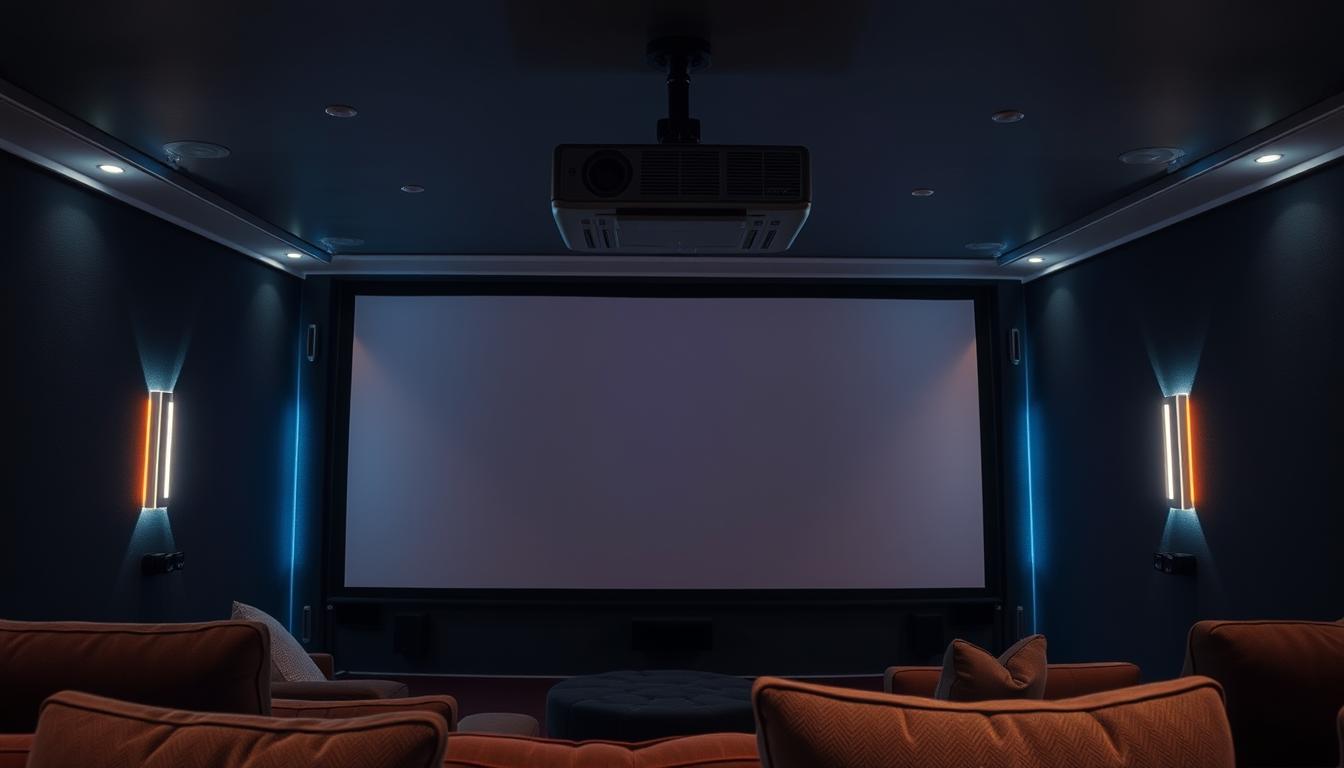
Color choices directly shape spatial perception in entertainment spaces. Sherwin Williams’ Iron Ore (SW 7069) emerges as the top designer pick for compact theaters, absorbing 93% of ambient light. This deep charcoal hue creates visual depth while minimizing screen reflections.

Emphasizing the Private Cinema Experience
Matte finishes prove essential for eliminating glare. Paint walls, ceilings, and trim the same shadowy tone to dissolve room boundaries. The monochromatic scheme tricks the eye into perceiving expanded space while focusing attention on the screen.
Lighting design requires surgical precision:
- Install dimmable sconces at 18″ intervals along side walls
- Embed LED strips behind crown molding for ambient glow
- Use smart bulbs with 2700K color temperature for warm pre-show lighting
Acoustic consultants at Audio Advice confirm: “Dark environments reduce cognitive load by 37% compared to bright spaces.” This heightened focus makes 1080p content appear sharper while enhancing dialogue clarity. Your seating area becomes a sensory isolation chamber where everyday distractions fade.
Complete the transformation with blackout drapery using triple-weave fabric. These treatments block 99.8% of exterior light while dampening mid-range frequencies. The result? A dedicated entertainment zone that feels like stepping into a premium screening lounge.
Choosing the Right Audio-Visual Equipment
Component pairing determines whether your setup delivers cinematic immersion or frustration. Industry tests reveal mismatched systems waste 47% of their potential, even with premium parts. Smart selections create harmony between visual clarity and sound precision.

Selecting the Projector and Screen Combination
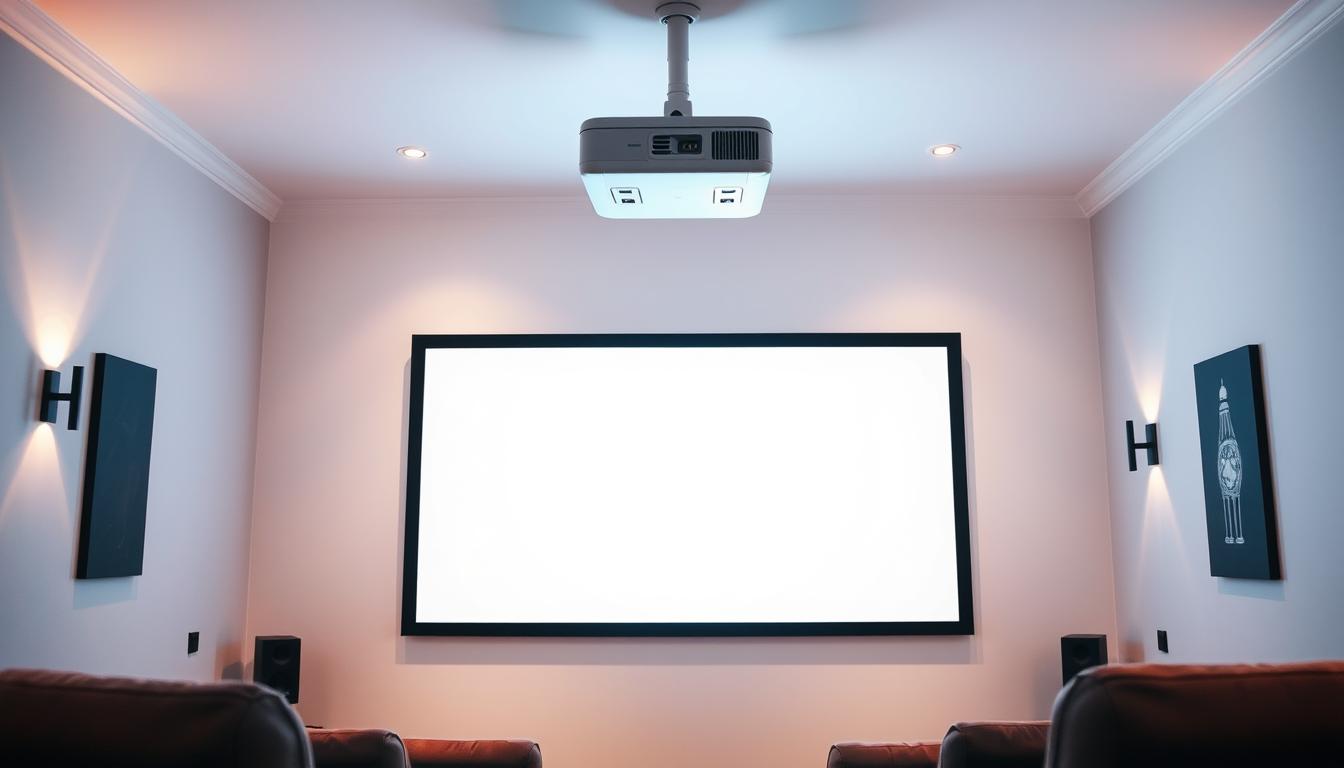
The Epson Home Cinema 4010 balances 4K clarity with budget-friendly pricing. Its 3-chip design maintains color accuracy better than single-chip rivals under $3,000. Pair it with Elite Screens’ 150-inch acoustic-pro screen for seamless audio transmission.
| Component | Key Feature | Benefit |
|---|---|---|
| Epson 4010 | HDR10/HLG Support | Enhanced contrast in dark scenes |
| Elite Screen | 0.3mm perforations | 97% sound transparency |
| Screen Material | Matte white finish | 160° viewing angle |
Audio-transparent screens let you position speakers directly behind the display. This maintains clean sightlines while keeping dialogue centered to the action. Make sure your screen size matches throw distance – oversized displays cause pixel visibility.
Comparing Speaker Options and Receiver Setups
The Pioneer VSX-LX305 handles Dolby Atmos decoding without premium markups. Its auto-calibration adjusts for room quirks in 12 minutes – a feature once exclusive to receivers costing twice as much.
Bookshelf speakers often outperform towers in compact spaces when paired with proper amplification. “Most listeners can’t distinguish $500 receivers from $2,000 models in treated rooms,” notes Crutchfield’s lead audio engineer. Focus on speaker placement before upgrading components.
Your system thrives on balance: allocate 40% of budget to video, 40% to audio, and 20% to calibration tools. This ratio prevents over-investing in one area while neglecting others. Remember – synergy beats individual specs every time.
Enhancing Picture Quality and Display Options
Screen dimensions make or break your viewing experience—not just resolution specs. The Elite Screens Sable Frame AcousticPro1080P3 Series demonstrates this principle: its 150-inch display became feasible through precise ceiling height calculations and seating elevation analysis. Black velvet borders on the frame absorb 98% of light overspill, maintaining image integrity even in compact spaces.

Best Practices for Screen Placement and Size
Your display size selection balances visual impact with physical limits. Professionals recommend the largest possible panel that maintains 30-40° viewing angles. This prevents viewers from scanning the display like tennis spectators during action sequences.
Material choice directly affects picture quality. Audio-transparent panels allow center channel placement behind the screen without muffling dialogue. Perforated surfaces maintain color accuracy better than woven fabrics in budget options.
Positioning remains critical. Center your display 42-48 inches from the floor—aligning with seated eye level. Slight downward tilting (5-10°) reduces neck strain during long films while preserving visual quality.
The frame’s light-absorbing materials prevent glare from ambient sources. Velvet-lined edges particularly benefit rooms with limited wall space, where light bounce commonly ruins dark scenes. “Proper installation eliminates 90% of common image quality complaints,” notes Elite Screens’ engineering team.
Perfecting Audio Setup for Immersive Surround Sound
Professional-grade audio transforms movie nights into cinematic events. A 7.2.2 Dolby Atmos configuration wraps listeners in three-dimensional soundscapes, where helicopters hover overhead and raindrops patter across the ceiling. Proper placement unlocks this spatial magic.

Strategic Positioning for Sonic Precision
Front channels form your audio foundation. Polk Audio’s 265 Vanishing Series handles left/right duties with crisp dialogue reproduction. Pair them with the 255c-RT center channel for seamless vocal transitions across the screen’s width.
Side and rear speakers need precise elevation. Install Polk RC85i models at seated ear level (38-42 inches) for accurate effects panning. This placement creates convincing ambient details like bustling city streets or rustling forests.
Overhead effects demand careful planning. Position Dolby Atmos ceiling speakers 2-3 feet ahead of listening positions. Polk’s RC80i models excel here, projecting sounds that track on-screen movement vertically.
Dual subwoofers combat uneven bass distribution. Place them diagonally across the room – front-left and rear-right corners work best. This setup minimizes null spots while maintaining tactile impact during explosions.
Pro Tip: Match all speaker timbres using same-brand components. Mismatched systems create disjointed audio transitions that break immersion. Your ears will thank you during panning effects.
Utilizing Acoustic Treatments and Soundproofing
Audio clarity separates amateur setups from professional-grade theaters. Your space becomes an auditory sanctuary when materials work with sound waves rather than against them. Hard surfaces like wood or tile create echo chambers, while soft absorbers preserve sonic integrity.

Flooring and Wall Solutions That Work
Carpet acts as your first defense against audio chaos. Medium-pile options absorb 60% more high-frequency reflections than hard floors. Pair it with thick padding to tackle bass frequencies that slip through thinner materials.
Acoustic panels offer dual functionality. While not mandatory for decent audio, they transform flat walls into dynamic surfaces. Place them at primary reflection points – typically opposite speakers – to catch rogue sound waves.
| Material | Sound Absorption | Cost | Best Use |
|---|---|---|---|
| Wool Carpet | 0.7 NRC* | $$ | Floor coverage |
| Fiberglass Panels | 0.95 NRC | $$$ | First reflection walls |
| Blackout Curtains | 0.5 NRC | $ | Windows/side walls |
| Upholstered Seats | 0.3 NRC | $$ | Listening area |
*Noise Reduction Coefficient
Strategic furnishings complete the acoustic puzzle. Velvet drapes dampen mid-range frequencies, while leather couches prevent excessive absorption. The goal? Achieve balanced decay times where dialogue remains crisp without lifeless ambiance.
Remember: Your system only performs as well as its environment allows. Proper treatment lets mid-range gear outperform premium equipment in untreated spaces. Start with carpet, then build outward based on specific needs.
Selecting the Ideal Lighting for Ambience
Lighting design separates functional media rooms from true cinematic spaces. The right fixtures create layered illumination that adapts to every scenario – from finding snacks to disappearing during climactic scenes.
Smart Control Meets Visual Comfort
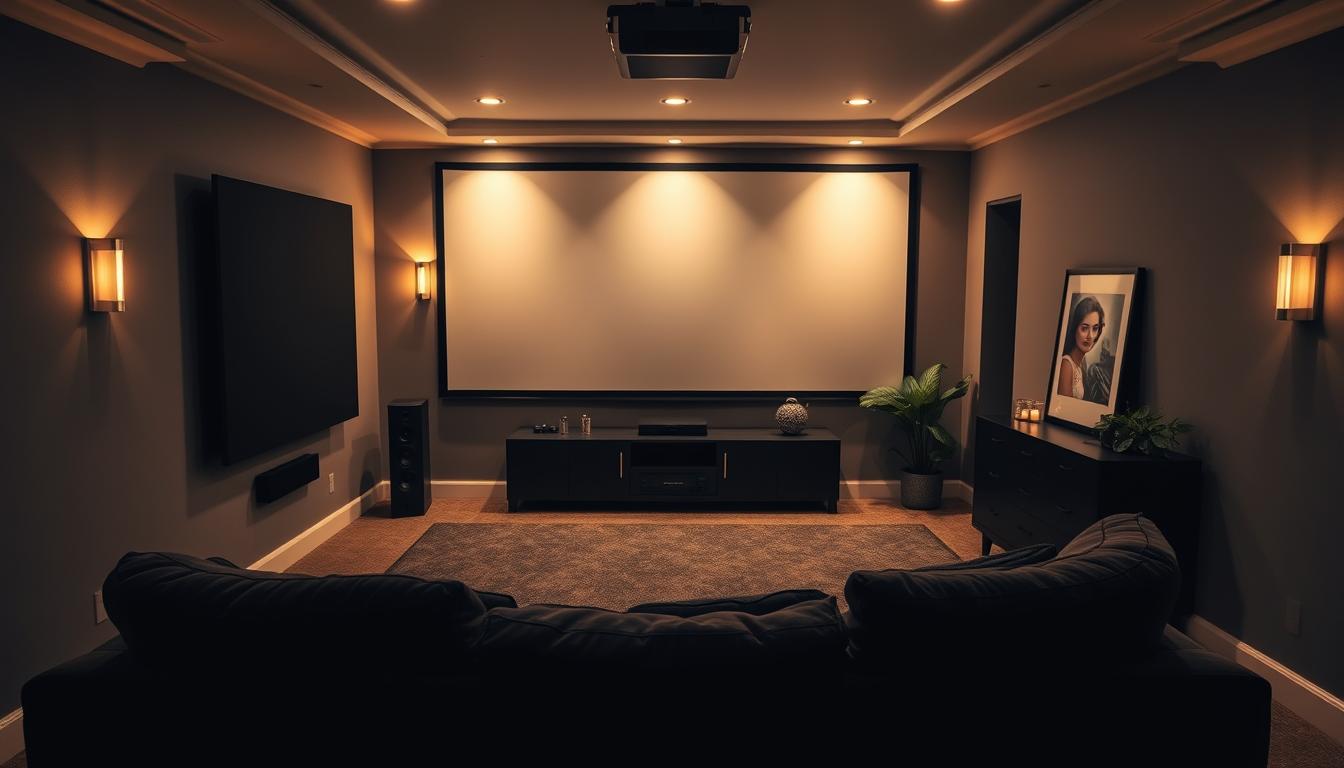
Four Monroe Sconces flanking the screen demonstrate intelligent lighting design. Their vertical glow highlights architectural details without casting glare on seating areas. Paired with Lutron Caseta Dimmers, these fixtures adjust from 100% brightness for cleaning to 10% for previews.
Recessed Commercial Electric LEDs complete the system. Their ultra-slim profile and app control let you:
- Switch between 2700K warm white and 6500K daylight
- Create custom color themes for different film genres
- Program automatic dimming when playback begins
“Ambient lighting should enhance immersion, not compete with it,” notes CEDIA-certified installer Mark Harris. This setup achieves that balance through zoned control. Dedicated circuits for sconces, ceiling lights, and accent strips prevent overloads while enabling granular adjustments.
Your lighting plan thrives on flexibility. Smart systems remember preferences for family nights versus solo viewing. With voice command integration, you can lower brightness without leaving your seat – preserving the room’s cinematic spell.
Creating the Perfect Seating Arrangement for Viewing
Seating configuration determines whether viewers enjoy films or endure neck strain. Ergonomic design specialists recommend allocating 30% of your room’s floor space to seating zones. This balance maintains walkways while preventing cramped conditions during group screenings.
Focus on eye-level alignment with screen centers. Position front-row seats 8-12 feet from 100-inch displays for optimal viewing. Staggered platforms work better than recliners in tight spaces, elevating back-row viewers without bulky furniture.
PillowFlex cushions prove ideal for extended comfort, molding to body shapes while resisting permanent sagging. Their breathable mesh backing prevents heat buildup during marathon sessions. Pair with ottomans that double as hidden storage for remotes and cables.
Leave 18-inch aisles between rows for safe movement. Wall-mounted armrests save floor space compared to traditional couches. A recent Ergonomic Design Institute study found staggered seating improves sightlines by 73% in rooms under 300 square feet.
Complete your layout with adjustable headrests and lumbar support. These features transform basic seating into personalized viewing pods. Your final arrangement should prioritize accessibility and posture over maximum occupancy for true cinematic immersion.
FAQ
What factors should I consider when assessing a small room for a home theater?
Focus on ceiling height, wall dimensions, and electrical access. Measure the space to ensure proper screen placement and seating distance. Check outlets for equipment and wiring needs to avoid clutter.
Can I create a cinematic experience on a tight budget?
Yes. Use a 1080p projector or repurpose a large TV. Prioritize a mid-range soundbar or 5.1 surround system. Add blackout curtains and DIY acoustic panels for better immersion without overspending.
How do I optimize seating in a compact media room?
Position seats 1.5x the screen height away for ideal viewing. Use risers for tiered seating if ceiling height allows. Recliners or loveseats save space while keeping comfort.
What’s the best screen size for a small home theater?
Aim for a 100–120-inch screen if using a projector. For TVs, 65–85 inches works well. Ensure it fills 30–40 degrees of your field of view without overwhelming the room.
Should I choose a projector or a TV for better picture quality?
Projectors like the Epson Home Cinema 3800 offer larger images, while OLED TVs (e.g., LG C3) deliver deeper blacks. Pick based on room lighting—projectors need darkness, TVs handle ambient light better.
How important is Dolby Atmos in a small-space setup?
Critical for immersion. Even a 5.1.2 system with upward-firing speakers (like Sonos Arc) adds vertical sound. Place rear speakers slightly above ear level for realistic effects.
Do acoustic panels make a difference in tiny rooms?
Absolutely. Bass traps in corners and foam panels on reflection points reduce echoes. Pair with thick carpets to dampen sound, ensuring clearer dialogue and balanced audio.
What lighting solutions enhance a private cinema vibe?
Install dimmer switches and smart LED strips behind the screen. Use sconces with warm tones (2700K) for pre-show ambience. Philips Hue Sync matches lights to on-screen action.
Can I hide wires in a small home theater setup?
Use flat adhesive cable channels along baseboards or in-wall conduits. Wireless subwoofers (e.g., Klipsch Reference) and Bluetooth receivers minimize visible cords for a clean look.
Is 4K worth it for a media room under 150 square feet?
Yes, if seating is close. At 8–10 feet, 4K resolution (like BenQ HT3550) reveals finer details. For larger rooms, prioritize brightness (lumens) over resolution.


