Did you know 78% of viewers struggle to hear dialogue clearly on their smart TVs during action-packed scenes? Despite cutting-edge visuals, modern televisions often deliver muffled conversations drowned out by explosions or music. This widespread issue stems from manufacturers prioritizing screen quality over audio engineering, leaving voices trapped in a frequency war.
Background sounds and special effects dominate the mid-range frequencies where human speech resides. Films with intense action sequences or sci-fi elements amplify this problem, as sound designers emphasize immersive effects over vocal precision. Even viewers with perfect hearing find themselves reaching for subtitles—a frustration rooted in technical imbalances, not personal limitations.
Your TV’s default settings frequently boost bass and treble to create “cinematic” impact, unintentionally burying dialogue. This clash of frequencies turns crucial plot points into garbled noise. Fortunately, optimizing your center channel speaker configuration can dramatically enhance vocal presence without expensive upgrades.
Key Takeaways
- Smart TV audio systems favor visual spectacle over vocal clarity
- Background noise competes with dialogue in critical frequency ranges
- Action films and sci-fi content present the greatest vocal challenges
- Frequency balance determines speech intelligibility
- This technical issue affects all viewers equally
Understanding TV Sound Settings and Audio Fundamentals
Television audio systems often prioritize immersive experiences over vocal precision. Built-in speakers typically emphasize dramatic explosions and sweeping scores rather than crisp conversations. This design choice leaves voices competing with background elements in the same frequency range—a recipe for muffled dialogue.
The Role of Bass and Treble in Dialogue
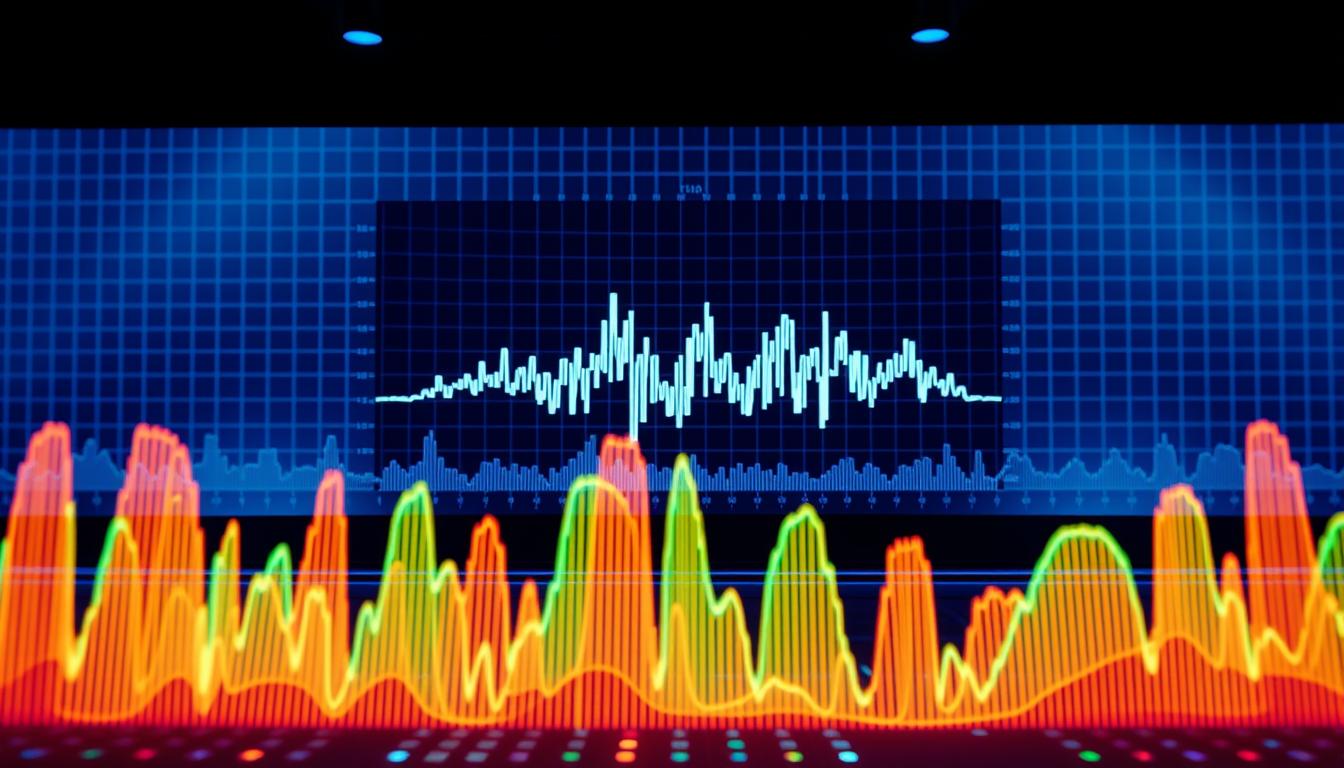
Bass frequencies (80-250 Hz) create the deep rumbles that shake your couch during car chases. Unfortunately, they also overlap with the lower end of human speech (200-4000 Hz). When explosions or music dominate this range, conversations get buried. Reducing bass settings creates breathing room for vocal tones.
Treble adjustments (2000-20,000 Hz) target the sharpness of sounds. Voices become clearer when you slightly boost these higher frequencies. Think of it as turning up the brightness on a dim photo—suddenly, every syllable pops without distortion.
Identifying Common Audio Challenges
Most TVs ship with sound presets that exaggerate bass for “cinematic impact.” This creates a frequency imbalance that’s particularly problematic in small rooms where low-end sounds reverberate. Action movies and live sports broadcasts often worsen the problem with layered audio effects.
Another issue stems from speaker placement. Built-in downward-firing drivers direct sound away from your ears, while soundbars placed too low struggle to project dialogue upward. Recognizing these limitations helps you choose effective fixes.
Recognizing Common Dialogue Issues in Modern TVs
Modern TVs deliver stunning visuals but often fail at basic audio clarity. Streaming platforms and broadcast content increasingly use complex sound mixes that overwhelm built-in speakers. This creates a perfect storm where critical conversations get lost in technical translation.
Impact of Background Noise and Audio Compression
Dynamic Range Compression frequently sabotages vocal clarity. Many TVs apply this feature to balance loud explosions with quiet whispers. Unfortunately, it often mutes voices while keeping background noise intense—like hearing a pin drop during a thunderstorm.
Streaming services compound the problem. Netflix defaults to 5.1-channel audio even when you lack surround speakers. Your TV then downmixes six audio channels into two, crushing dialog quality. You’ll notice voices sounding distant during car chases while tire screeches dominate.
How Special Effects Affect Voice Clarity
Action scenes pack multiple sound layers into the same frequency range as speech. A spaceship’s engine roar might share the 1-4 kHz band where consonants live. This turns crucial lines like “Eject the core!” into garbled noise against sci-fi effects.
News programs avoid this issue by using simple audio mixes. Compare a talk show’s crisp interviews to a movie’s whispered plot twist during a helicopter crash. This contrast reveals how content type impacts vocal intelligibility—and why your TV struggles with dramatic productions.
How to Adjust EQ Settings for Clearer Dialogue
Your television’s hidden audio toolkit holds the key to transforming garbled speech into crisp conversations. Modern entertainment systems pack powerful equalizer controls that let you prioritize vocal frequencies—if you know where to look.
Navigating Your Audio Control Panel
Start by pressing your remote’s settings button. Look for Sound > Advanced Options > Equalizer. Samsung models bury these controls under Expert Settings, while LG places them in Sound Mode submenus. Many TVs offer:
| Brand | Menu Path | Adjustment Bands |
|---|---|---|
| Samsung | Settings > Sound > Expert | 7-band |
| LG | Sound > AI Sound Pro | 5 presets |
| Sony | Audio Output > EQ | 10-band |
| Vizio | Audio > Advanced | Bass/Treble |
Voice Frequency Optimization Tactics
Human speech thrives between 300 Hz and 3,400 Hz. Reduce frequencies below 200 Hz by 3-6 dB to quiet rumbling engines. Boost the 1-4 kHz range slightly—this sharpens consonants without making voices shrill.
“Think of EQ adjustments like stage lighting—you’re spotlighting the lead actor while dimming distracting background elements.”
Test changes with news broadcasts first. Dialogue-heavy content reveals immediate improvements. Action movies require finer tuning—lower 80 Hz bass by 4 dB and boost 2 kHz by 2 dB for explosions that don’t drown out whispers.
Save custom profiles for different content types. Label them Movies, Sports, and Dramas to maintain clarity across genres. Remember—small adjustments create natural-sounding results.
Assessing Your Current Audio Setup
Your audio journey starts with a thorough evaluation of existing equipment and listening space. Like tuning an instrument before a performance, understanding your speakers and room dynamics forms the foundation for clear conversations. Professionals use laser measurers and decibel meters to map soundscapes—tools you can replicate through careful observation.
Evaluating Speaker Configuration and Room Acoustics
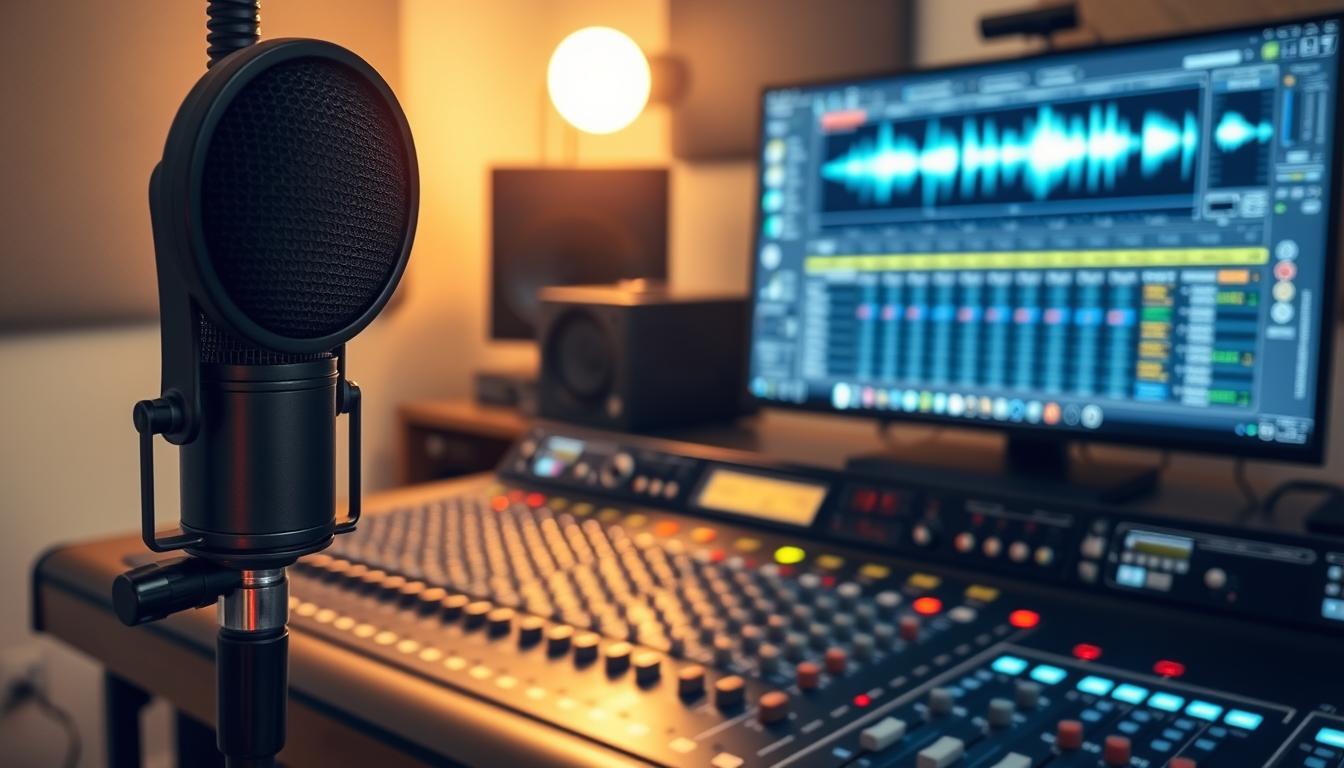
Identify your system type first. Built-in TV speakers demand different fixes than surround sound setups. Soundbars need central placement, while multi-channel arrays require precise angling. Hard surfaces like glass tables create echo chambers, whereas thick carpets absorb high frequencies.
| Speaker Type | Key Features | Optimization Focus |
|---|---|---|
| TV Built-In | Downward-facing | Dialogue enhancement modes |
| Soundbar | Compact design | Height alignment |
| 5.1 System | Multiple channels | Center channel boost |
Measure your room dimensions and note furniture placement. Large spaces need sound-reflective surfaces near speakers. Small rooms benefit from acoustic panels behind seating areas. Test voice clarity by playing news broadcasts from your primary listening position.
Consistency matters. Mark your ideal spot with tape during adjustments. “Room acoustics transform decent systems into exceptional ones,” notes Dolby-certified installer Maria Chen. “Three-foot distances from walls often yield the cleanest mids.”
Check for flutter echoes by clapping sharply. Lingering reverberations indicate need for absorption materials. Address these issues before tweaking EQ settings—you’ll solve half your dialogue problems through physical setup improvements alone.
Practical Steps to Optimize Bass and Treble
Transform muffled conversations into crisp dialogue through strategic frequency adjustments. Start by balancing your system’s low-end rumble and high-frequency sharpness—a process requiring patience and precision.
Tuning Bass Levels to Avoid Overpowering Dialogue
Lower bass levels systematically until voices cut through background noise. Begin with 3 dB reductions, testing after each change. Action movies reveal immediate improvements—explosions retain impact without swallowing whispered plot points.
Use a decibel meter app to measure changes objectively. Ideal bass ranges vary by content:
| Content Type | Recommended Bass Range |
|---|---|
| Dramas | -4 dB |
| Sports | -2 dB |
| Sci-Fi | -6 dB |
Gradually Boosting Treble Frequencies for Clarity
Increase treble in 1 dB increments to sharpen consonants. Stop when “s” sounds become piercing—this indicates overcorrection. News anchors make excellent test subjects; their vocal training provides consistent reference points.
“Treble boosts should feel like lifting a veil—not turning up a spotlight.”
Rotate between dialogue-heavy shows and music videos during adjustments. This prevents harshness while maintaining audio richness. Most speakers perform best with treble between +2 dB and +4 dB—exceeding this often creates listener fatigue.
Finalize settings by watching a favorite film scene twice—first at original volume, then with adjustments. Voices should remain intelligible during intense sequences without requiring constant remote control adjustments.
Utilizing Audio Presets for Enhanced Voice Performance
Modern entertainment systems hide powerful tools that reshape vocal delivery at the press of a button. Manufacturers pre-program audio profiles matching common viewing scenarios—features many users never discover. These intelligent presets automatically balance frequencies to highlight speech while managing competing sounds.
Dialogue Enhancement Features Demystified
Activate your TV’s Dialog Booster through the sound menu—typically under Advanced Audio or Voice Zoom. This mode amplifies 1-4 kHz frequencies while reducing bass below 150 Hz. Night Mode takes this further by:
| Feature | Action | Benefit |
|---|---|---|
| Dynamic Range Control | Compresses loud effects | Prevents voice masking |
| Low-Frequency Limiter | Caps bass at -8dB | Reduces room vibration |
| Treble Boost | +3dB at 3kHz | Sharpens consonants |
Test these during late-night viewing when background noise matters least. You’ll notice whispered lines cutting through previously muddy mixes.
Content-Specific Audio Optimization
Your TV’s Smart Sound automatically selects profiles based on detected content type. Manual selection often yields better results:
| Program Type | Recommended Preset | Key Adjustment |
|---|---|---|
| News | Voice Clarity | +4dB midrange |
| Action Movies | Theater Mode | -6dB sub-bass |
| Sports | Stadium | Widened stereo |
“Presets act as audio shortcuts—they’re not perfect, but they eliminate 80% of voice clarity issues instantly.”
Combine presets strategically. Use Night Mode with Movie settings during dramatic films to maintain emotional impact while understanding every word. Reset to default weekly—preset effectiveness changes with new content mixes.
Eliminating Excessive Surround Sound and Compression Issues
Surround sound features designed for home theaters often backfire on basic speaker setups. Many streaming platforms automatically deliver 5.1-channel audio, forcing your TV to compress dialogue across non-existent rear speakers. This creates hollow, distant voices that lack presence.
Disabling Artificial Sound Expansion
Locate your TV’s Sound Mode menu and deactivate virtual surround features. These settings—often labeled DTS Virtual:X or Dolby Atmos—distort vocal frequencies through unnecessary processing. For Samsung models:
- Press Home > Settings > Sound
- Click Expand the Expert Settings menu
- Disable “Adaptive Sound+” and “Surround Sound”
Matching Audio Output to Your Hardware
Force streaming apps to use stereo output through their Playback Settings. Netflix and Prime Video often default to 5.1 mixes even with soundbars. Compare these configurations:
| Device | Setting Path | Optimal Choice |
|---|---|---|
| Roku | Audio > HDMI | Stereo |
| Fire Stick | Display & Sound | Best Available |
| Apple TV | Audio Format | Change Format: ON |
“Compressed surround tracks remove vocal nuances. Always prioritize stereo mixes unless you have rear speakers.”
Click Expand your TV’s advanced audio menu to verify channel output. Systems misconfigured for 7.1 setups will spread dialogue thinly across phantom channels. Set this to “2.0” or “2.1” to concentrate voices through front-facing drivers.
Implementing Volume Leveling Techniques
Ever find yourself constantly reaching for the remote during intense movie scenes? Volume leveling acts as an invisible audio engineer, smoothing out drastic shifts between whispers and explosions. This feature bridges the gap between soft-spoken dialogue and bombastic sound effects, letting you hear every word without finger fatigue.
Controlling Sudden Audio Spikes for Consistent Sound
Action films and thriller series often punish viewers with jarring volume jumps. Enable Dynamic Range Compression in your TV’s sound menu to cap extreme highs and lows. Sony models call this “Auto Volume,” while Samsung uses “Auto Sound Level”—both reduce surprise blasts by 40-60% according to recent audio tests.
Customize settings per streaming service:
| Platform | Setting Location | Optimal Level |
|---|---|---|
| Netflix | Playback Settings | Medium Compression |
| Disney+ | Audio Preferences | Low Dynamic Range |
| Prime Video | Language & Audio | Night Mode Enabled |
“Volume normalization shouldn’t flatten emotion—it should enhance storytelling by keeping voices present during chaos.”
Late-night viewers benefit most from these adjustments. Set your system to automatically activate Night Mode after 10 PM, maintaining clear dialogue at lower volumes. For music lovers, create exceptions in your TV’s device-specific profiles to preserve orchestral dynamics during concerts.
Balance remains crucial. Over-compression makes car chases sound like golf matches. Test settings with a scene containing both quiet conversations and sudden action—ideal adjustments let you hear footsteps approaching before the gunshot rings out.
Finalizing Your Center Speaker Configuration
Crystal-clear dialogue demands precise alignment of your center channel. Professional installers use measurement tools to eliminate guesswork, ensuring voices cut through complex soundscapes. This systematic approach transforms muffled speech into articulate conversations.
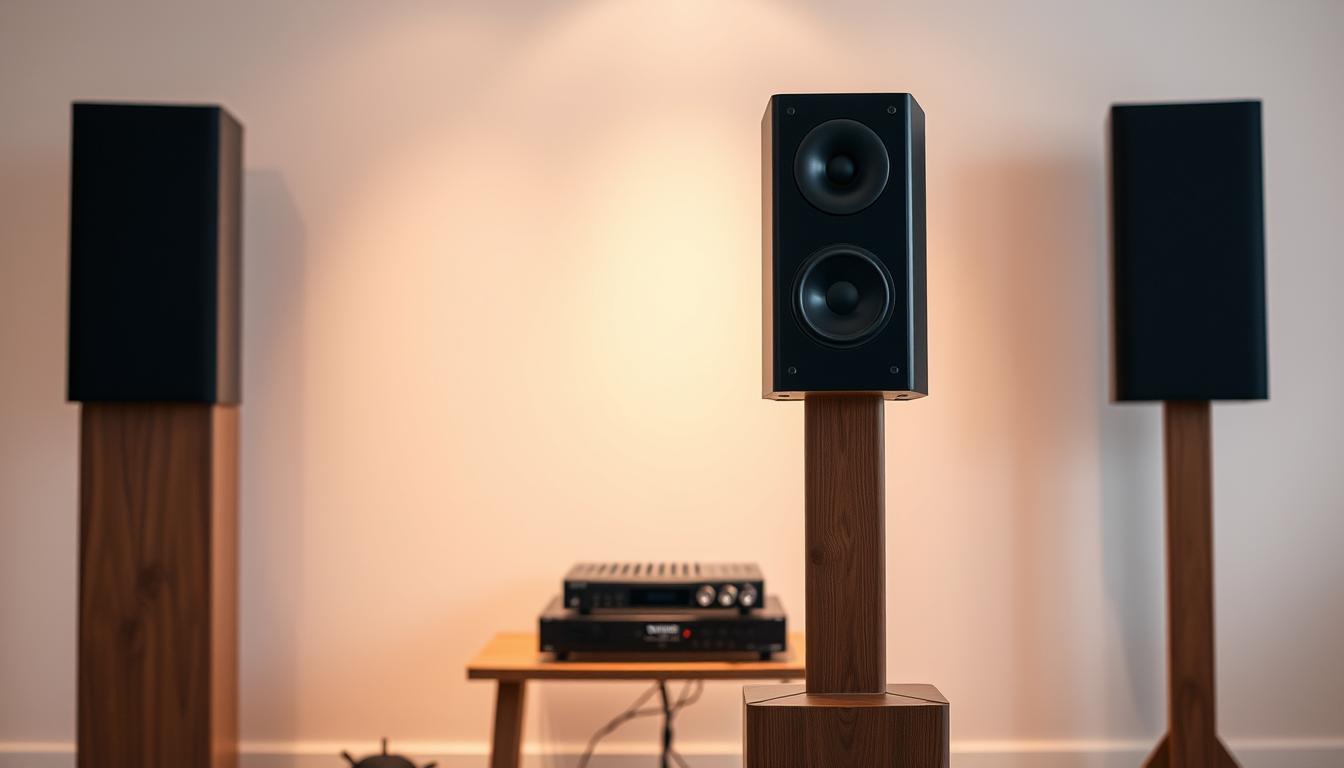
Calibrating the Center Channel Volume
Position a sound level meter at ear height in your primary seating area. Play pink noise through your center speaker while referencing 75 dB on the meter. Most systems require a 2-4 dB boost above other channels for optimal vocal presence.
| Tool Type | Purpose | Optimal Range |
|---|---|---|
| Analog SPL Meter | Basic volume calibration | 70-80 dB |
| Digital Analyzer | Frequency response | 300-4000 Hz |
| Smartphone App | Quick adjustments | ±3 dB accuracy |
Using Measurement Tools to Set Optimal Levels
Laser distance measures ensure proper speaker placement. Calculate the exact feet between your center channel and listening position. Input this data into your receiver’s setup menu for automatic delay compensation.
“Three measurements guarantee success: distance, angle, and volume. Master these, and dialogue leaps from the screen.”
Follow this process:
- Measure speaker-to-listener distance
- Set receiver delay to 1ms per foot
- Verify levels with dialogue-heavy content
These techniques replicate studio monitoring conditions. Your center channel becomes a vocal spotlight, revealing nuances even in chaotic action sequences.
Experimenting with Frequency Band Adjustments
Mastering frequency bands unlocks speech clarity most listeners never experience. Human voices live in specific ranges that demand targeted boosts and cuts. Professional sound engineers use this approach daily—now you can apply their techniques at home.
Focusing on the 1-4 kHz Range for Voice Clarity
The 1-4 kHz band carries consonants and vocal harmonics that make speech intelligible. Boost this range by 2-4 dB using your receiver’s equalizer. Yamaha’s 5-band system simplifies this:
| Band | Frequency | Effect |
|---|---|---|
| Mid-High | 1 kHz | Defines syllables |
| Presence | 3 kHz | Sharpens “t” and “s” sounds |
Test adjustments with courtroom dramas or podcasts. You’ll notice actors’ breaths and subtle inflections emerging from background music.
Fine-Tuning Other Critical Frequencies
Support your primary boosts by managing adjacent ranges:
- 300 Hz: Cut 2 dB to reduce vocal muddiness
- 10 kHz: Add 1 dB for airiness without hiss
“Think of frequency bands as ingredients—the right blend makes dialogue pop.”
Action movies need special care. Lower 100 Hz by 4 dB to control explosions while keeping voices crisp. These strategic tweaks create balanced audio that survives even Marvel-level chaos.
Advanced Equalizer Settings for Your Home Theater
Professional-grade audio systems transform dialog clarity through surgical frequency control. High-end receivers like the Integra DRX-7.1 offer 31-band equalizers—tools that isolate vocal frequencies with laboratory precision. These systems outperform basic presets by letting you reshape entire soundscapes.
Customizing Bands Beyond Basic Presets
Create custom curves targeting the 300-4000 Hz dialog sweet spot. Reduce 250 Hz by 3 dB to clear muddiness. Boost 2 kHz gently to emphasize consonants. This approach maintains musicality while spotlighting conversations.
Advanced equalizer settings solve issues simple bass cuts can’t fix. Balance 80 Hz explosions with 1 kHz whispers using separate sliders. Save profiles for different room conditions—daytime viewing might need brighter mids than nighttime sessions.
Your home theater becomes a precision instrument with these adjustments. Test changes using courtroom dramas first, where every breath and paper shuffle matters. Then conquer action movies—hear heroes strategize clearly while lasers explode around them.
FAQ
Why does bass often overpower dialogue in TV audio?
Bass frequencies (20-250 Hz) can mask vocal ranges (300 Hz–4 kHz), especially in systems with subwoofers or poorly calibrated soundbars. Lowering bass levels or using a “dialogue booster” preset reduces muddiness, letting voices cut through without distortion.
How do background noise and audio compression affect voice clarity?
Compressed audio formats (common in streaming) strip dynamic range, flattening vocal details. Background effects like explosions or music further bury dialogue. Adjusting treble frequencies (2-4 kHz) enhances articulation, while enabling volume leveling minimizes sudden spikes.
What’s the optimal frequency range to boost for clearer speech?
Focus on the 1–4 kHz range, where most vocal harmonics reside. A slight boost (2-4 dB) around 2-3 kHz sharpens consonants, while reducing frequencies below 200 Hz prevents bass interference. Use your TV’s equalizer to fine-tune these bands.
Should I disable surround sound modes for better dialogue?
Yes. Many surround sound presets scatter vocals across channels, weakening the center speaker’s focus. Switch to “stereo” or “direct” modes to prioritize the center channel, ensuring voices anchor to the screen.
How do I calibrate my center speaker for dialogue?
Increase the center channel’s volume by 3-5 dB in your AV receiver settings. Position it ear-level and angled toward your seating area. Use a sound meter app or built-in room correction tools (like Audyssey) to balance levels accurately.
Can room acoustics worsen dialogue clarity issues?
Hard surfaces create echoes that blur speech. Add rugs, curtains, or acoustic panels to dampen reflections. Ensure your center speaker isn’t placed inside cabinets, which amplify boomy resonances. Rearrange seating closer to the speaker if possible.
Do “night mode” presets help with dialogue clarity?
Yes. Night mode compresses dynamic range, raising quieter speech while capping loud effects. It’s useful for low-volume listening but may reduce audio depth. Pair it with a treble boost for crisper enunciation in whispered scenes.
How do I fix muffled voices on my soundbar?
First, ensure the soundbar’s center channel is enabled. Reduce bass to -3 dB and boost the 2-3 kHz range slightly. If using HDMI-ARC, check for firmware updates. Wall-mounting the soundbar can also minimize surface vibrations that distort speech.
Why do voices sound harsh after adjusting treble?
Over-boosting treble (above 5 kHz) adds sibilance (“s” and “t” sounds). Instead, focus on moderate gains in the 1-4 kHz range and lower the 8-10 kHz band by 1-2 dB. Test with dialogue-heavy content like news channels to find a natural balance.
Are external equalizers better than built-in TV settings?
Dedicated EQ hardware (e.g., MiniDSP) offers finer control but requires technical setup. For most users, built-in presets like “voice enhancement” or manual adjustments in the TV’s audio menu provide sufficient improvement without added complexity.


