Did you know 99% of foam pieces on the market fail to provide effective acoustical insulation? This startling fact highlights the need for better solutions to improve sound quality in your space. Crafting your own panels using woodworking techniques offers a cost-effective and rewarding alternative.
By building these panels, you can enhance sound clarity in your studio or band room. Using materials readily available at hardware stores, you’ll save money while achieving professional-grade results. Inspired by audio engineer Nick Braren, this project combines functionality with aesthetic appeal.
This guide will walk you through every step, from materials to assembly. You’ll learn how to create panels that not only improve sound but also look great in your space. Get ready to blend creativity with technical skill for a project that delivers both performance and style.
Key Takeaways
- Foam pieces often fail to provide effective sound insulation.
- Building your own panels is a cost-effective solution.
- Use materials easily found at hardware stores.
- Professional-grade results are achievable with DIY methods.
- Combine functionality and aesthetics for a polished look.
Introduction to DIY Acoustic Panels
Commercial sound treatments often come with a hefty price tag, but there’s a smarter way to achieve professional results. Building your own panels allows you to save money while tailoring the design to your specific needs. Whether you’re setting up a home studio or a band room, this approach offers both functionality and style.
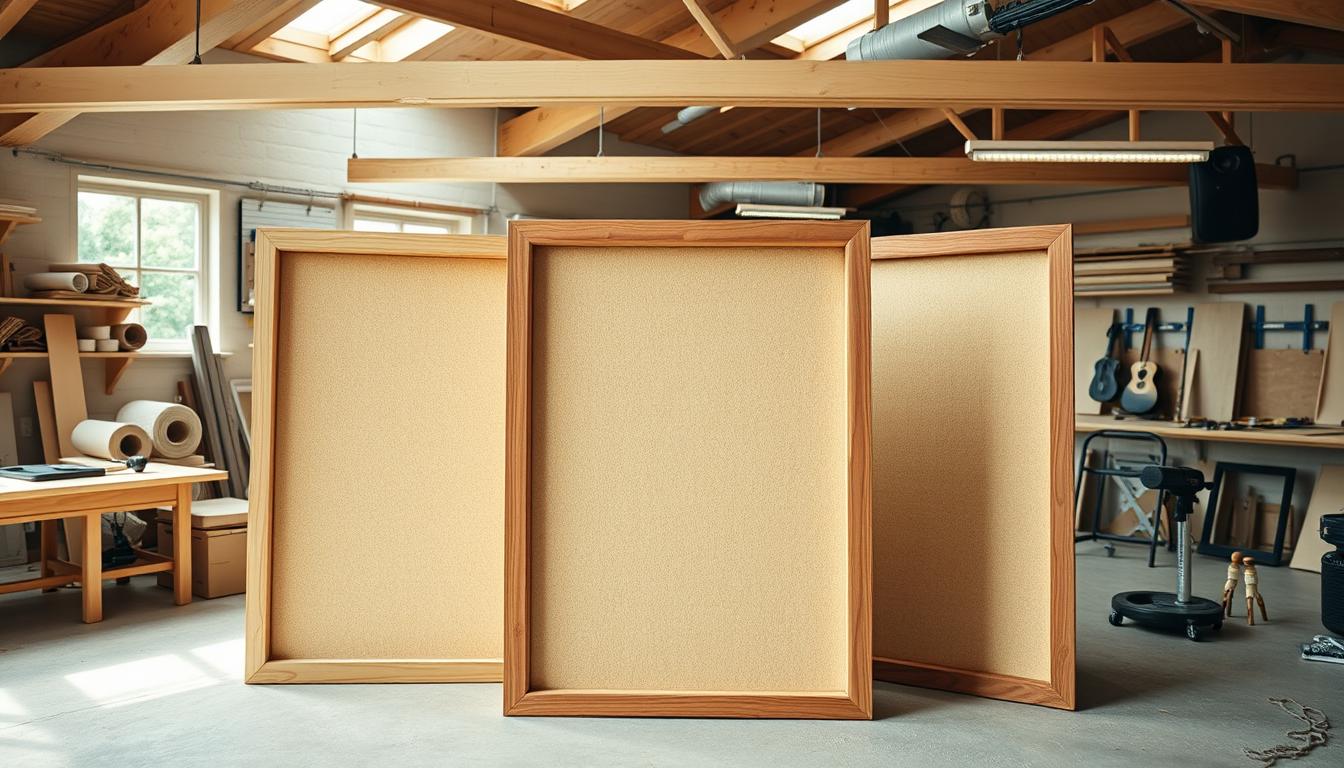
Why Consider DIY Woodworking?
Pre-made panels from brands like Hofa can cost up to $12.25 per square foot. In contrast, a DIY project averages around $2.50 per square foot. This significant cost difference makes it a practical choice for anyone on a budget.
Customization is another major advantage. You can choose materials, dimensions, and finishes that match your space perfectly. This ensures your panels not only improve sound but also enhance the overall aesthetic of your studio or room.
Benefits for Your Home Studio or Band Room
DIY panels provide superior sound absorption compared to many commercial products. For example, materials like Roxul RHT 80 offer a Sabine absorption coefficient of 1.08 at 500 Hz, outperforming traditional options.
Here’s a quick cost comparison:
| Product | Cost per Square Foot |
|---|---|
| Commercial Panels | $6 – $12.25 |
| DIY Panels | $2.50 |
Building your own panels also lets you experiment with creative designs. You can add features like LED lighting or unique fabric patterns, making your panels a standout thing in your space.
With the right tools and materials, you can achieve professional-grade sound quality while expressing your creativity. It’s a win-win for both your ears and your wallet.
Understanding Acoustic Treatment Fundamentals
Understanding the science behind sound waves can transform your space’s acoustics. Sound absorption is essential for reducing echoes and improving clarity. It’s not just about adding materials; it’s about knowing how they interact with sound frequencies.
The Science Behind Sound Absorption
Sound waves travel through the air and reflect off surfaces, creating echoes and reverberations. Materials like insulation batts absorb these waves, reducing unwanted noise. For example, Roxul RHT 80 has a Sabine absorption coefficient of 1.08 at 500 Hz, making it highly effective.
Different frequencies require different treatments. Higher frequencies are easier to absorb, while lower frequencies need specialized solutions like bass traps. This is why understanding the behavior of sound waves is crucial for effective treatment.
Here’s a breakdown of how materials perform:
| Material | Absorption Coefficient (500 Hz) |
|---|---|
| Roxul RHT 80 | 1.08 |
| Fiberglass Insulation | 0.95 |
| Acoustic Foam | 0.70 |
Energy efficiency is another key factor. Poor acoustics can lead to sound leakage, forcing you to increase volume levels. This not only wastes energy but also disrupts the balance of your room.
By applying these principles, you can design an acoustic panel that meets your specific needs. Whether you’re a beginner or an experienced builder, this knowledge ensures your project delivers both performance and style.
Materials and Tools You Will Need
Building your own panels starts with gathering the right materials and tools. Quality supplies ensure durability and performance, while the right tools make the process efficient and safe. Let’s break down what you’ll need to get started.
Essential Materials for Your Panels
Start with insulation batts like Roxul SAFE n SOUND or mineral wool. These materials offer excellent sound absorption, with a Sabine coefficient of 1.08 at 500 Hz. For the frame, use multiplex plywood or pine boards, cut to your desired dimensions.
Choose acoustic fabric for the outer layer. Options like Guilford of Maine provide both functionality and aesthetic appeal. Garden fleece can be used as a backing material to improve durability. Don’t forget hardware like screws, staples, and steel hooks for secure assembly.
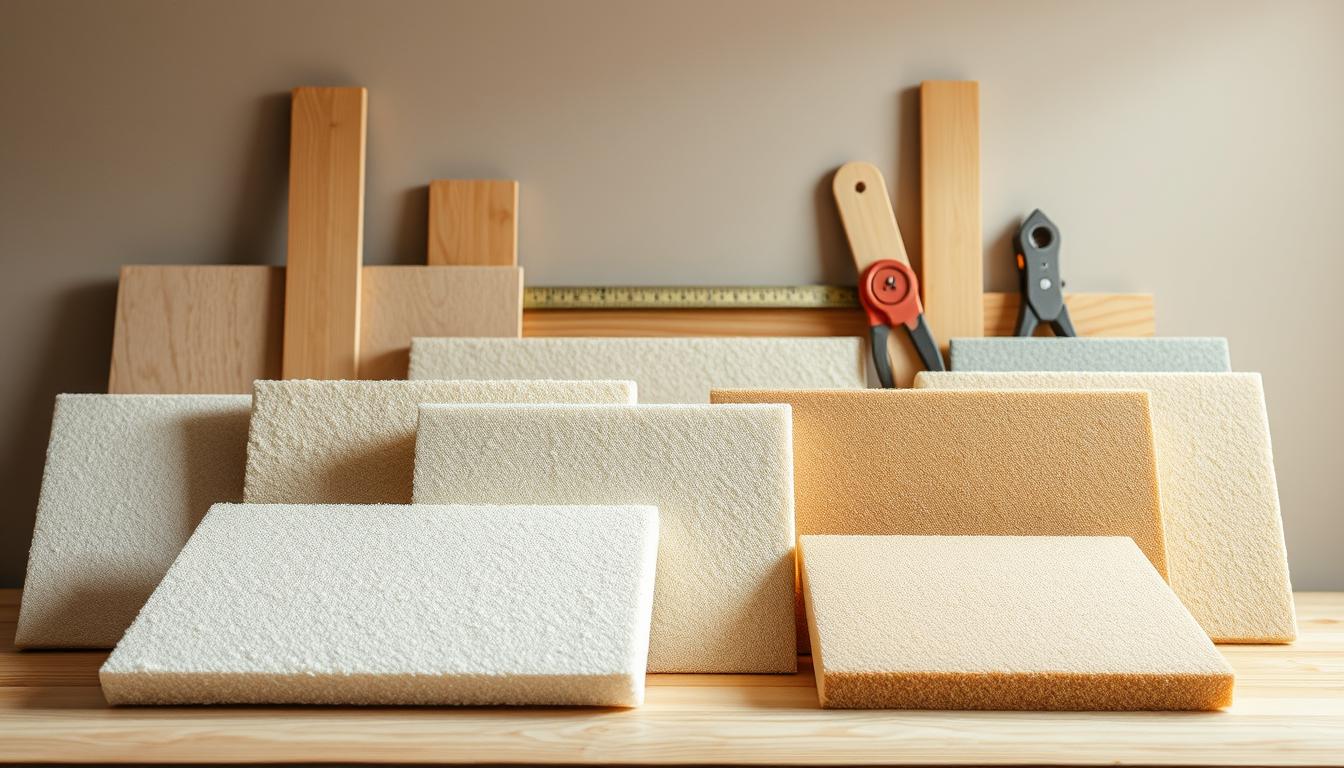
Must-Have Tools for a Successful Build
A cordless drill is essential for pre-drilling holes and securing screws. A staple gun helps attach fabric and fleece neatly. Measuring tools like a folding ruler or tape measure ensure precision, while a circular saw makes cutting wood quick and accurate.
Safety gear is non-negotiable. Wear work gloves, dust masks, and safety glasses to protect yourself during the build. Optional tools like clamps and a laser level can add convenience but aren’t strictly necessary.
Here’s a quick checklist to keep you organized:
- Insulation batts (e.g., Roxul SAFE n SOUND)
- Multiplex plywood or pine boards
- Acoustic fabric and garden fleece
- Cordless drill, staple gun, and circular saw
- Safety gear: gloves, dust masks, and glasses
By gathering these materials and tools, you’ll be well-prepared to create panels that enhance sound quality and complement your space.
Planning Your DIY Acoustic Panel Project
Proper planning is the backbone of any successful project, especially when building acoustic panels. Taking time to measure, select materials, and design your panels ensures they meet both functional and aesthetic goals. This section guides you through the essential steps to plan your project effectively.
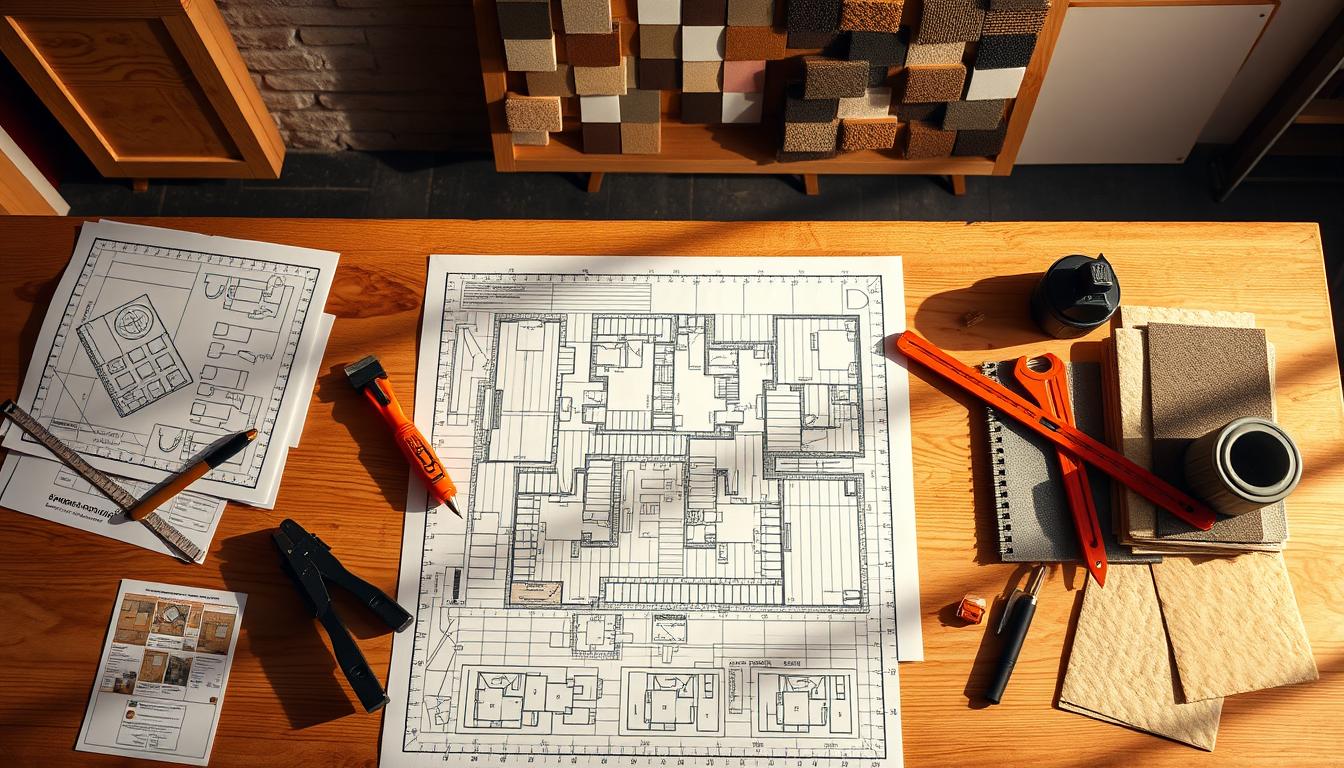
Determining Panel Dimensions and Thickness
Start by measuring your space to determine the ideal panel size. Common dimensions include 24×48 inches or 24×60 inches, but tailor these to fit your studio or room. Thickness is equally important; panels should be at least 4 inches thick for effective bass absorption, with 6 inches being optimal for low-end frequencies.
Here’s a quick guide to panel dimensions and thickness:
| Panel Size | Recommended Thickness |
|---|---|
| 24×48 inches | 4-6 inches |
| 24×60 inches | 4-6 inches |
Choosing the Right Insulation and Fabric
Selecting the right insulation is crucial for sound absorption. Materials like Roxul SAFE n SOUND or mineral wool offer excellent performance, with a Sabine absorption coefficient of 1.08 at 500 Hz. Ensure the insulation fits snugly within your wood frame to avoid gaps.
Fabric choice impacts both aesthetics and functionality. Acoustic fabrics like Guilford of Maine are breathable and durable, ensuring sound passes through while maintaining a polished look. Avoid thick or non-porous fabrics, as they can reduce absorption efficiency.
By carefully planning dimensions, thickness, and materials, you’ll create panels that enhance sound quality and complement your space. Take your time during this stage to avoid costly mistakes later.
The Art of Acoustic Panels: DIY Woodworking for Better Sound
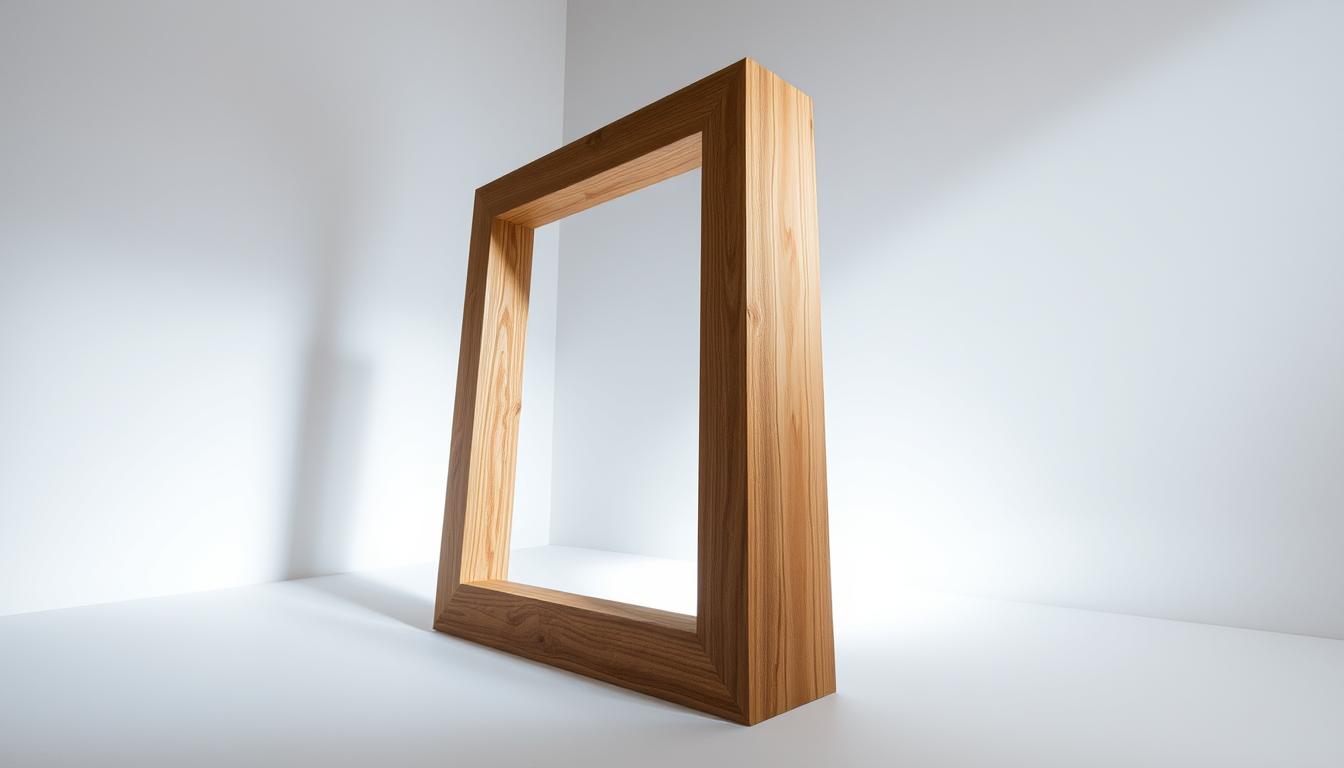
Crafting a sturdy frame is the foundation of any successful sound treatment project. A well-built wooden frame ensures your panels are durable and effective. Start by selecting the right materials, such as multiplex plywood, known for its strength and stability.
Constructing a Durable Wooden Frame
Begin by measuring and cutting your plywood to the desired dimensions. Add 20 mm to the insulation batt size for a snug fit. Pre-drill holes at the corners to prevent splitting when screwing the frame together. This step ensures stability and longevity.
Use a cordless drill to secure the screws tightly. For added durability, consider reinforcing the corners with wood glue. A sturdy frame is essential for supporting the insulation and fabric layers, making it a critical thing in your project.
Techniques for Attaching Fabric and Garden Fleece
Once the frame is complete, it’s time to attach the garden fleece and fabric. Start by cutting the fleece slightly larger than the frame to ensure full coverage. Staple it neatly to the back of the frame, pulling it taut to avoid wrinkles.
Next, lay the acoustic fabric over the front, ensuring it’s smooth and even. Use a staple gun to secure it, starting from the center and working outward. This method prevents distortion and gives your panels a professional finish.
For more tips on optimizing sound treatment, check out this guide on acoustic panel placement.
Step-by-Step Guide to Assembling Your Panels
Assembling your own sound treatment panels is easier than you might think. With a few tools and materials, you can create panels that enhance your home studio or listening space. This guide walks you through the process, from building the frame to securing the final touches.
Building the Frame and Inserting Insulation
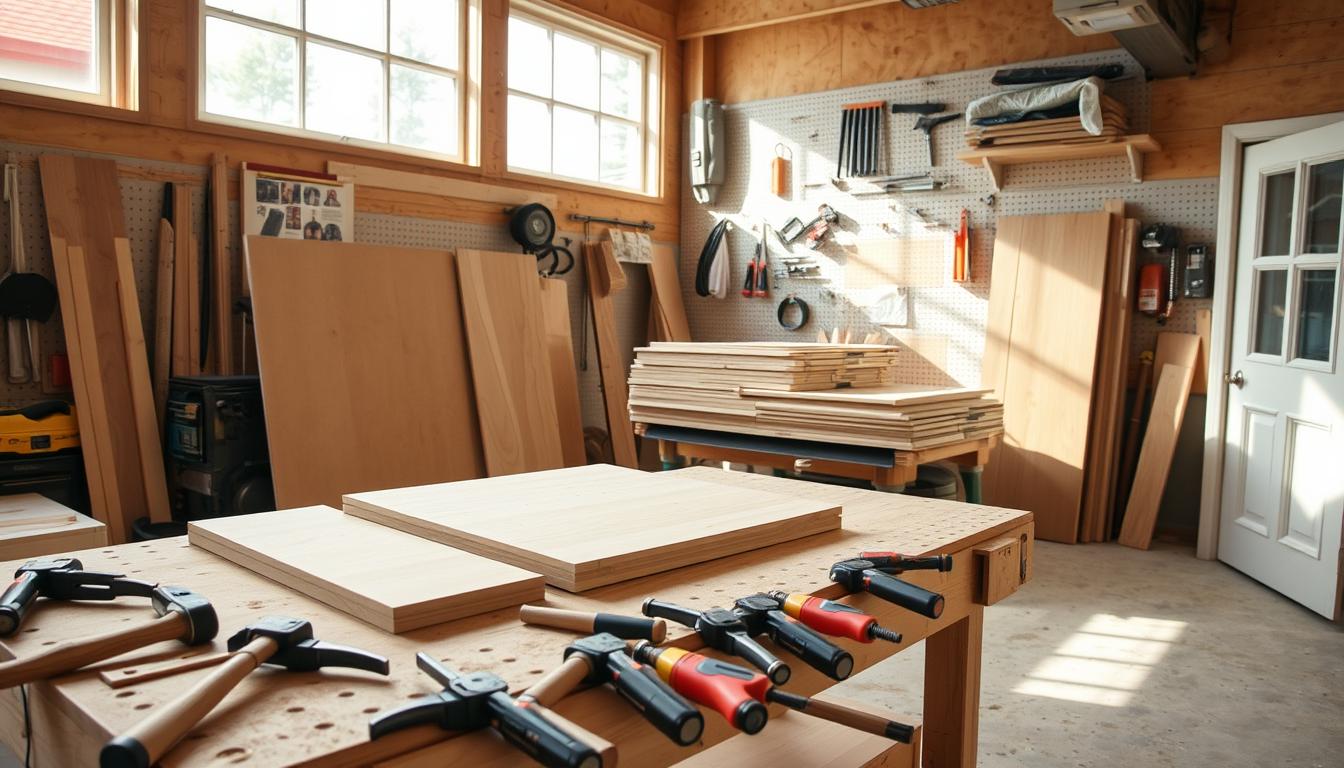
Start by cutting plywood or pine boards to your desired dimensions. A folding ruler ensures precise measurements. Pre-drill holes at the corners to prevent splitting when assembling the frame. Secure the pieces with screws, reinforcing corners with wood glue for added durability.
Next, insert insulation batts like Roxul SAFE n SOUND. Cut the material slightly larger than the frame for a snug fit. This ensures maximum sound absorption and prevents gaps. Properly fitted insulation is key to the panel’s effectiveness.
Stapling Methods and Final Assembly Tips
Attach garden fleece to the back of the frame using a staple gun. Pull it taut to avoid wrinkles, ensuring a clean finish. Lay acoustic fabric over the front, starting from the center and working outward. Staple every 3 inches for a smooth, professional look.
Trim excess fabric neatly with scissors. Double-check all connections before hanging the panel. Pre-drilling holes for mounting hardware prevents damage to the frame. Careful assembly ensures your panels look great and perform well in your space.
Enhancing Functionality with Additional Features
Transform your sound panels into stunning design elements with creative additions. By incorporating extra features, you can elevate both functionality and aesthetics, making your panels a standout thing in your space.
Incorporating LED Lighting for Ambience
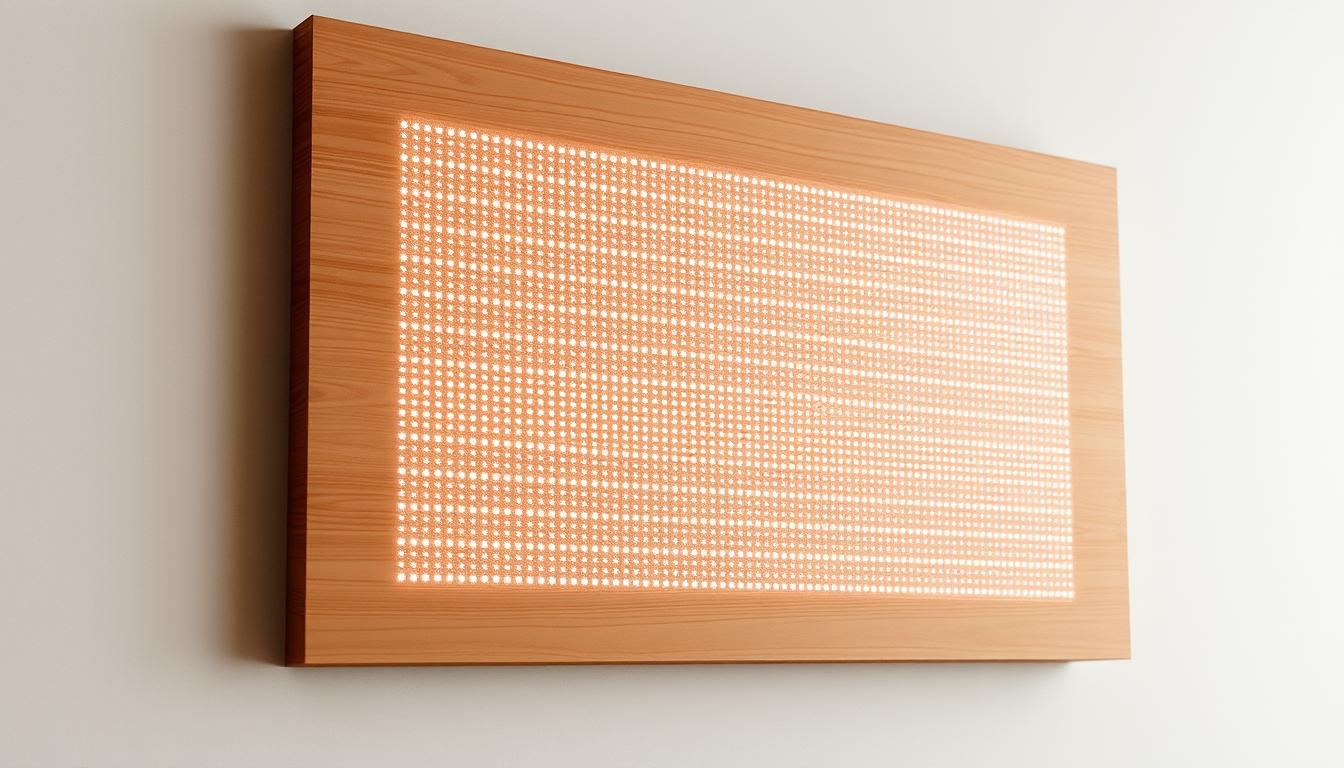
Adding LED lighting strips behind translucent fabric creates a soft, ambient glow. Plan for an additional 1-inch frame depth to accommodate the wiring. Use low-voltage LED strips for safety and energy efficiency.
Secure the strips with adhesive backing or clips, ensuring they’re evenly spaced. A dimmer switch allows you to adjust brightness to suit your room’s mood. This feature not only enhances visual appeal but also complements the panel’s acoustic performance.
Adding Decorative Finishing Touches
Decorative wood frames can add elegance to your panels. Choose materials like oak or walnut for a polished look. Measure and cut the frame pieces to fit snugly around the panel edges.
Attach the frame with wood glue and screws for durability. You can also experiment with fabric patterns or colors to match your decor. These finishing touches ensure your panels are both functional and visually appealing.
“Customizing your panels with lighting and decorative elements turns them into more than just sound treatments—they become part of your room’s design.”
Here’s a quick guide to materials and measurements for additional features:
| Feature | Material | Measurement |
|---|---|---|
| LED Lighting | Low-voltage LED strips | 1-inch frame depth |
| Decorative Frame | Oak or walnut wood | Custom to panel size |
Experiment with these features to reflect your personal style. Ensure all modifications are securely installed for long-lasting results. With creativity and careful planning, your panels will enhance both sound quality and room ambience.
Tips for Optimizing Acoustic Performance in Your Studio or Home
Optimizing sound quality in your space requires more than just installing panels; it’s about strategic placement. Properly positioning your acoustic panel can significantly enhance sound absorption and clarity. Here’s how to achieve professional results in your studio or listening room.
Effective Panel Placement Strategies
Start by identifying first reflection points using the mirror technique. Sit in your listening position and have a friend move a mirror along the walls. Where you see your speakers reflected is where panels should be placed. This reduces echoes and improves sound clarity.
Balanced placement is key to reducing room resonances. Avoid clustering panels in one area. Instead, distribute them evenly across walls, focusing on reflection points and corners. This ensures consistent sound absorption throughout the space.
Align panels with both speakers for optimal performance. This minimizes sound distortion and enhances stereo imaging. For low-frequency control, consider adding bass traps in corners. These absorb bass buildup, smoothing out the overall sound.
Here are some practical tips for spacing and adjustments:
- Space panels 2-3 feet apart for even coverage.
- Adjust panel height to align with ear level in your listening position.
- Use thicker panels (4-6 inches) for better low-frequency absorption.
Room dimensions play a crucial role in placement. Smaller rooms may require more panels to counteract sound reflections. Larger spaces benefit from strategic placement at key reflection points. Always test and adjust based on your room’s unique acoustics.
“Strategic placement transforms panels from simple sound treatments into powerful tools for achieving professional-grade acoustics.”
By following these guidelines, you’ll create a balanced and immersive listening environment. Proper placement ensures your panels deliver both performance and aesthetic appeal, making them a standout thing in your space.
Conclusion
Creating your own sound treatment solutions can transform any space into a professional-grade environment. By following this guide, you’ve learned how to design, build, and optimize panels that enhance sound quality and complement your decor. From selecting materials to strategic placement, each step ensures superior performance and cost savings compared to commercial alternatives.
Customization is a major advantage. You can tailor dimensions, finishes, and even add features like LED lighting to match your style. This flexibility ensures your project is both functional and visually appealing. With careful planning, you’ll achieve results that rival high-end products at a fraction of the cost.
Now it’s time to apply these techniques. Start your project with confidence, knowing you’re equipped with the knowledge to succeed. Whether it’s a home studio or a listening room, your efforts will pay off in improved sound clarity and a polished aesthetic. Ready to take the next step? Explore more tips and projects to continue enhancing your acoustic environment.
FAQ
Why should I consider building my own acoustic panels?
Creating your own panels allows you to customize dimensions, materials, and designs to perfectly fit your space. It’s also cost-effective compared to buying pre-made solutions.
What are the benefits of using acoustic panels in a home studio?
Acoustic panels improve sound quality by reducing echoes and controlling unwanted noise. This creates a more professional recording environment.
How do acoustic panels absorb sound?
Panels use materials like fiberglass or rockwool to trap sound waves, converting their energy into heat. This minimizes reflections and enhances clarity.
What materials are essential for building DIY acoustic panels?
You’ll need wooden frames, sound-absorbing insulation, fabric covers, and staples. Tools like a saw, staple gun, and measuring tape are also crucial.
How do I determine the right size and thickness for my panels?
Panel size depends on your room’s dimensions and acoustic needs. Thicker panels (2-4 inches) are better for absorbing lower frequencies.
What type of fabric works best for covering acoustic panels?
Choose breathable, acoustically transparent fabrics like burlap or polyester. Avoid thick or non-porous materials that block sound absorption.
How do I construct a durable wooden frame for my panels?
Use sturdy wood like pine or oak. Cut pieces to size, assemble with screws or nails, and ensure the frame is square for stability.
What’s the best way to attach fabric to the panel frame?
Stretch the fabric tightly over the frame and secure it with a staple gun. Start from the center and work outward to avoid wrinkles.
Where should I place acoustic panels for optimal performance?
Focus on reflection points, such as walls opposite speakers or corners. Evenly distributing panels ensures balanced sound absorption.
Can I add decorative elements like LED lighting to my panels?
Yes, integrating LED strips or decorative finishes can enhance aesthetics while maintaining functionality. Ensure lighting doesn’t interfere with sound absorption.


